*This post contains some affiliate links. Please see my full Disclosure Statement.
I love the way these shelves turned out! I was able to make them out of extra wood I had in the garage, plus they were super easy to make!
I used ½" plywood, 1x2s, underlayment and scrap pieces for support.
A few things you need to figure out first. The length or width of your space for the shelves. How deep you want them and how far apart you want your shelves to be.
Mine were 33" wall to wall, 10 ¾" deep and 14" apart.
First things first, I needed to locate all of the studs that would be supporting these shelves.
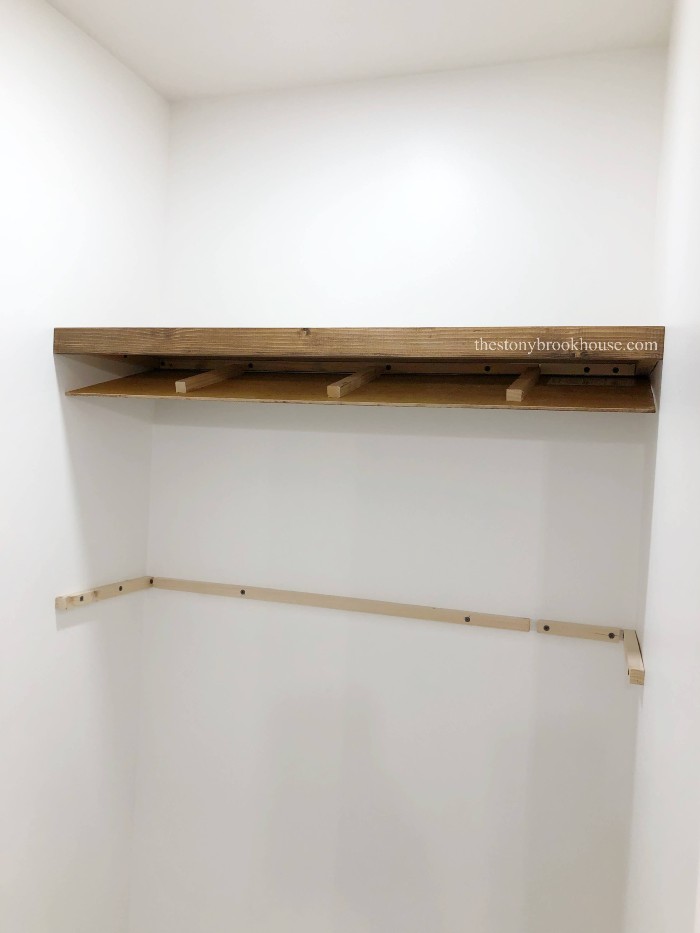
I used scrap pieces that I cut to 5/8"x 5/8". It's important to dry fit the support pieces first, and marked where the studs were on them. Then pre-drill the holes, before screwing them into the studs. If you don't pre-drill, that small piece of wood will definitely split.
When marking your walls for the supports, use a level to make sure they are straight and level.
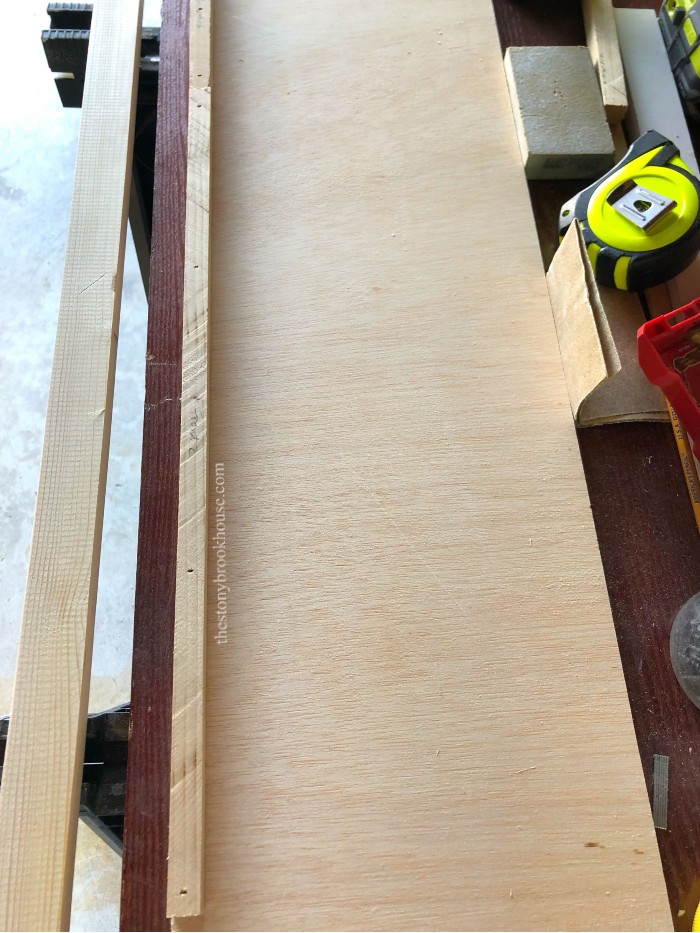
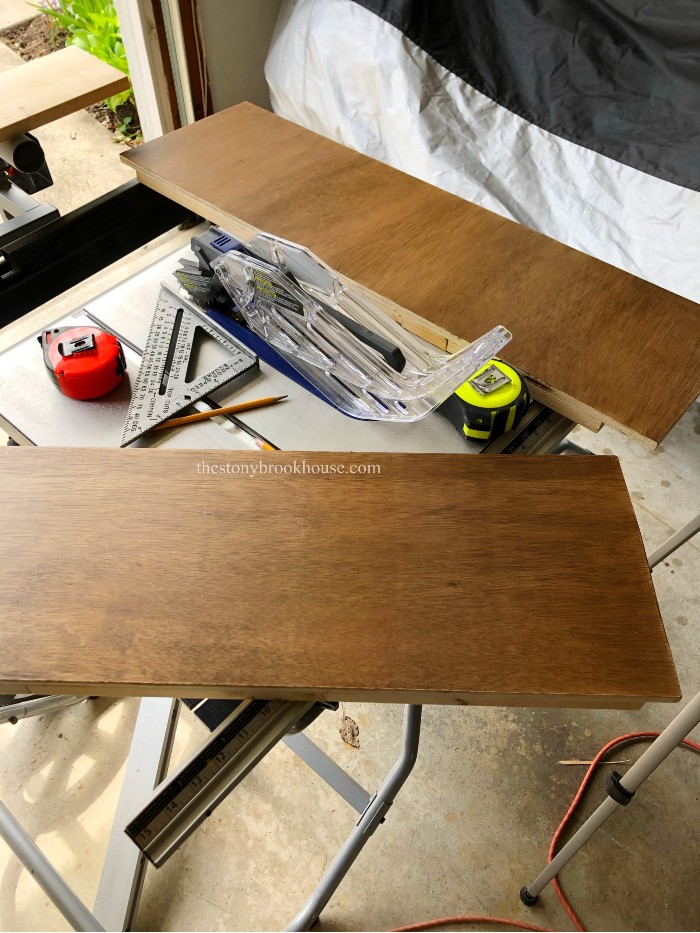
Then I cut out the plywood and underlayment for the top and bottom of the shelves. I cut them both to 10". The 1x2 will cover the front and add ¾" to the depth.
Now to create the shelves. I glued and nailed more 5/8 x 5/8" scrap wood to the underside of the plywood shelf, towards the front. Using smaller nails so they don't come through the top of the shelf.
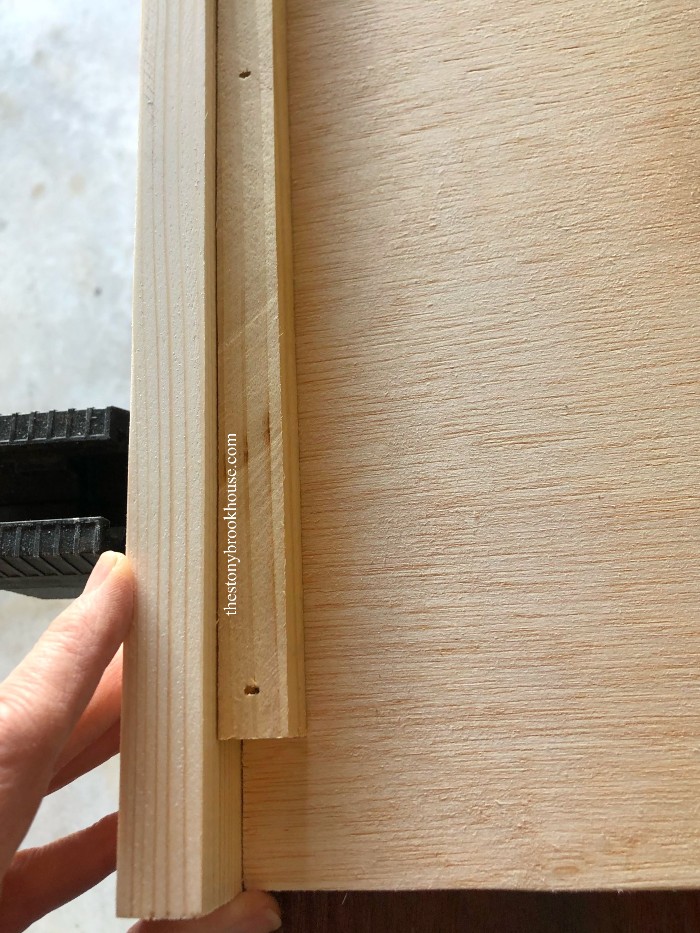
I cut 2 1x2s to just shy of 33", if you cut them to exactly the width, they won't fit. I will be attaching them to the scrap piece attached to the plywood, from the backside, so that there won't be any nail holes to fill.
Like this.... I'm not attaching it just yet, I'm just showing you the process. I will do this as one of the last steps, after all the pieces are stained and ready to go.
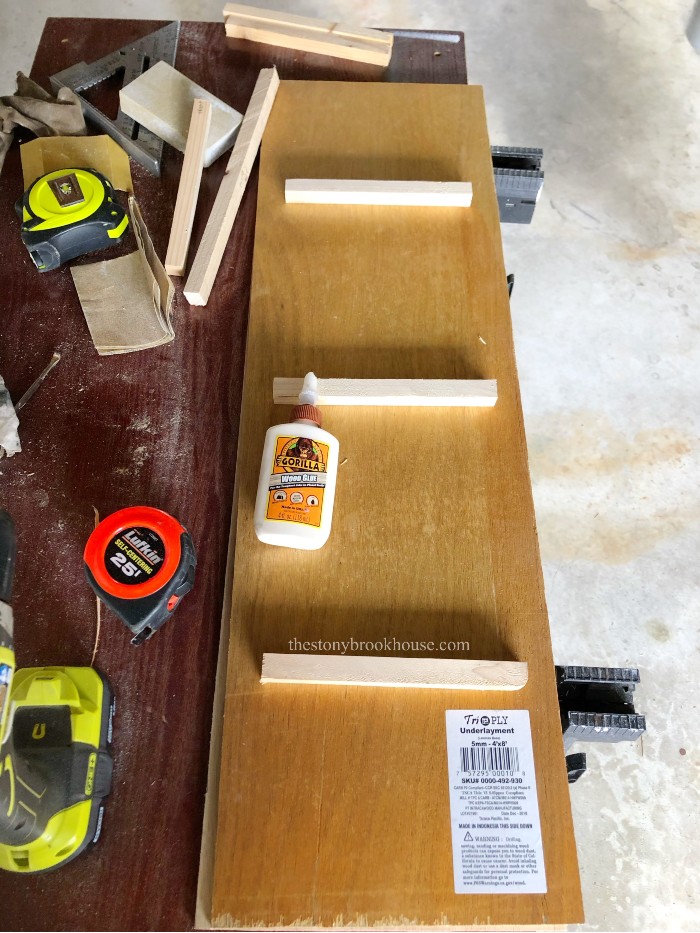
For the underlayment, because it is thinner and could bow, I added the same 5/8" supports to the topside. Making sure to leave at least 5/8" on the front and back for the wall supports and the front support on the plywood top.
I just glued them in place with Gorilla Wood Glue.
You will want to dry fit each piece in place to make sure it fits. Walls are never square, and I had to do a little tweaking here and there to make them fit.
Now, that all the pieces are cut and ready to go, it's time for stain.
To make stain go on smoothly and evenly, I almost always use Minwax Pre Stain.
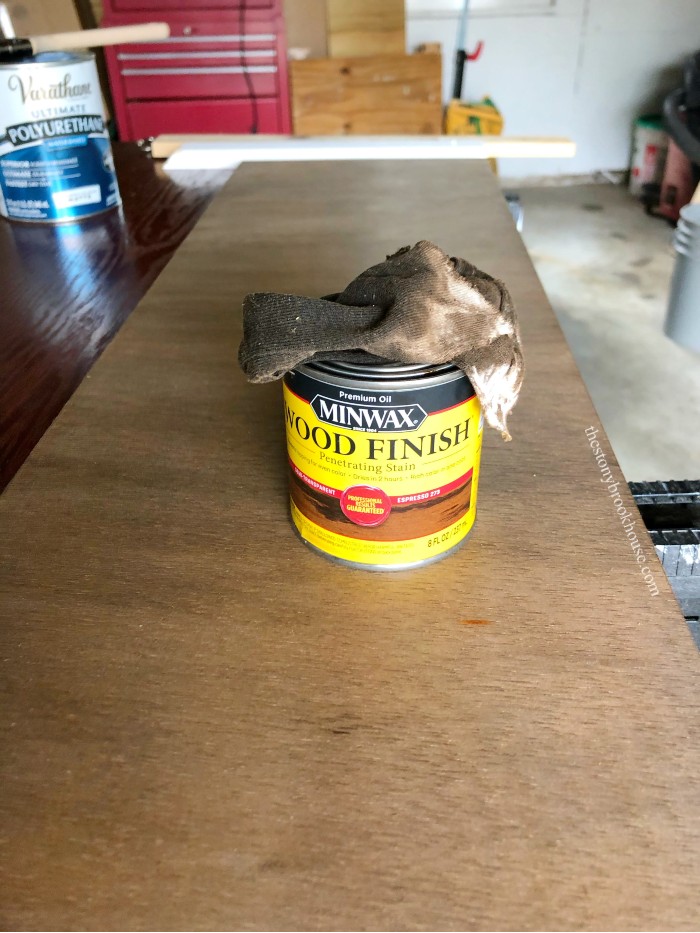
Staining is the next process. I gave each piece 2 coats.
I wanted the wood shelves to blend well with the mirrors I have in the guest bathroom. Minwax Espresso matched pretty well. These are Target Threshold mirrors.
Lastly, I gave each piece 2 coats of Varathane Matte Clear Coat.
Now it's time to assemble. First, I attached the 1x2 to the front of the plywood shelf top. I glued and nailed it in place using 1" nails.
Next, I laid it on top of the wall supports and used my Ryobi Nail Gun (I love that airless nailer!) to nail it in place. I nailed in from the top around the edge, securing it to the wall supports.
Then I fitted in the bottom underlayment piece, and nailed it to the same wall supports from the bottom along the edge.
And they're done!
Love, love, love them!
To see the Guest Bathroom Remodel, you can click on any of the links below.
Guest Bathroom Before And After
Guest Bathroom Links & Details
Blessings,
Lori







I'm WAY behind reading blog posts. I've watched your progress on IG but now I'm enjoying your bathroom project all over again. You are an inspiration and I may borrow some of your ideas if or when we move sometime in the future. Love seeing what you're doing.
ReplyDelete~Adrienne~
Thanks, Adrienne! I love that you would borrow my ideas! Copy them! I love to see what others create! Thanks for reading, it seems like a lost art nowadays....
DeleteLove these wall-to-wall floating shelves—so sleek, functional, and instantly uplifting!
ReplyDeleteThank you! They are stylish and functional! Thanks for reading!
Delete