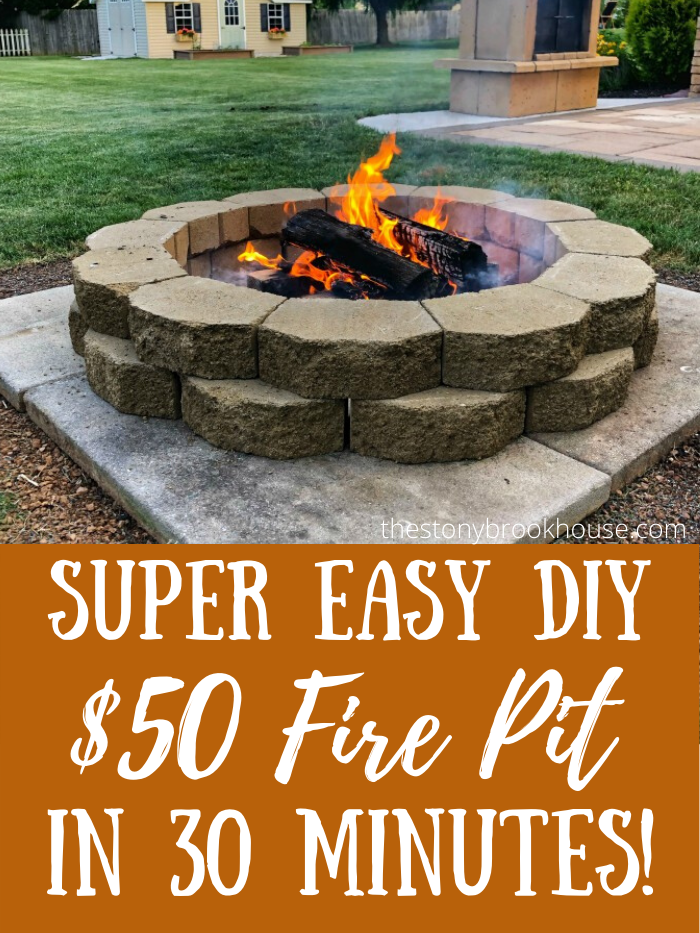
When we finished this fire pit, Hubby and I looked at each other and said, "Why didn't we do this YEARS ago?" Seriously! We've had our little fire place for years, but it's really only good for the two of us. Especially, if you want to be kept warm by it.
*This post contains some affiliate links. Please see my full Disclosure Statement.
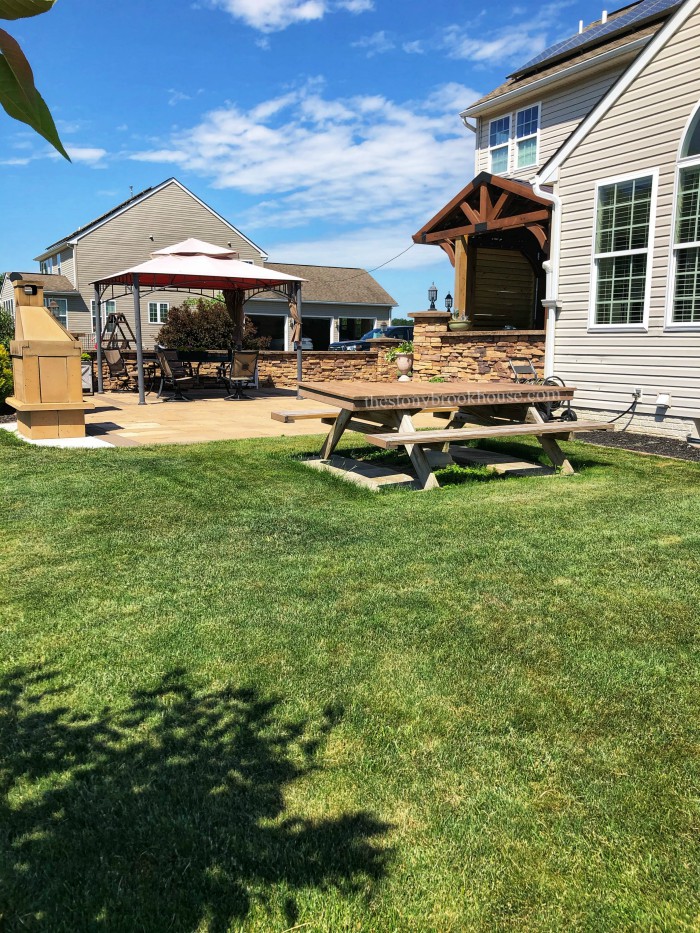
So, this year we decided to DO It! 💪 The fire pit is going to go where the picnic table is. That picnic table is a BEAST!
This table came all the way from California with us when we moved out to PA, 29 years ago! What's funny is that every part of the entire table has been rebuilt at some point or other. It's not even the same table anymore. It's so heavy, because when Hubby redid the top, he used Trex and that stuff is heavy!
Anyway, we managed to move it, by flipping it over, then over again.
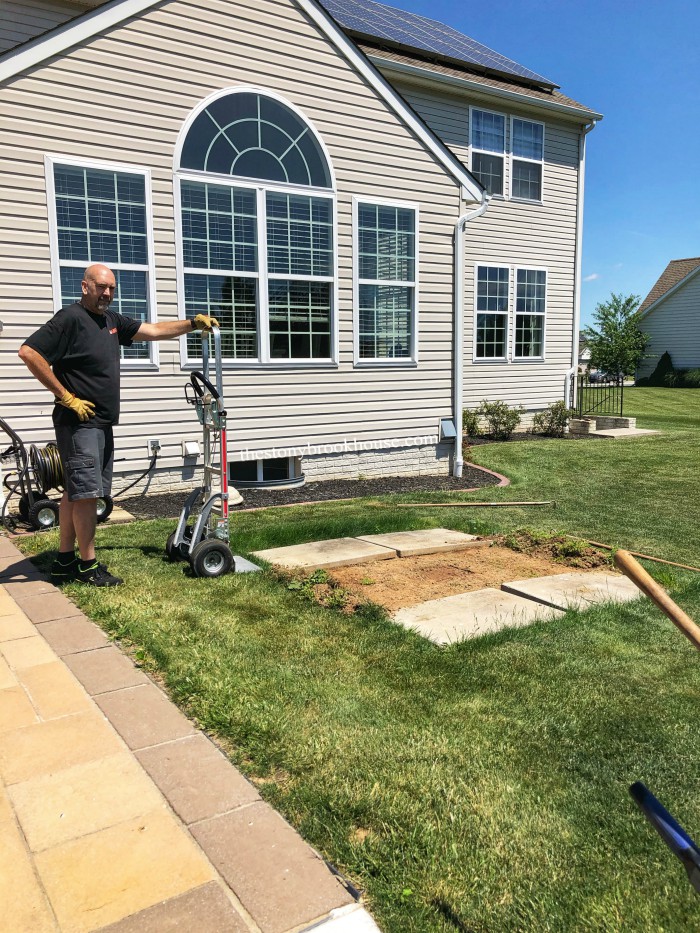
Now we have the area open and ready to get to work!
All you need to get are the stacking wall blocks from either Lowes or Home Depot. We purchased 24 at $1.98 per block, for a total of $47.52 + tax.
We decided to use the pavers that were under the picnic table as a base for the fire pit. Those are not figured into the cost. We didn't need to use them, this fire pit could sit right in the dirt and be fine!
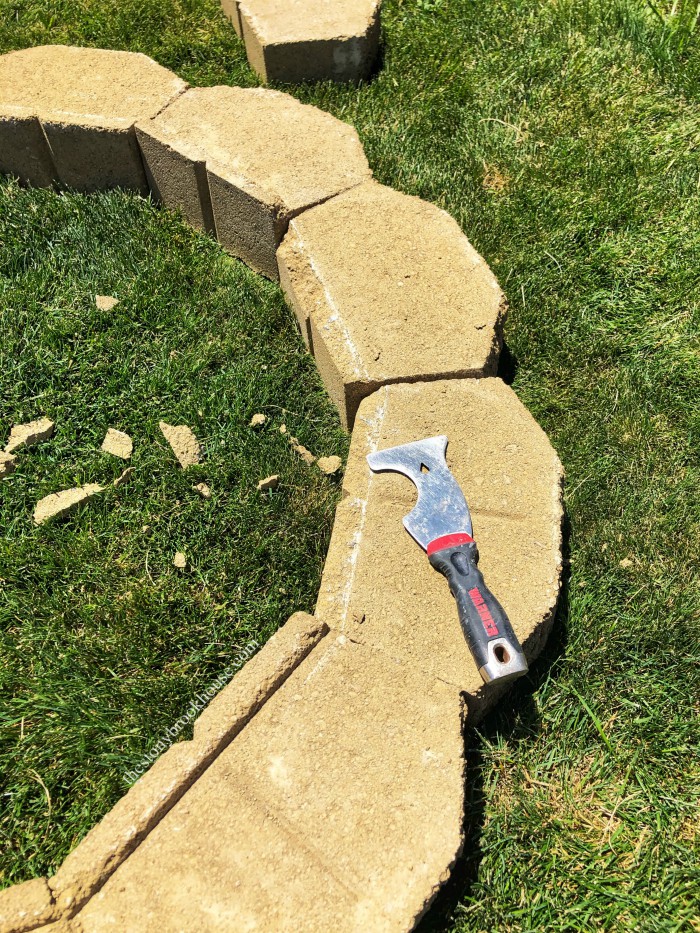
You'll notice that stacking wall blocks have a lip on them. We didn't want the lip, because it made the blocks lay at an angle. So, I chiseled them off. It was so much easier than you think!
What isn't shown in that photo is the 3lb. small sledge hammer I used. I scored the lip with the 5 in 1 tool, (of course, this will dull the tip) about 5-6 times then placed the tool along the lip and hit the end of it with the sledge. They chipped off pretty easy.
Now, it had a nice smooth surface to stack on.
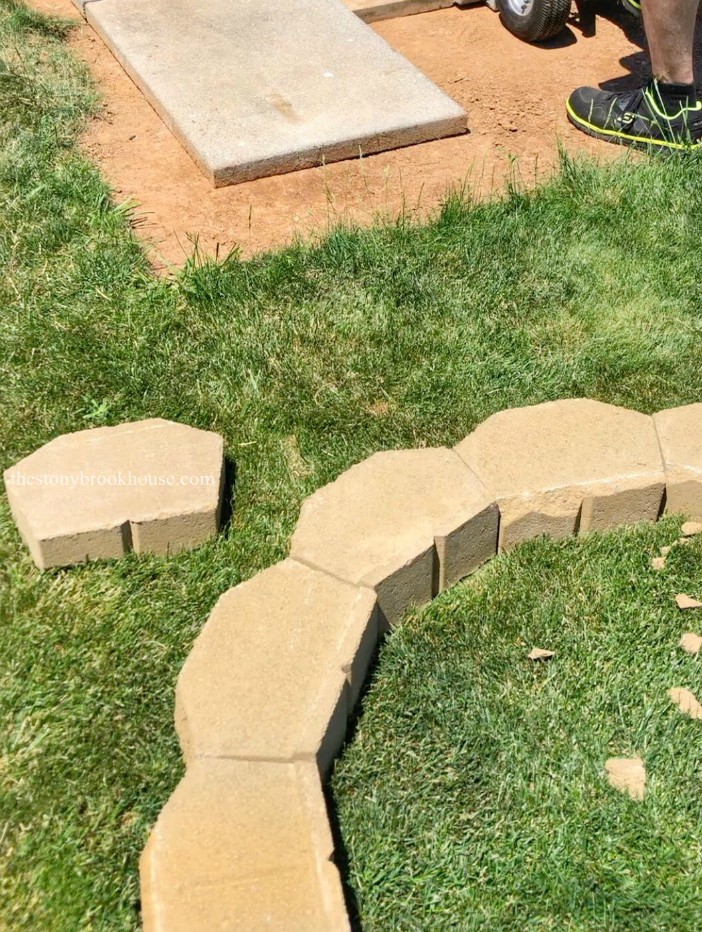
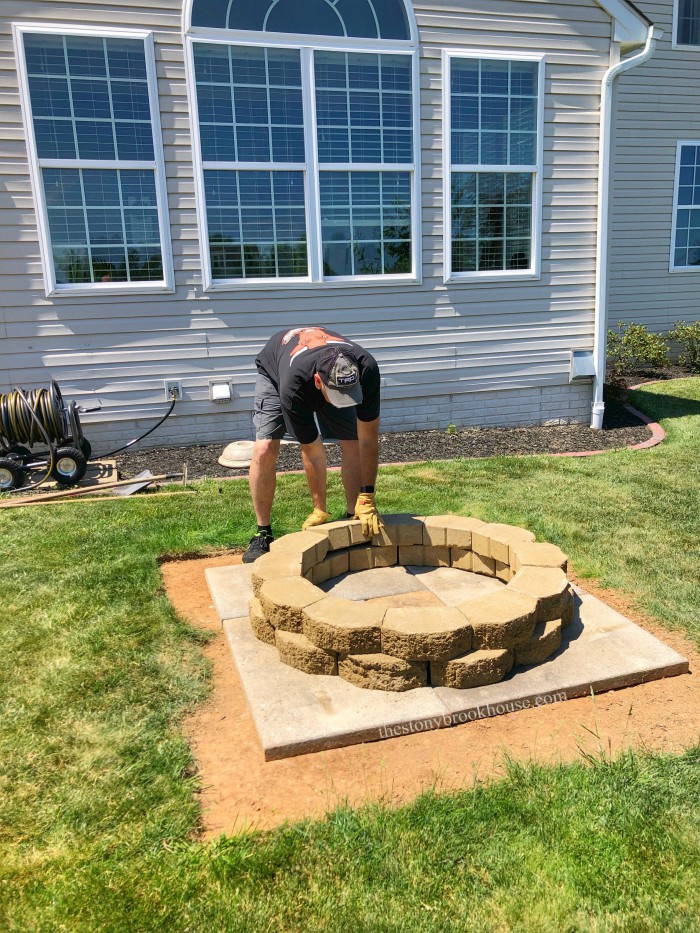
I was planning on taking more photos of the process, but Hubby had it done in minutes!! There are 12 blocks for each layer.
The chiseled side is facing down, and you can barely see the chipped area. The bottom layer has spaces between some of the blocks to allow for air flow. This will help your fire burn better.
The inside ring measures 34¼". The outer ring measures 50".
At first, I thought we would need 3 layers, but Hubby really didn't think so. I figured if we did, we can just go buy some more blocks. Around the perimeter, we filled it in some dirt and added grass seed.
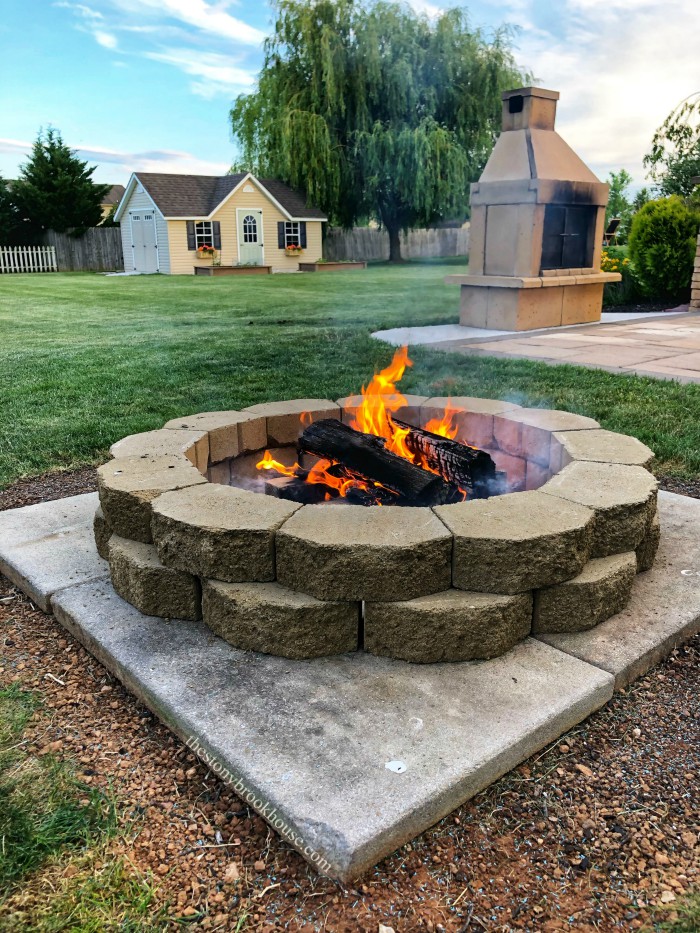
After having several fires in our new fire pit. Hubby was right, we really don't need 3 layers. It's high enough for us to rest our feet on the edge, or set a drink down.
I have to say this was one of the easiest projects we've done!





The logs and the fire sit right on top of the pavers? Nothing to buffer the fire from the pavers?
ReplyDeleteYep! They aren't anything special, and they have cracked. We just really didn't care. It works for us!
DeleteVery nice
ReplyDeleteThank you!!
DeleteLove it! How many pavers did you use?
ReplyDelete24 blocks in total
DeleteThanks for the advice. Me and the wifey heading to Lowe's to build this. Thanks again and looks great!
ReplyDeleteAwesome!! Thanks for stopping by!
DeleteHow easy is it with those bottom pavers is it to clean up the ashes when there becomes to much ash from previous fires.
ReplyDeleteHi! Thank you for this question! We have found it extremely easy to clean up the ashes. We just shovel them out when we feel like it's build up too much.
DeleteAre the materials safe to use near / under a fire? Some materials will explode under the right conditions.
ReplyDeleteWell, the surrounding landscape pavers are not rated for fire, but we haven't had any issues with our fire pit. We've been using it for over 3 years with no problems. And we use it frequently during the spring, summer and fall! :)
DeleteLooks lovely. Going to make this in our yard soon. I didn’t want to purchase a fire ring insert so this looks perfect. Still no issues burning fire sr without one?
ReplyDeleteHello! We have had this same fire pit with no issues. We even moved it to our new house 3 1/2 years ago and it is still going strong! We just used it this weekend. We love, love, love it!!
DeleteWhat a great idea! I can even do this myself.
ReplyDeleteYes you can! After all these years, we still love it! 5 years and going strong!
DeleteHow does it work for drainage when it rains?
ReplyDeleteIt just drains through the openings between the bricks. There are small gaps all the way around. It's never been a problem.
DeleteHi! Love this! What size are the stacking wall blocks? Are they a specific style/name?
ReplyDeleteThanks! Hmmm... I'm not sure that they have a name or size. They were just the stacking landscape blocks. Sorry. We purchased them at Lowes.
DeleteLove this! I'd love to try this at my house. Were the wall blocks a certain size or style?
ReplyDeleteThank you! They are about 12" long, 7 1/2 " wide and 4" tall. They are stacking landscape wall bricks.
DeleteMy husband and I made this fire pit today!!! So easy and can't wait to use it!!
ReplyDeleteAwesome! Ours is still going strong!! Love it!
DeleteWhat size pavers did you use underneath the fire pit?
ReplyDeleteThose big pavers are 3 feet by 2 feet.
Delete