*This post contains some affiliate links. Please see my full Disclosure Statement.
The progress on the master bathroom is definitely going to be slower than the guest bathroom. Hubby's schedule has changed, which requires him to work on most Fridays... That's a real bummer! I could rant about that 😠, but I believe The Lord knows all about it.
It's all good... I'm thankful that we finished the guest bathroom so quickly. Plus, we want to take our time with the master bathroom and not only enjoy the process, but enjoy life as well. Like visiting our kids and visiting our grand baby and new grand puppy!💗
We've been trying to focus on people before projects. There will ALWAYS be house projects. We want to nourish and build relationships with friends and family too!👍 The house will get done.
Before I dive into the demo, if you haven't seen our completely remodeled guest bathroom, you can see everything here, Guest Bathroom Before & After.
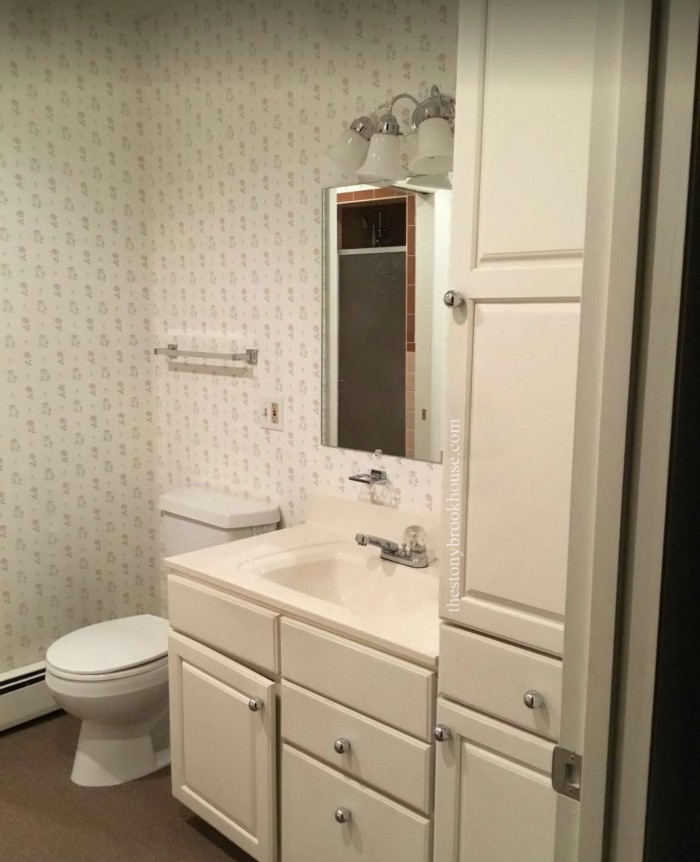
Let's start here from the beginning. Do you remember what we were dealing with here? This section is mostly demoed, now. That wallpaper! 😳
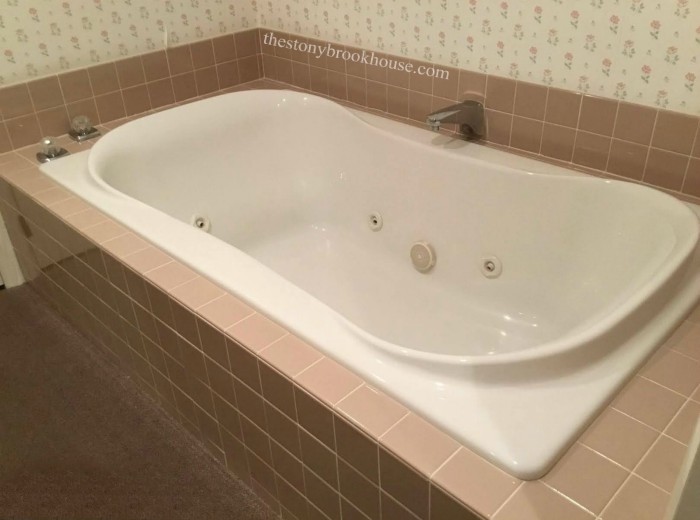
The jacuzzi tub...
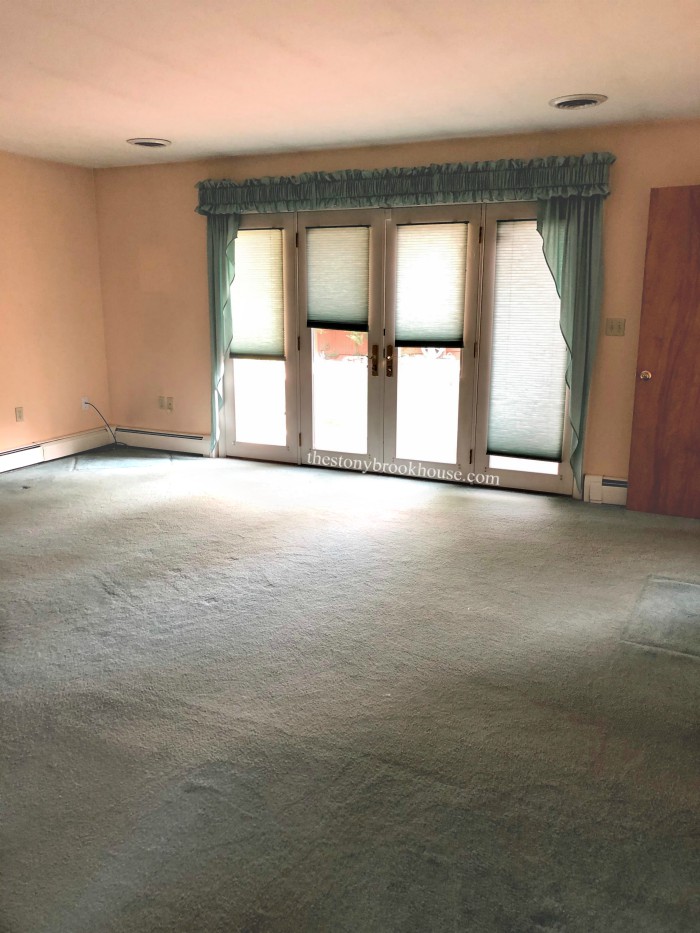
The next photo is our master bedroom. We ripped out the carpet the first day we were in the house... yes, we are living on subfloor with rugs everywhere. 😜
I just wanted to give you reference to where the master bathroom is extending into this space. The wall for the master bathroom will come out to the edge of the french doors, where the light switch is. Don't worry, the master bedroom will still be plenty big!
Do you remember this hallway? The guest bathroom is partially situated where the wood floor is. Then the master bathroom will partially sit where the slate tile is. Right next to that red jacket hanging, there is a back door that goes out to the patio. I'll be mentioning a problem we found there in a bit.
And let's just take a look at the plans we drew up awhile back. Remember the pocket door between the 2 toilets? 😝
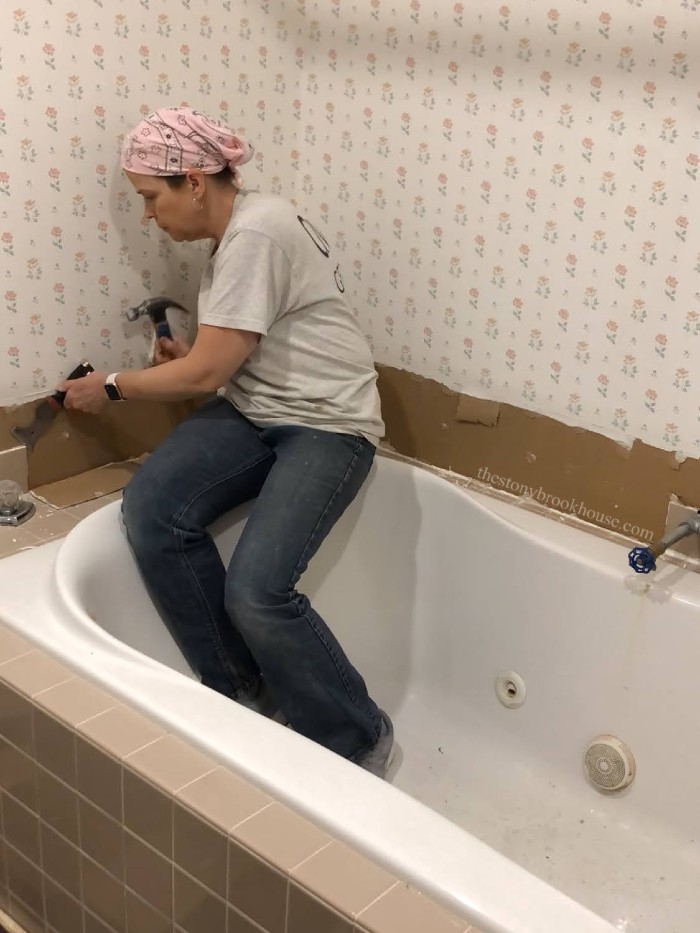
Okay, so now that you're up to speed on the background, let me show you how the demo went. (Nice outfit, Lori, especially the kerchief!😖 It's to keep drywall dust from getting in my hair.) Anyhoo... we rented another dumpster and took out all the tile and drywall.
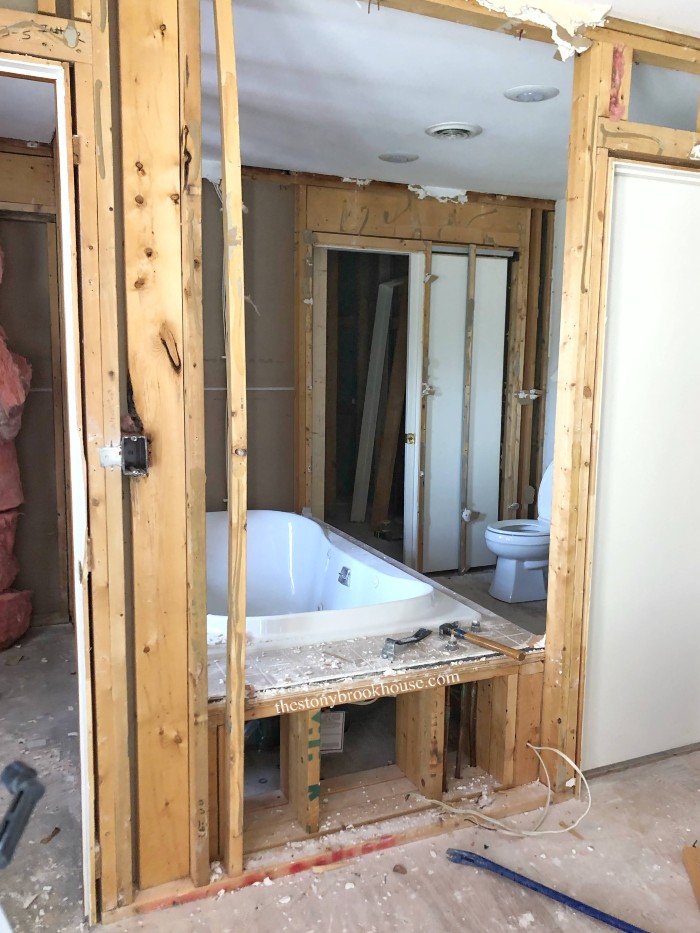
Next up... we need to remove walls to get this jacuzzi tub out!
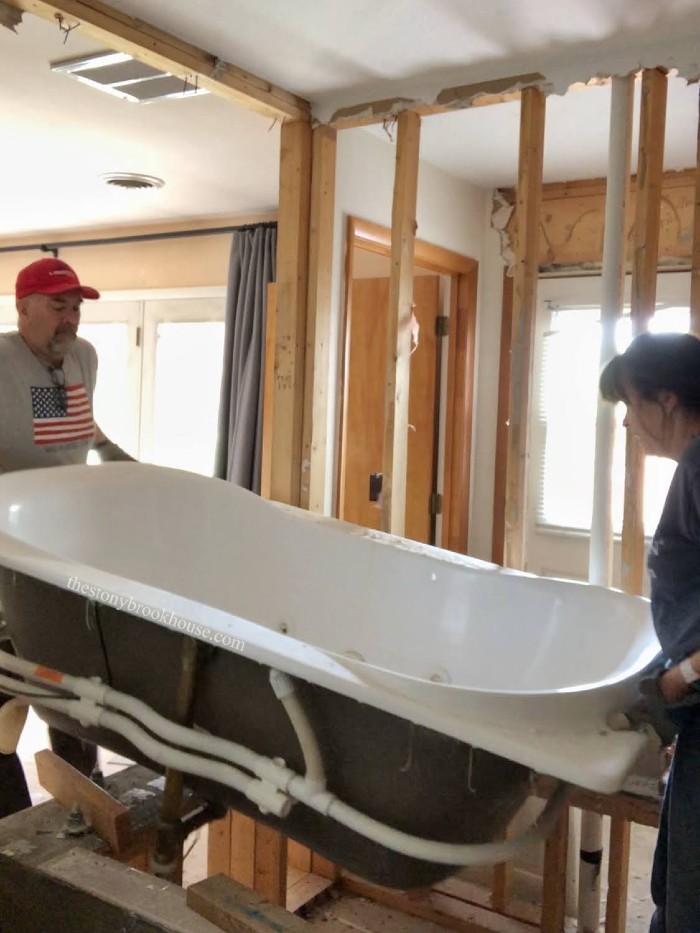
Once we disconnected the pipes, we were able to lift it right out!
I put it out on Facebook Market and gave it away with the vanity that was in that bathroom too!
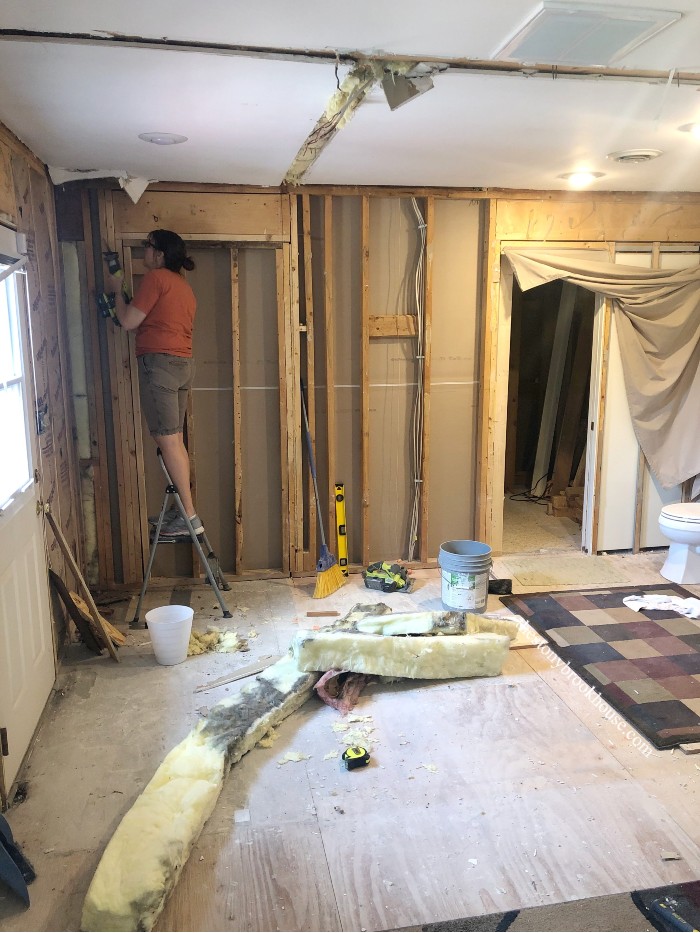
Alright, most of the demo is done in here. We need to take out the pocket door, we are going to reuse that.
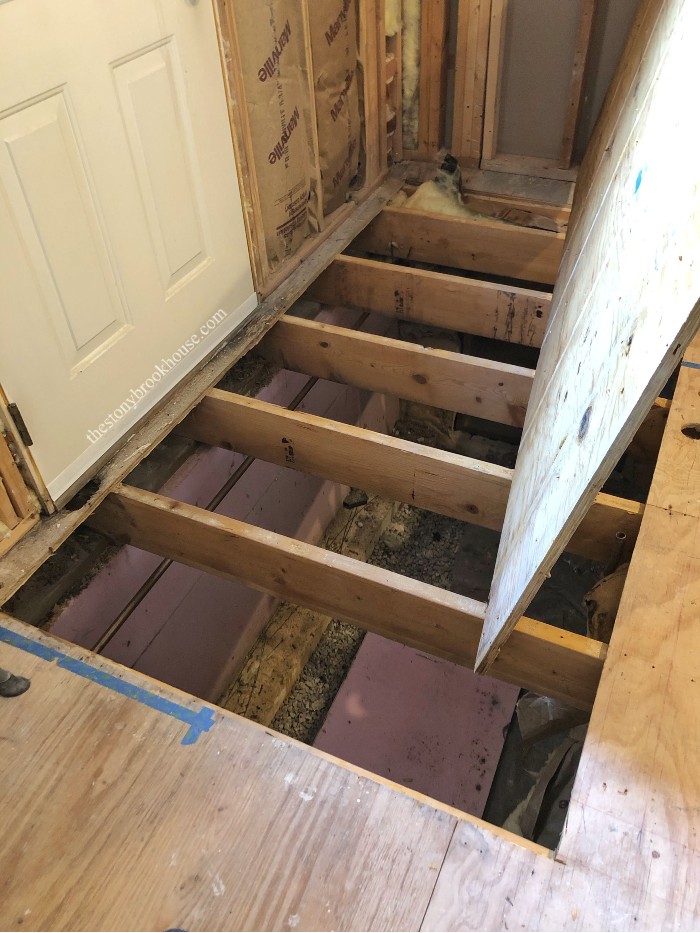
Now, take notice of the water damage next to the base of the back door... ugh! Yeah. There was water coming in from that door underneath the slate floor. That needs to be fixed!
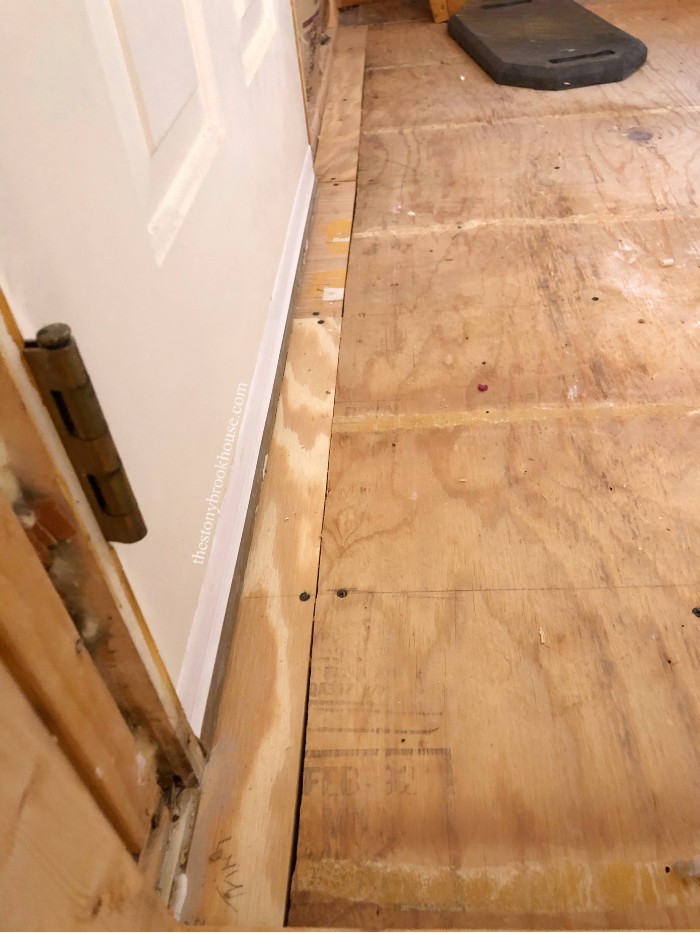
We were going to have to replace the subfloor in that area anyway. When I removed the slate floor there was a lot of concrete left on it that wouldn't come up. But of course hubby had a genius idea of flipping the floor! 😍 With the cost of lumber right now, that saved us a ton!
Hubby cleaned out and repaired the damage. Then we replaced it with subfloor we had on hand.
We realized that the door's weatherstripping and caulking was not sealed properly. I dug out all the caulking and re-caulked it with DAP Extreme Stretch exterior sealant. Then hubby replaced all the weatherstripping and threshold door sweep to give the door a nice seal.
It's important to check all the seals around your doors. Water damage is not fun!
Here is our Master Bath Design & Mood Board. Now, if we can stop changing the plans... 😆
Blessings,
Lori






No comments
Post a Comment
Comments are awesome! Let me know what you think!