*This post contains some affiliate links. Please see my full Disclosure Statement.
I searched all over Pinterest for plans for a little bathroom shelf unit like this and I came up completely empty! I've been a little disappointed with Pinterest lately... it just wants to show me where I can buy things instead of real people building real things.
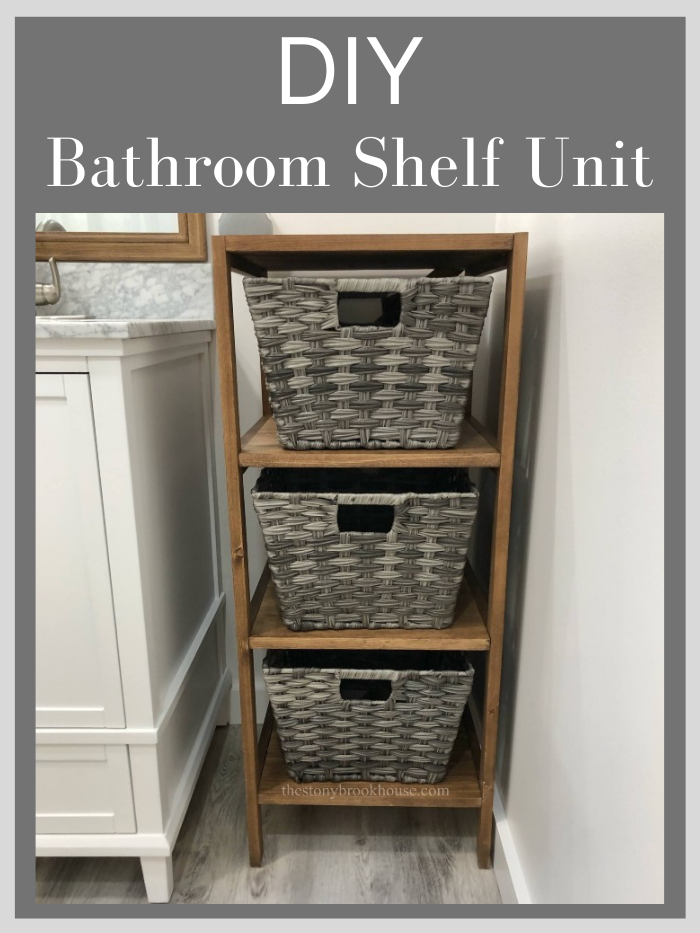
Anyhoo... I decided to create my own plans. In fact, it worked out perfect! I found the baskets at Sam's Club for a killer price and planned the shelf to fit them exactly. I am so happy with how it turned out!
The measurements for the baskets are 16¾" deep by 13" wide by 9" tall. That determined the measurements of the rest of the shelf.
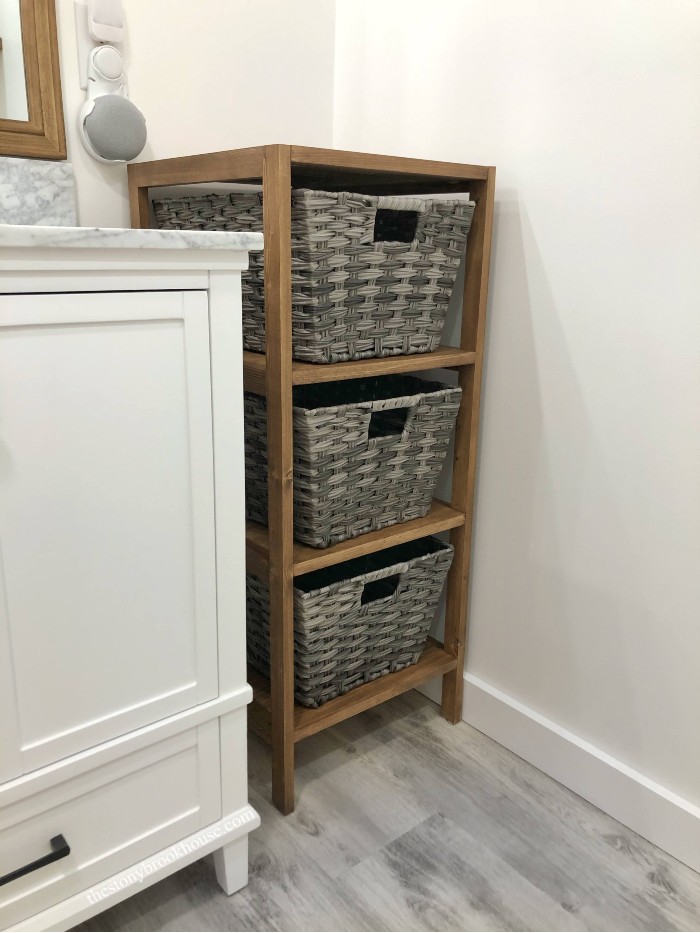
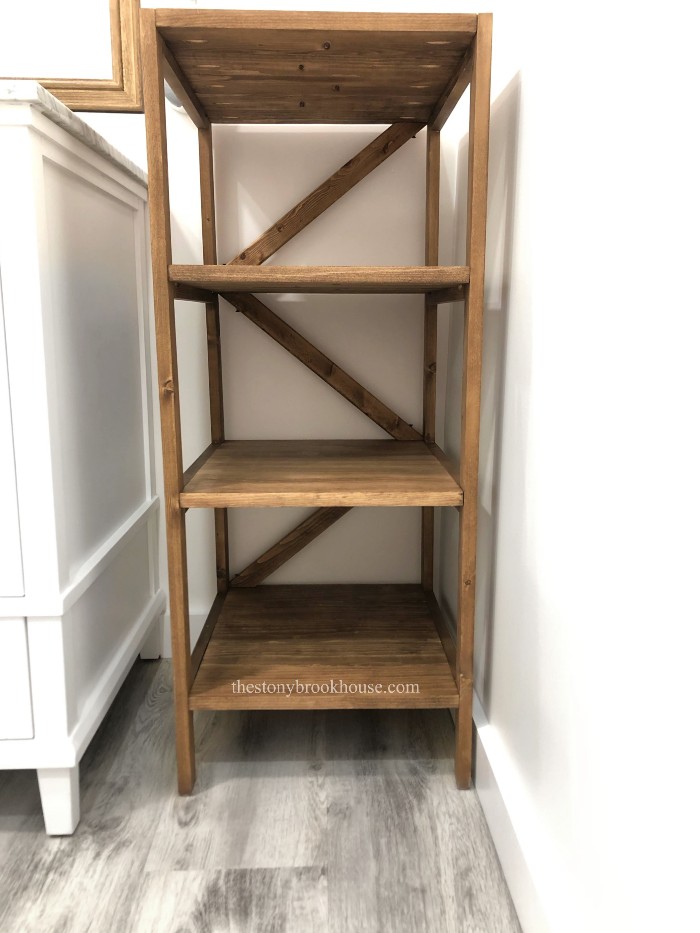
I wanted the shelf to be as tall as the backsplash of our vanity and to have little legs instead of sitting on the floor. The shelf sits 39¼" tall, 17½" deep, 16" wide and 10½" between the shelves. The first shelf sits 5" off the ground.
Okay, let me walk you through the build.
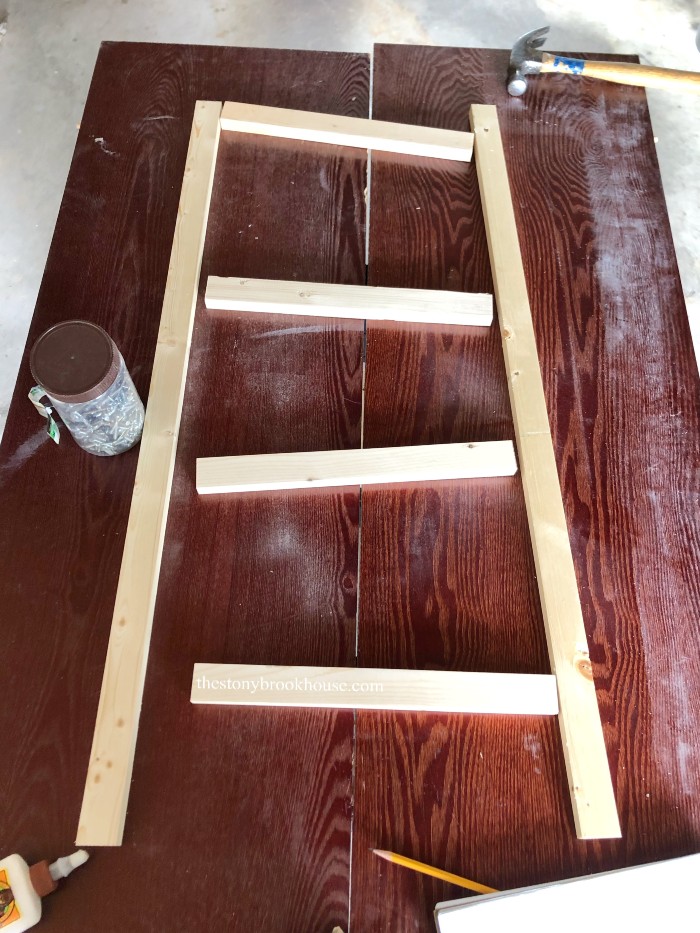
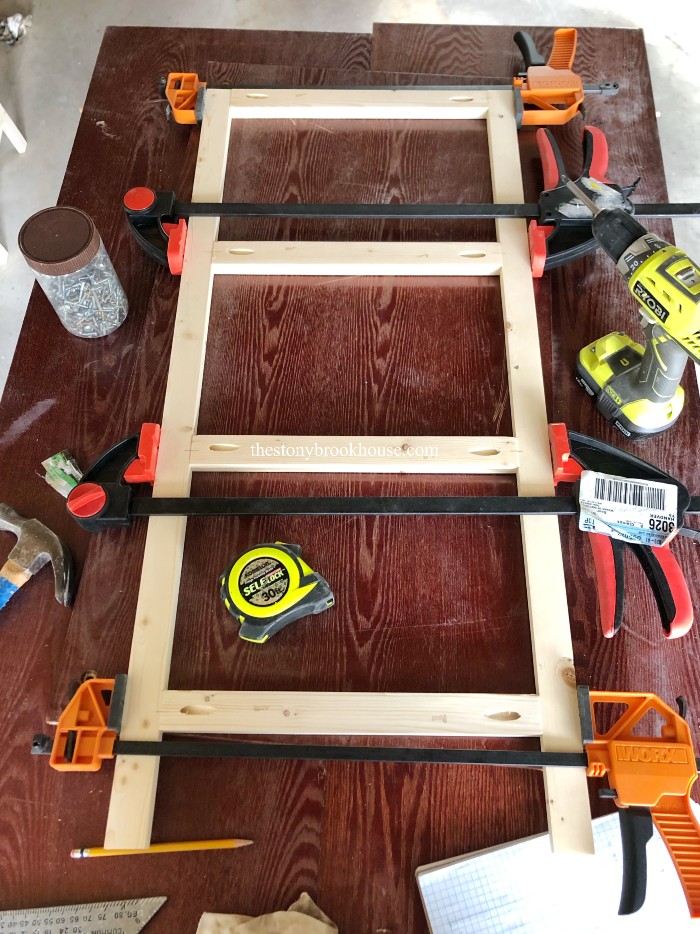
First, I cut 4 -1x2s to 39¼" and 8 -1x2s to 14½". I created 2 'ladders' for each side of the shelf unit.
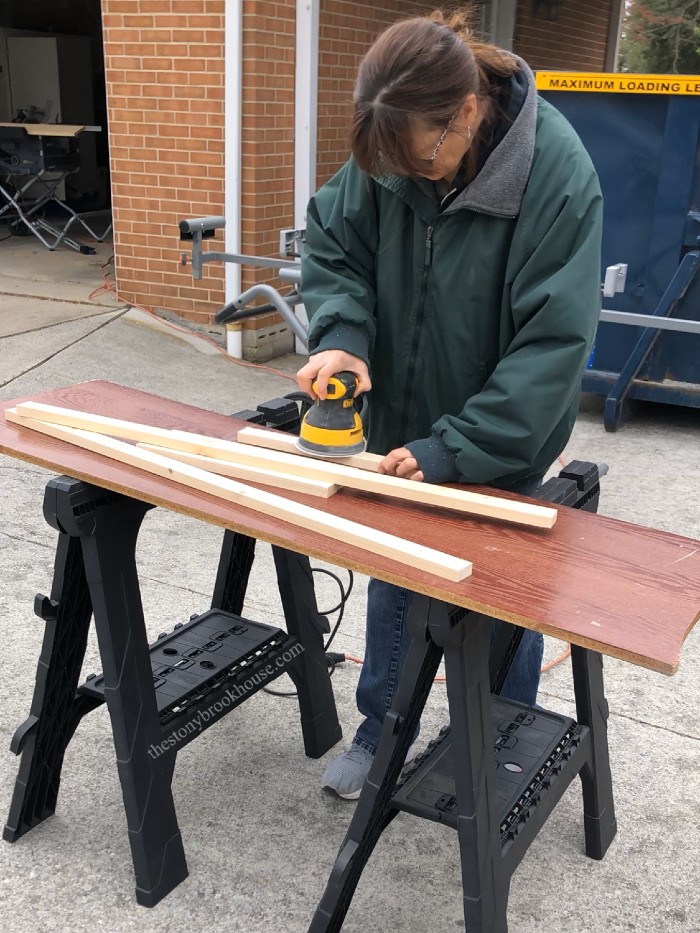
Then I sanded all the pieces and drilled pocket holes in them with my new Kreg Jig! This new Kreg Jig is so easy to use! I don't have to clamp anything. It locks it into place and then drill the pocket hole. Its sooo much better!
Next, I clamped the entire 'ladder' and screwed the pieces together. Making sure that they were evenly spaced 10½" apart.
Then I just repeated the same process to create the second ladder. Now to build the shelf tops.
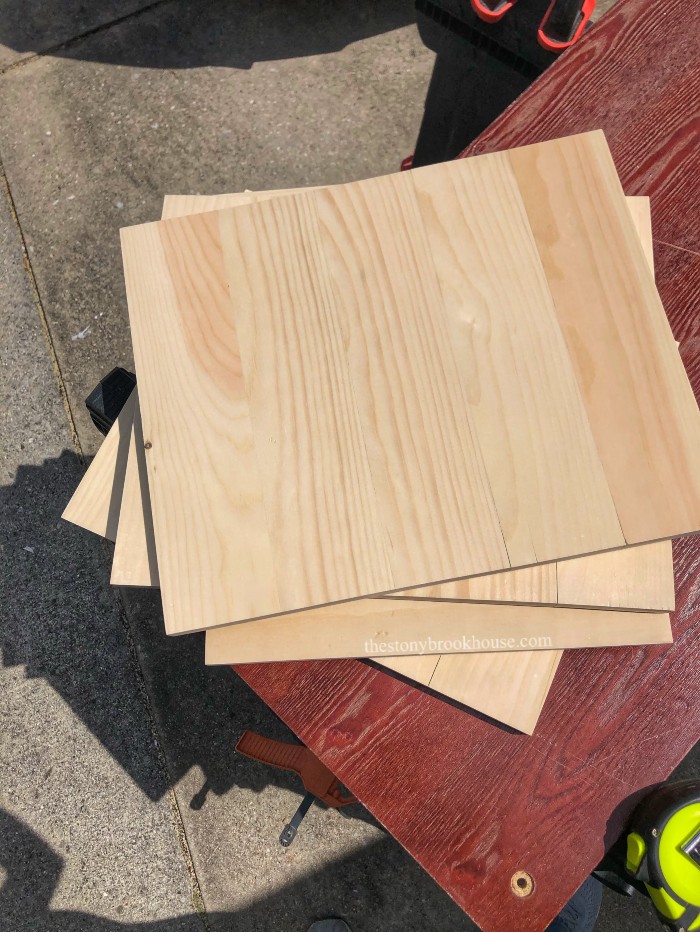
I used 1x4s for the tops. I cut 5 - 1x4s to14½" for each shelf top. That's a total of 20 pieces for all 4 shelves. You don't have to use 1x4s. You could make them slatted and use 1x2s. I just wanted a solid top for the shelves.
I drilled all of my pocket holes. I offset ones to screw the boards together to create a solid shelf top, and added ones along the sides to attach them to the 'ladders'.
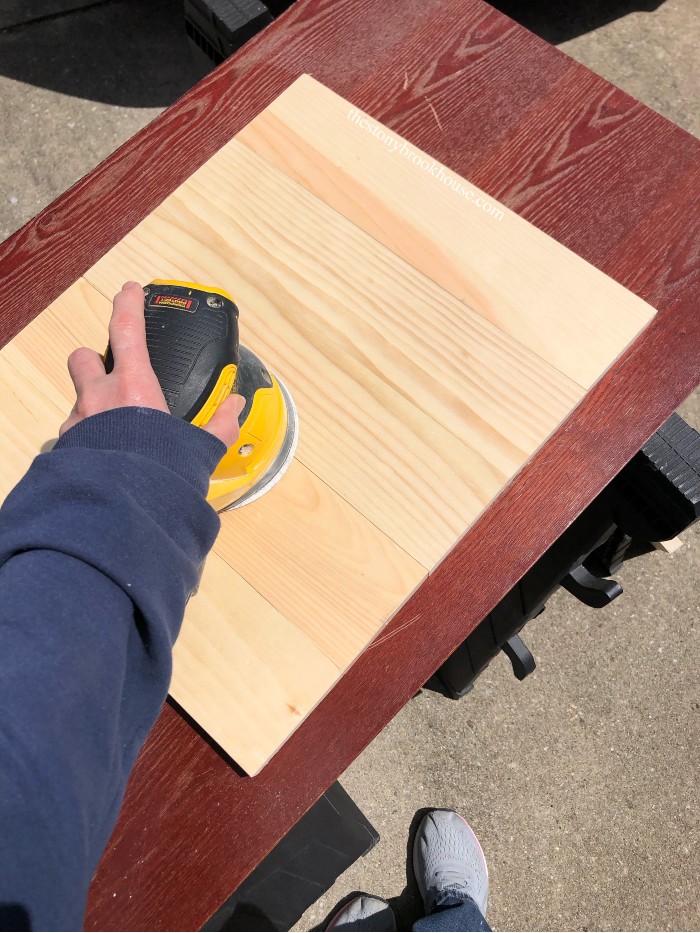
Then I sanded them smooth. When you pocket hole boards together, they don't always match up perfectly. A good sanding smooths them out and makes them look like a solid piece of wood.
This sander is one of my absolutely favorite tools! It's a Dewalt Orbital Sander, definitely worth every penny!
Time to stain! I used the same stain I used on my DIY Floating Shelves, I built in this guest bathroom. This stain almost perfectly matches the Target Threshold mirrors. It's Minwax Espresso stain.
Now, let's put this unit together! I clamped the shelf tops to meet exactly at the top of each 'ladder rung'.
I started from the top, and worked my way down, because I'm screwing in the pocket holes that are on the underside of the shelf tops.
Once it was finished... It was kind of wobbly. What?? Ugh! Hubby explained the reason why, but I was too frustrated. 😣 Ugh! He's so patient with me and told me how to quickly fix the problem.
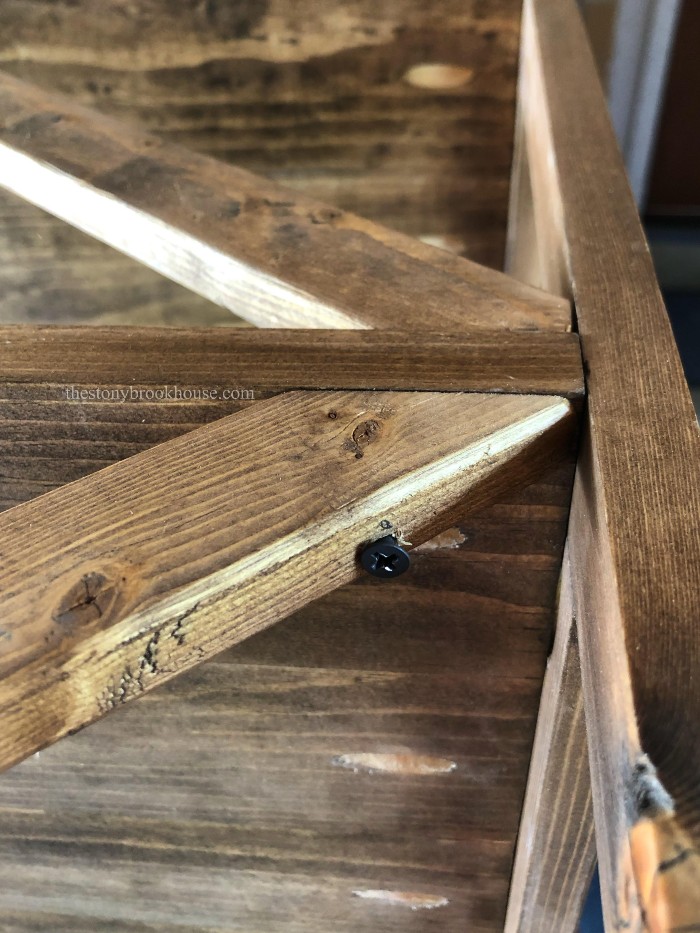
The simple solution, add diagonal braces across the back of the shelves. I basically laid a 1x2 across the back, traced the diagonal lines and cut them. Fit them in the space and screwed them in. It worked perfect! No more wobbles!!
Once the baskets are in place you'd never know the braces are there.
I love how this custom little bathroom shelf unit came out!
Blessings,
Lori
You can check out the entire Guest Bath Remodel. Click the links below.
Framing The Guest Bath
Guest Bath Progress
Guest Bath Before & After
Guest Bath Details
DIY Floating Shelves







No comments
Post a Comment
Comments are awesome! Let me know what you think!