*This post contains some Amazon affiliate links. As an Amazon Influencer, I earn from qualifying purchases. Please see my full Disclosure Statement.
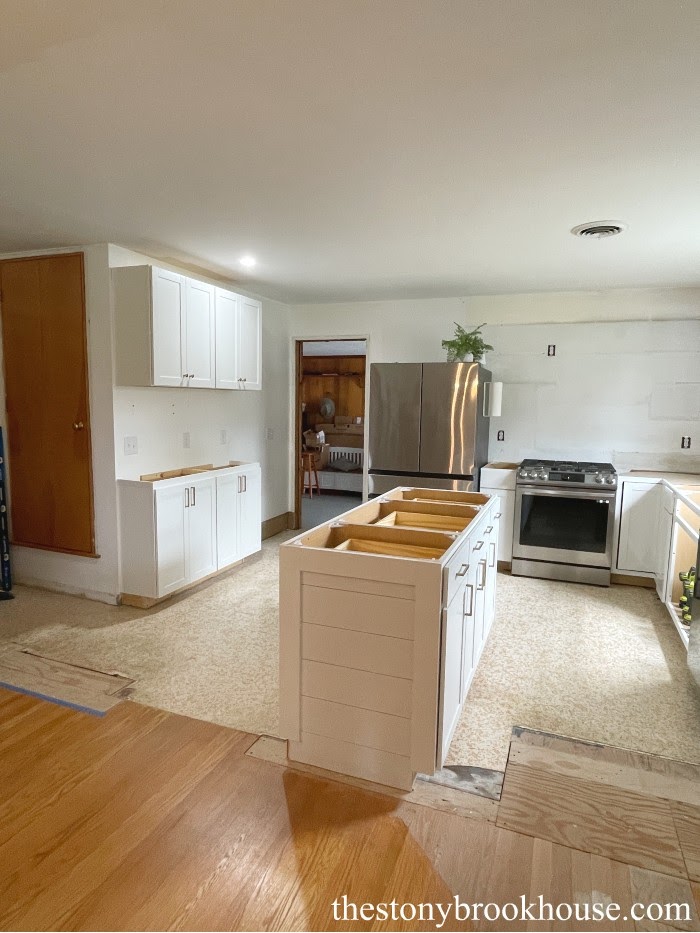
This was such a great project! Before we even started our kitchen remodel, we knew we wanted an island. Once the wall was demoed, we did a bunch of configurations to see where and how big we could go. We wanted to maximize the space we had.
There are a lot of things to consider and I explained it all in, Kitchen Cabinets Going In.
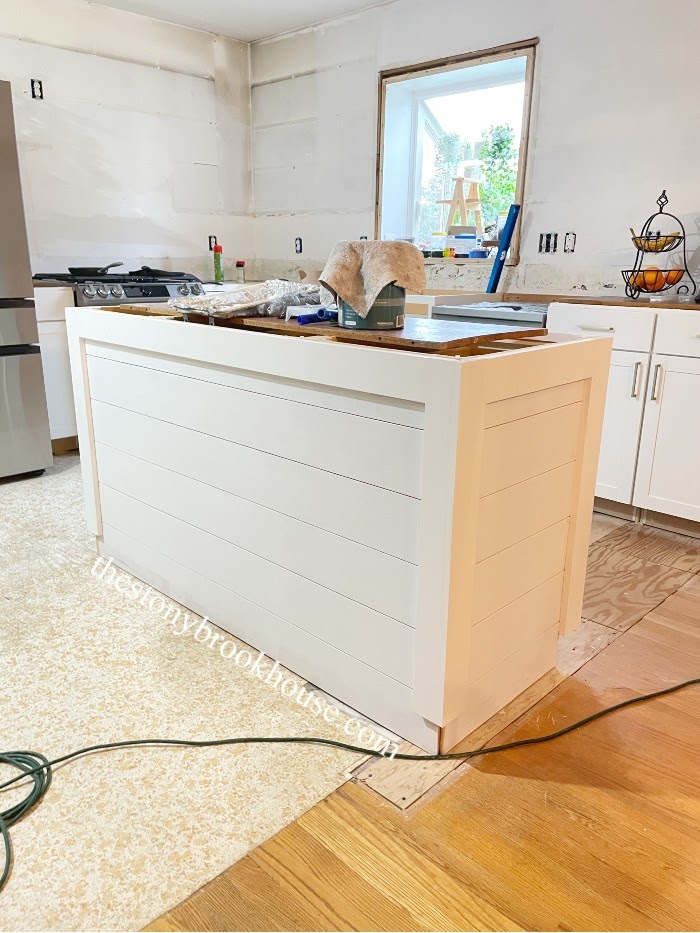
For our island, we basically attached 3 base cabinets together, two 18" base cabinets and one 27" base cabinet. Then in order to dress is up and finish off the raw side, we decided to do a shiplap detail.
I couldn't just add shiplap to the back, at least not the kind we do. We use sheets of underlayment, cut into 5 7/8" strips. We've done this shiplap treatment in many other projects!
It's definitely a cheaper route to the traditional tongue and groove shiplap. We love it! And we have plans to do this in the living room, master bedroom... and more!
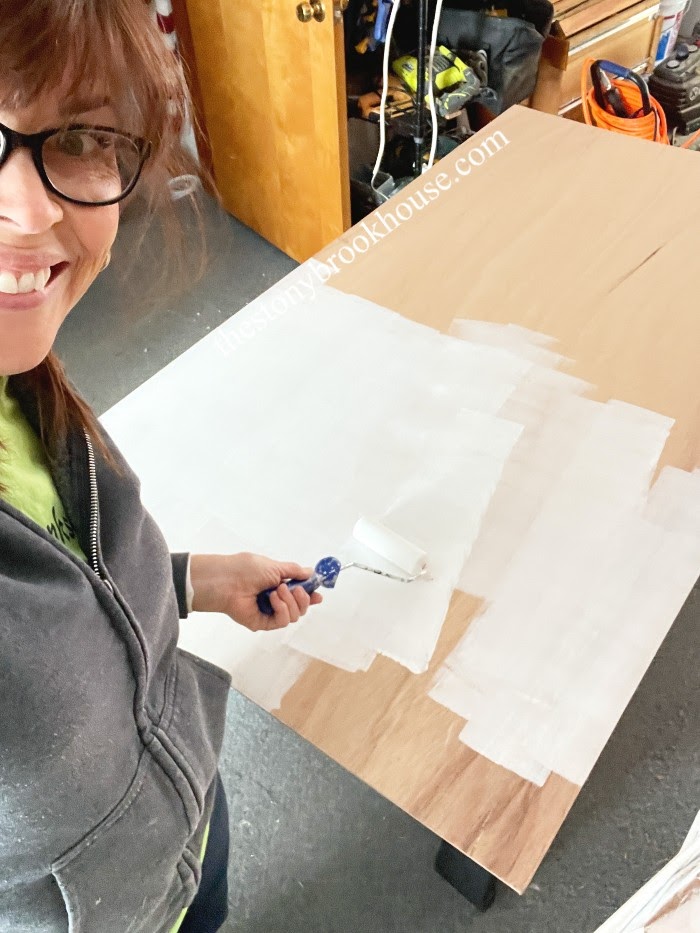
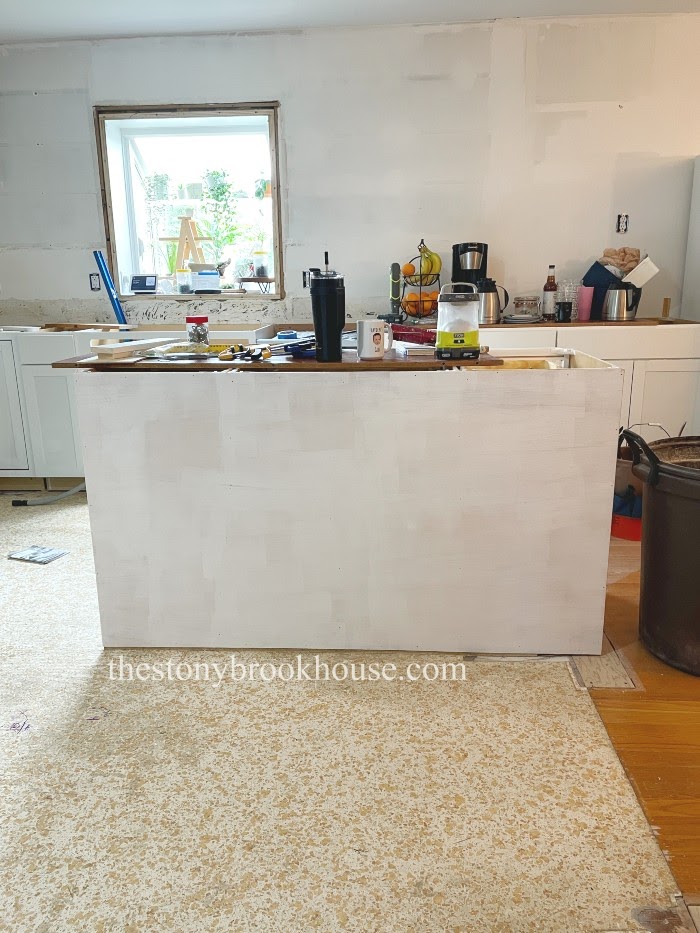
Anyhooo, back to the island.... We used a full sheet of underlayment cut to the size of the back of our island. Primed, glued and nailed to the back of the cabinets.
Now we are ready to shiplap! This is the fun part!!
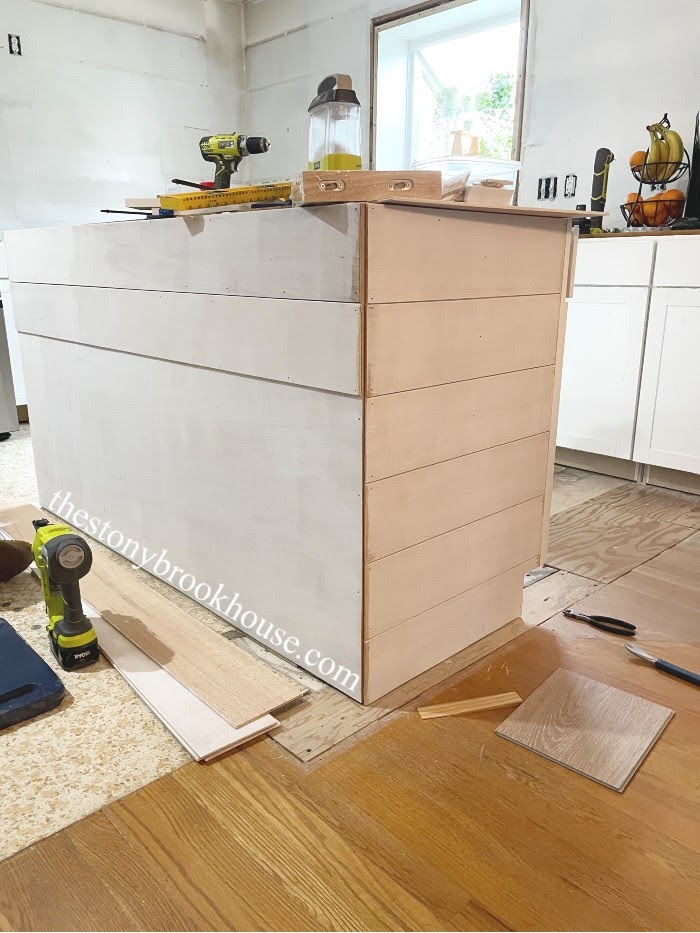
I cut all the pieces to size and primed them. Then it's just a matter of gluing and nailing them in place.
It's a pretty easy process. I use nickels as my spacer between the boards.
Now it's time to add trim. This way all the edges are covered. It will make the whole island look finished and complete.
In the next photo, we were trying to figure out the trim before we even got started with the shiplap. It's all a part of the process. Did we want 1x3? or a 1x4? or 1x6? It helps to tape them up to get an idea.
If you look at the front side edge of the cabinet, you will see a tiny lip on the side from the front face of the cabinets. The shiplap is almost exactly the same thickness, which worked out perfect! Our trim will completely cover that lip!
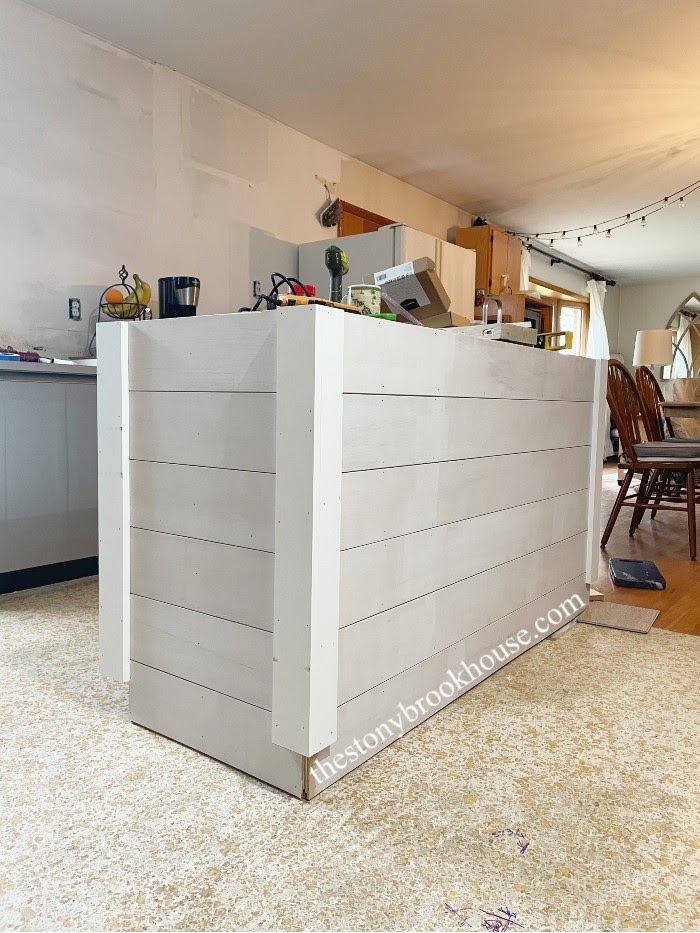
Here Hubby is adding the trim to the corners for a seamless look. We aren't adding the bottom trim where it meets the floor, because our flooring isn't going in quite yet. So, we used a piece of flooring plus the 1x4 and that gave us the length for our trim pieces.
I'm just loving this! It really adds a lot of character to the island.
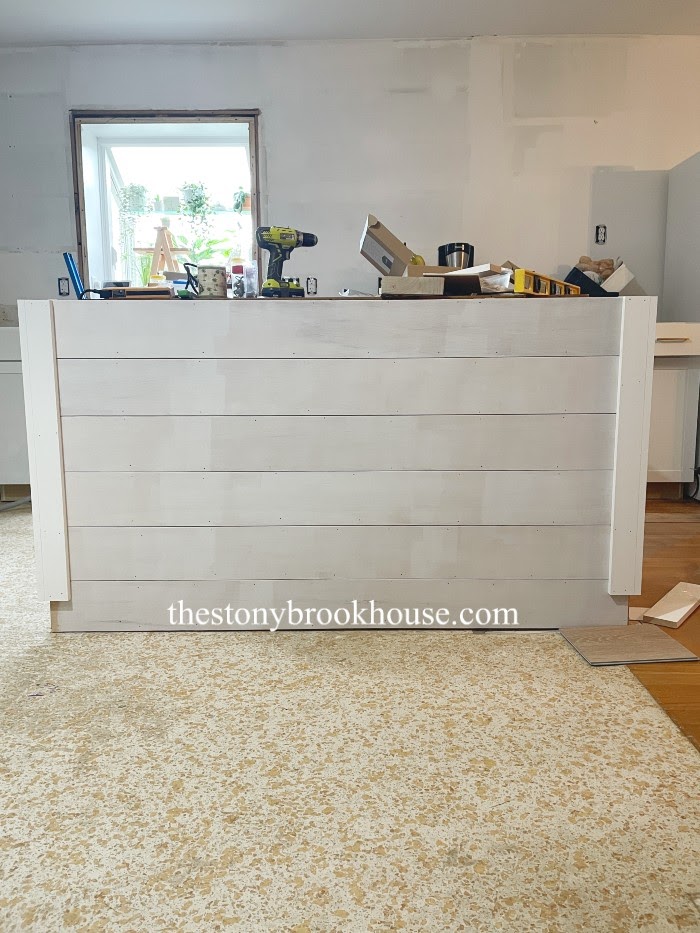
Once the pieces were all added. It's time for wood filler. This makes it all the trim look like one piece. I also needed to fill all the nail holes.
All that's left is to sand and paint. Omg! Doesn't it look great!?!?
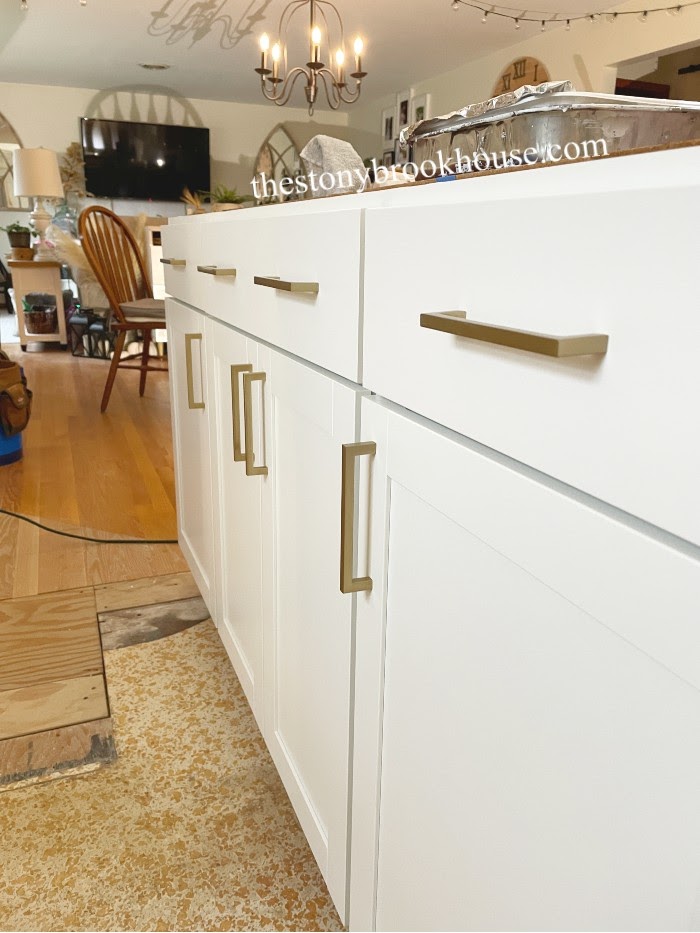
Then it was time to add some hardware. I'm really happy with the gold pulls we chose from Amazon.
Now, we are ready for countertops!!! Oh! The beauty I picked out!!
I can't wait to show you the countertops!! Stay tuned!!
Blessings,
Lori
Here's all the start to finish progress we've made in the kitchen!
1960 Kitchen Remodel Plans
Kitchen Cabinets Going In
More Kitchen Demo
Kitchen Update - Ceiling Paint
Building A Shiplap Island
Why I Chose Quartz Counters
Where To Put the Microwave?
Building A Stove Hood
Fridge Enclosure
Kitchen Tile Backsplash
Bakeware Organizer
How We Built All These Drawers
Installing Open Shelves On Tile Walls
Installing LED Undercabinet Lights - No Soldering


.png)






Good job
ReplyDeleteThanks
Thank you! We love it!!
DeleteThis comment has been removed by a blog administrator.
ReplyDelete