*This post contains some Amazon affiliate links. As an Amazon Influencer, I earn from qualifying purchases. Please see my full Disclosure Statement.
This is the last post on the kitchen remodel. Although, I will probably do one more with all the projects in one post for reference. Whew! It's been a long ride!
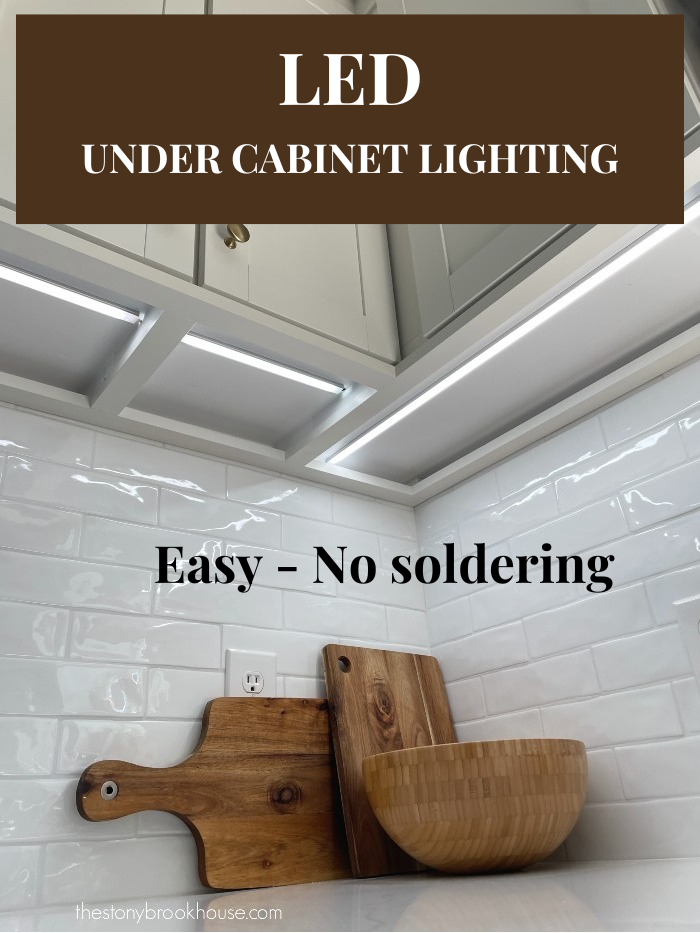
But these little details took this kitchen to the next level! If you don't have under cabinet lighting, you are missing out!! It is a game changer!
Hubby and I did our fair share of research when it came to under cabinet lighting. We both wanted something LED, sleek in design and easy to turn off and on. This is what we chose and a list of all the additional pieces needed to complete the under cabinet lighting.
1. BTF- COB Flexible 10mm LED Light Strip
2. BTF - Lighting 5in1 WiFi LED Controller
3. 24V 3A DC Power Supply Adapter
4. BTF - Lighting 32.8ft 2 Pin 20AWG LED Strip Cable Wire Red/Black
5. BTF - Lighting FCOB 10mm Connector Kit
6. Muzata 6-Pack U Shape LED Aluminum Channel System w/Cover
This may all look a little complicated, but it really is pretty straight forward. I'll go over the list of items we purchased.
1. The LED light strip. These are the actual lights that come in a roll. They are cut-able at certain points in the strip.
2. We wanted our lights to be voice activated with our Google Home. This a WiFi controller. It is also compatible with Alexa.
3. You need a power supply that plugs into an outlet for power to the lights.
4. This is the wire that runs through the cabinets to connect all the lights together. We even ran some wire up into the attic for some cabinets.
5. These connector clips eliminate soldering. They connect the light strip to the wire.
6. The channel system makes it all look seamless and sleek. It is an aluminum channel with a white plastic cover. They are cut to size and super easy to use.
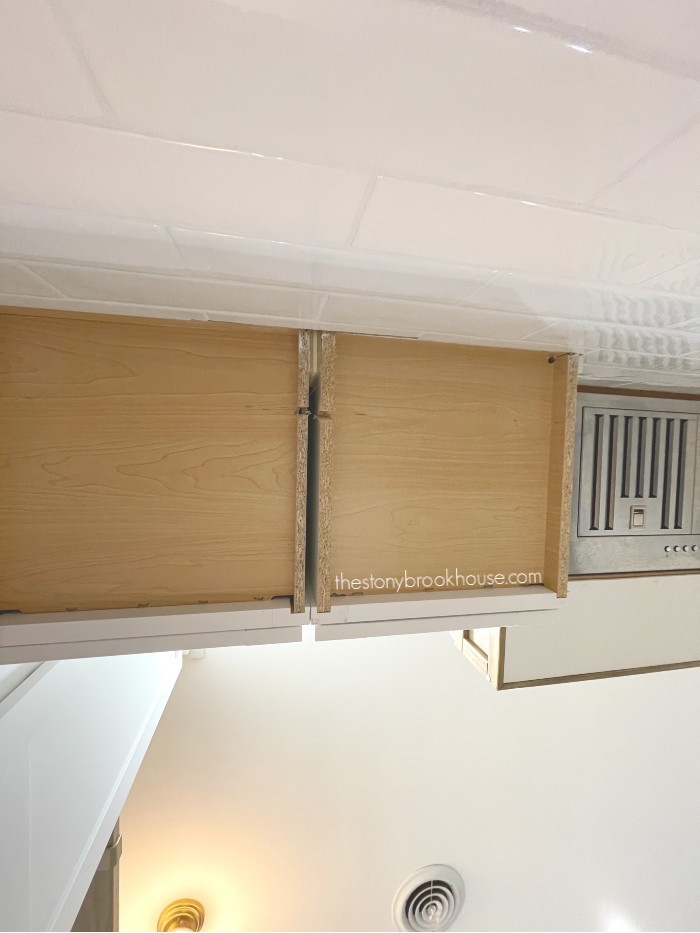
First, I needed to tackle the underside of the cabinets. This is what the standard cabinets from Lowes look like underneath. This really bothered me. It looks raw, unfinished and just plain ugly! So here's how I fixed it.
I purchased a roll of white contact paper. Yes, contact paper! You can find it at Walmart, Dollar Tree or Amazon. I linked it here for you.
I measured and cut pieces and smoothed them on.
Yes, I had to lay on the counters to do it, but it looks soooo much better!!
I even put a strip along the inside lip where needed and wrapped it over the raw edge. I probably didn't need to wrap the raw edge since I plan to put a piece of trim there, but I did anyways.
Once this part was finished, Hubby started the under cabinet lights. He planned how the lights were going to run. Where to hide the power supply and wifi controller. We put them in the back of a cabinet, where we had an outlet for the microwave.
You will need to set up the wifi controller with your system, whether Google Home or Alexa. There are directions included with the wifi controller.
Then he drilled holes in the cabinets for the wires to run. Most of the wires are in the back of the cabinets and aren't in the way. This next photo, they happen to be near the front. (Don't worry that the wires are different colors. We chose the red wire to always be the positive voltage.)
Once the wires were all run and fished through to where the lights were going to be it was time to start installing the LED strip lights.
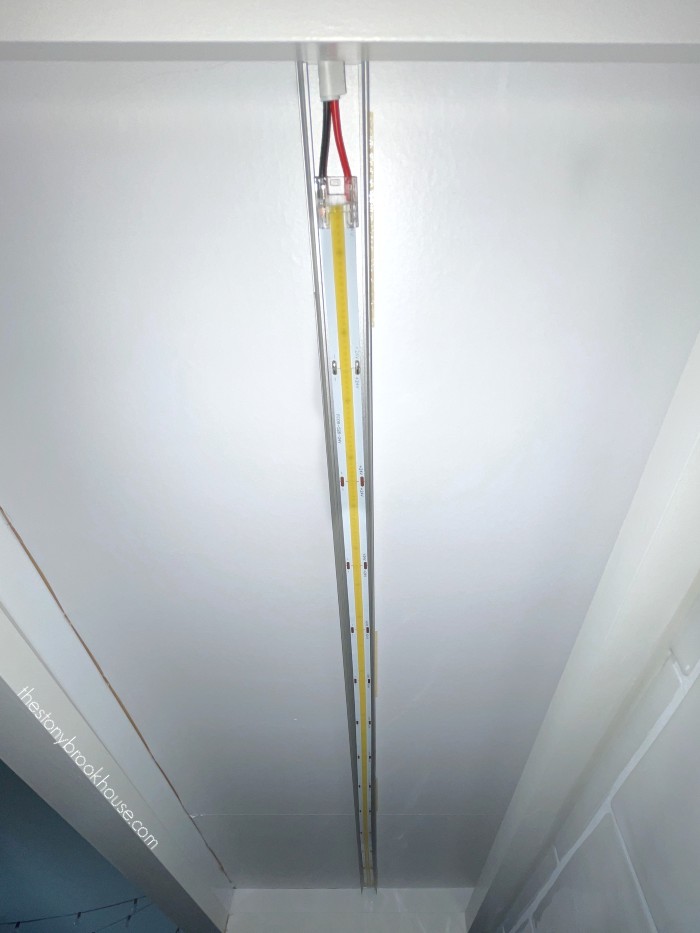
First, he cut the aluminum channels to size and installed them.
We used the double sided stickers that came with the channels to install them. Super easy! Then once the LED light strips are cut. (The directions show you where to cut them. There are specific points they have to be cut at.) Then you can peel off the film on the back and stick them inside the channel. They fit perfect!
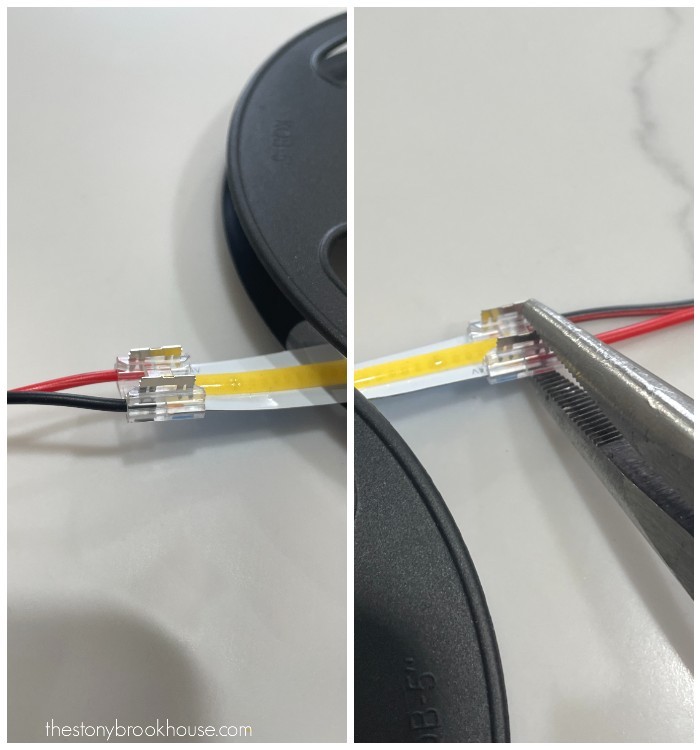
Then it's a matter of connecting to the wire. The little connectors are pretty easy to use. You'll have to pull the LED light strip down a bit to feed the wires in. Make sure you match the colors correctly. Then squeeze the connector clips with needle nose pliers. What makes these connector clips so great is that they connect directly to the light strip, therefore no soldering!!
When you squeeze the metal part of the connector clip it pierces the wire and the LED strip making it a continuous connection.
Next test them out. At first ours didn't work. One of the wires got mixed up. Once that was fixed, we noticed that at one point the lights started flickering. Ugh!! Then Hubby found a connector he didn't squeeze hard enough. After that, they've worked beautifully!!
What I love about using the Google Home, is I can set the kitchen lights from 10% brightness or 100%! They are a great for ambience lighting or work lighting while cooking.
Once all is working properly, then you snap in the channel covers and it's done!
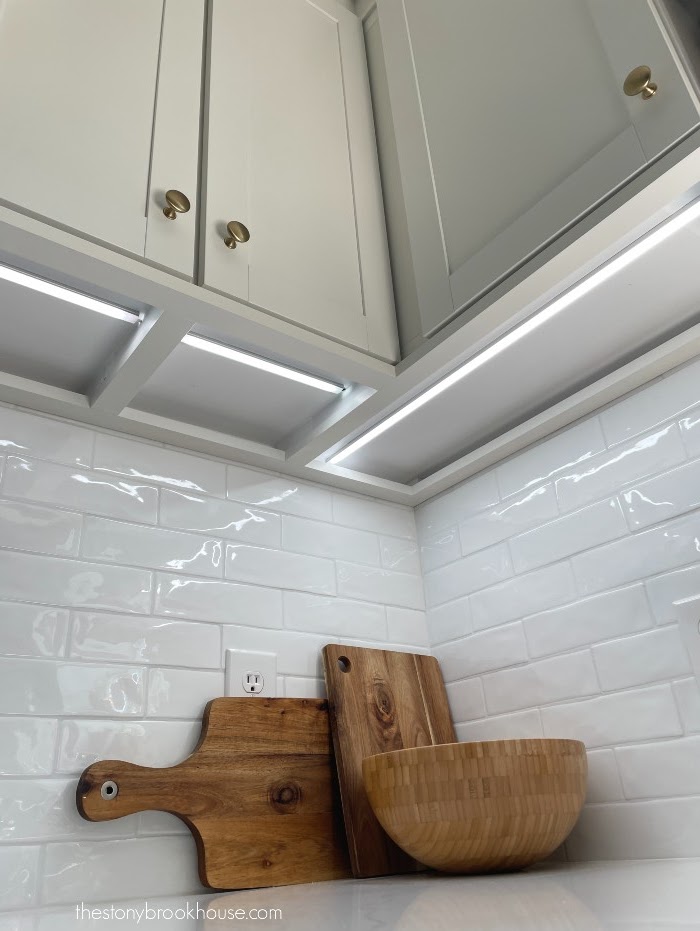
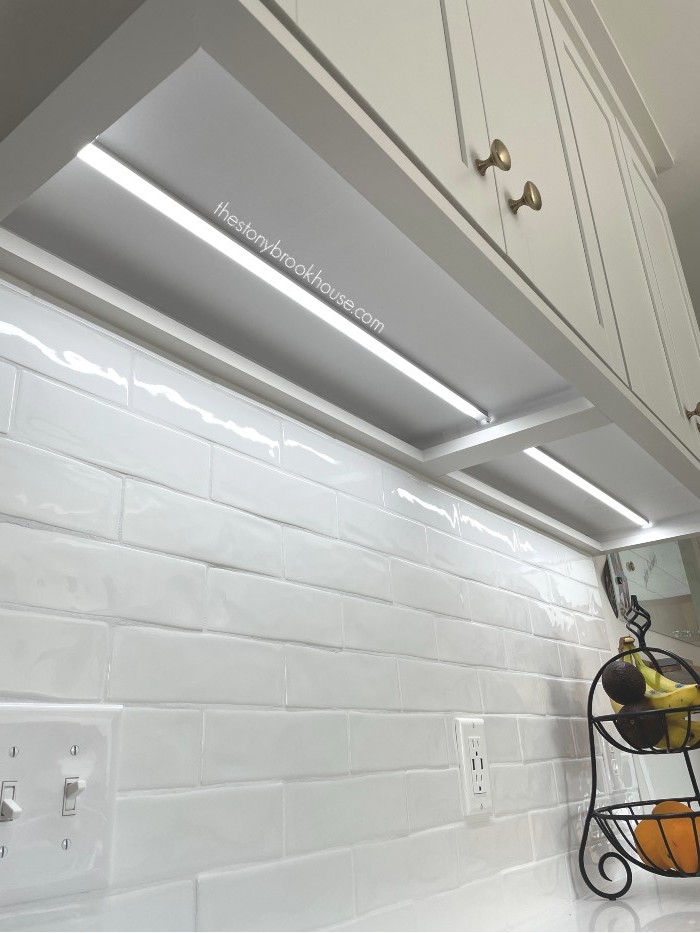
At the buffet cabinet we chose to put the LED light strips in the center of the cabinet. The cabinets over the regular counters we chose to put them more towards the front of the cabinet.
We weren't sure if we wanted to add a light strip under the open shelves, but we are sooo glad we did! This was a custom job.... hubby routed out a channel in the bottom of the shelf, added the aluminum channel and lights. Then hid the wires with the shelf brackets to the wall. Then I covered the tiny bit of wire at the back with white contact paper. You'd never know it was even there!
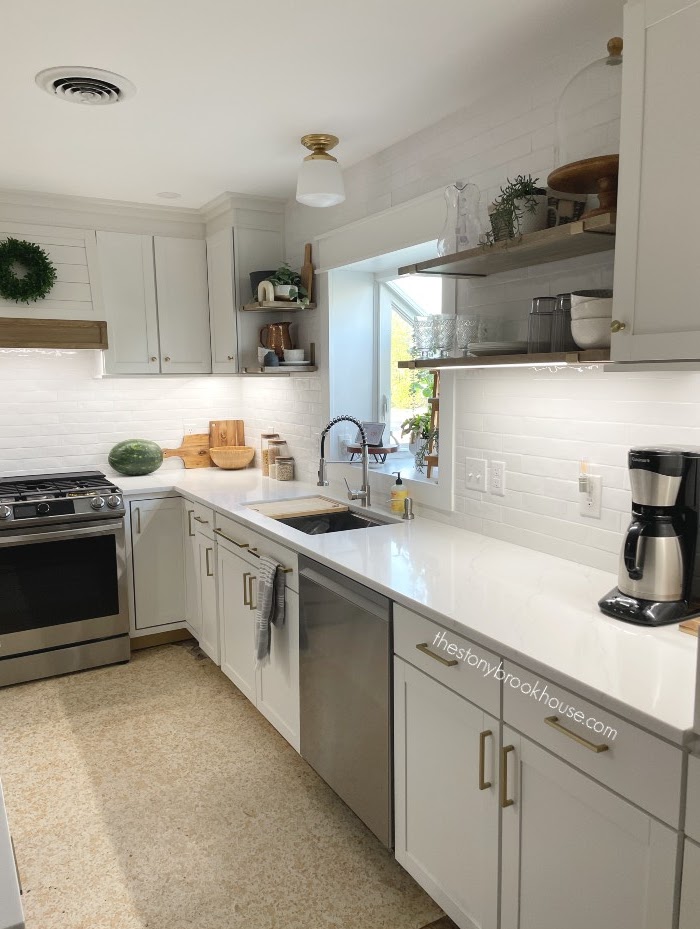
I am still amazed at the difference under cabinet lighting makes! Here is a photo comparison during the day. The task lighting it gives is impressive.
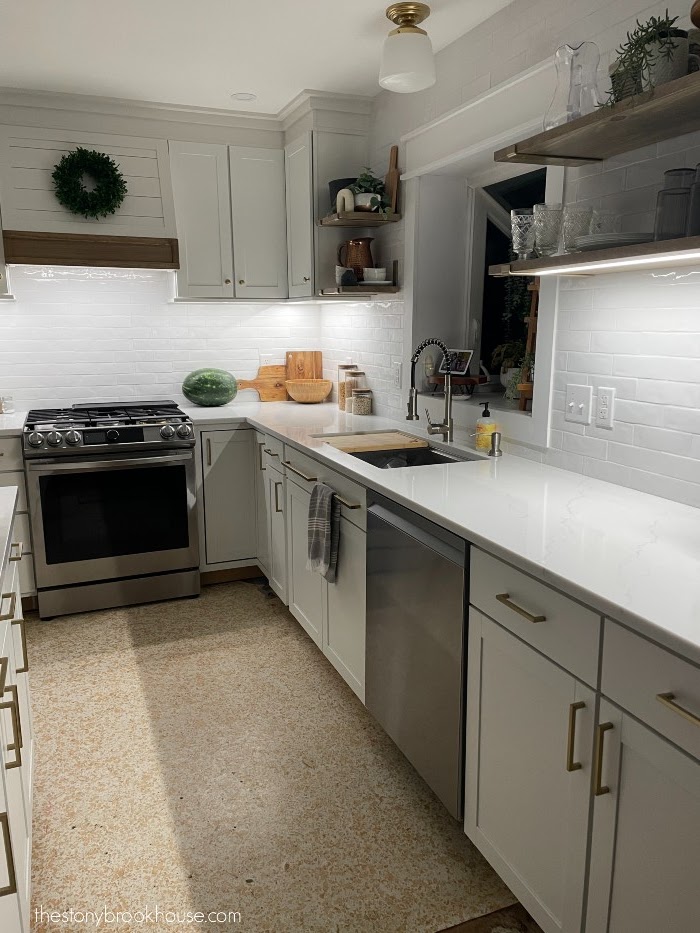
I'm even more impressed with the amount of light during the evening.
That's with no other lights on. When we turn the overhead lights on its even brighter, which I love when I'm working in the kitchen. Then when I'm done, I can turn the under cabinet lights to 10% and it's a lovely glow in the evening.
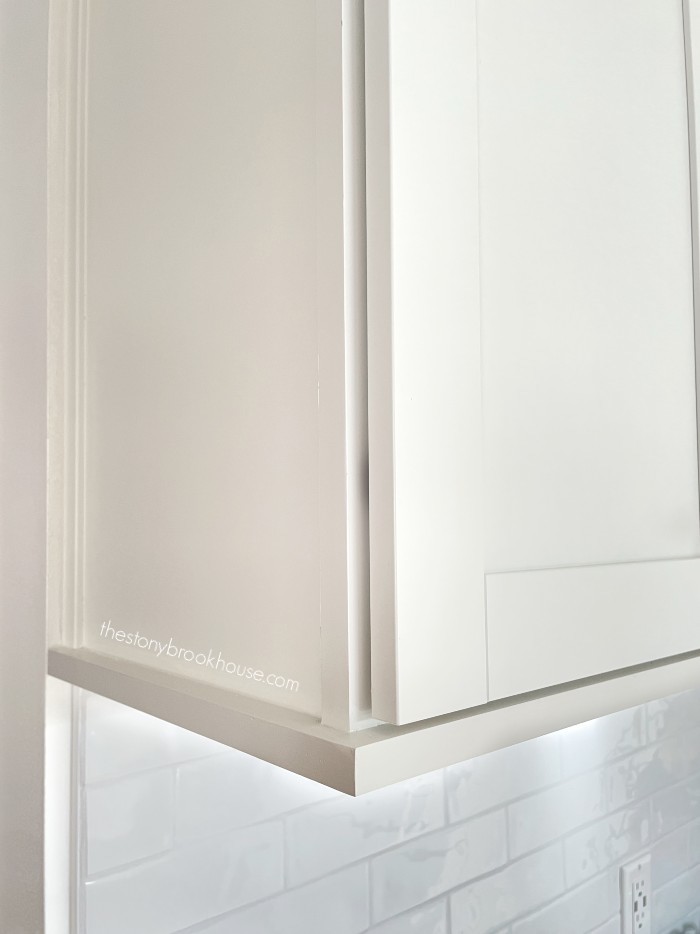
Now let's talk about the trim we added. Was it necessary? No. But neither was under cabinet lighting.
However, for me it was like adding jewelry to an outfit. I absolutely love the finished detail it gives.
Was it difficult? Not too much, just a lot of measuring and fitting. Making sure the corners had a nice 45 degree fit. I pre-painted all of the pieces and put them up with our nail gun.
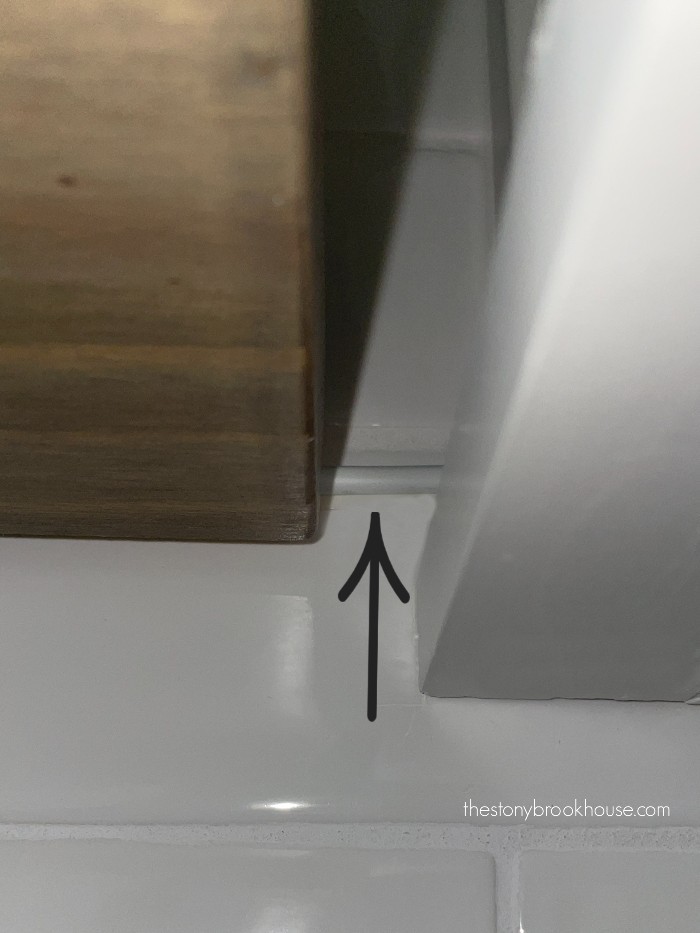
When I sit at the dining table, I can see underneath the cabinets. I couldn't stand looking at that raw edge. This view is soooo much better!!
Blessings,
Lori
Here's links to all of our Kitchen Remodel!
1960 Kitchen Remodel Plans
Kitchen Cabinets Going In
More Kitchen Demo
Kitchen Update - Ceiling Paint
Building A Shiplap Island
Why I Chose Quartz Counters
Where To Put the Microwave?
Building A Stove Hood
Fridge Enclosure
Kitchen Tile Backsplash
Bakeware Organizer
How We Built All These Drawers
Installing Open Shelves On Tile Walls









Oh Lori! Bless you and your sweet, patient husband for this post! We put in Lowe’s cabinets a couple years ago and I love them! But…..I hate the undersides! Painting just looks like lipstick on a pig….what to do?! Trim! I couldn’t wrap my pea brain in what I wanted…but then you did it! It’s exactly what I’m wanting! Not sure I’d do the contact paper. I’m not sure how that would hold up over time here in our humid state (TN) so I will just paint and trim them out. And possibly add lights!
ReplyDeleteAwwww! Thank you! Yes, the undersides are awful! The trim really makes them look custom. The contact paper has held up here with no issues. Good luck!
DeleteDo you only rely on WIFI control, or do you have a physical switch as well?
ReplyDeleteWe chose WIFI control only. No physical switch. We could change it if we wanted.
DeleteHi, what color/warmth of lights did you go with? 3000k?
ReplyDeleteWe went with the cool white 6000K. We love to mix warm light and cool lights in our home. :)
Delete