*This post contains some affiliate links. Please see my full Disclosure Statement.
4 Simple Steps To Paint Door Hardware.
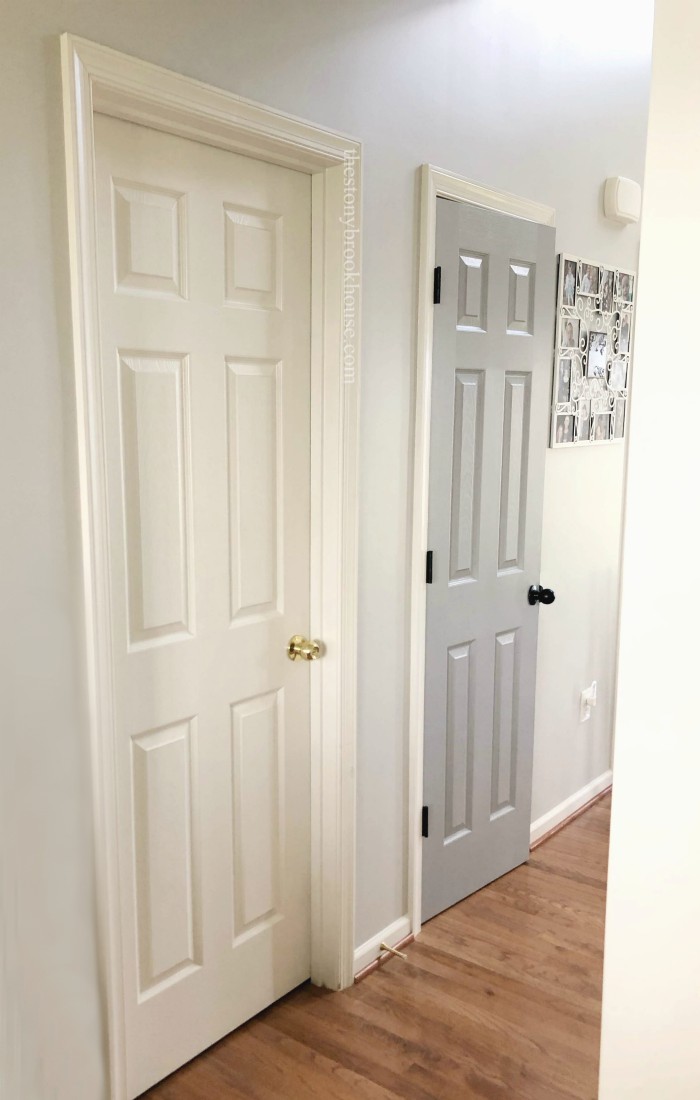
Right now, I'm in the process of painting all the interior doors in our home. The change is crazy good! You can check out my 5 Best Tips For Painting Interior Doors. Here's a great before and after.Sure, I could've just replaced the door knobs and hinges, but that would have run me about $30.00 per door. Ummm.... I have 8 doors just on the first floor and 13 doors on the second floor. That's would run me about $630.00. Or.... I could buy spray paint at $4 a can.
Kind of a no brainer for me. Plus it's super easy! Trust me!
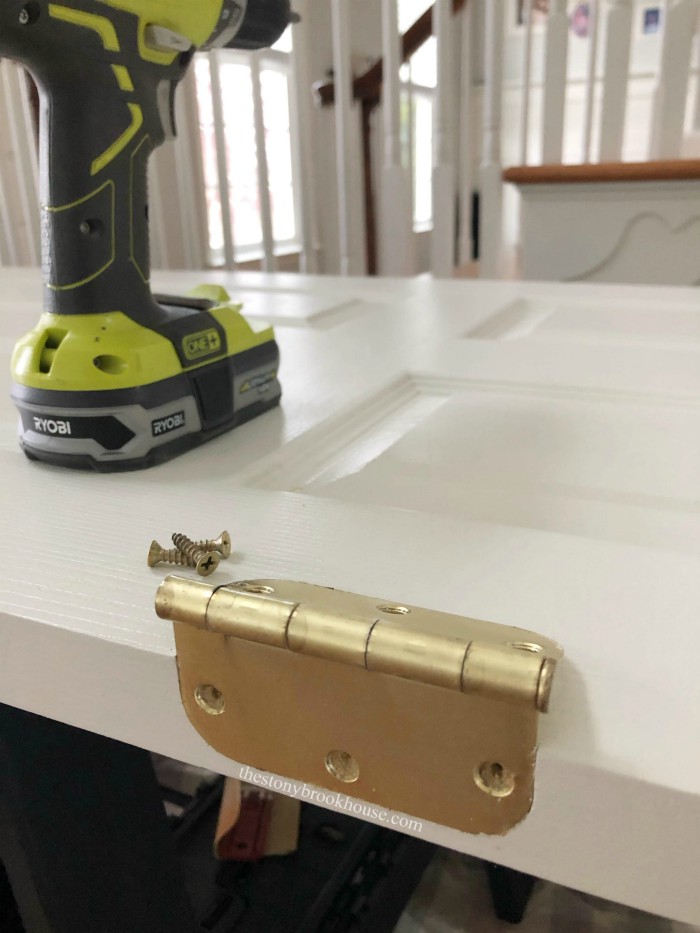
Now, let's go over the 4 Simple Steps.... Of course, you need to remove all of the hardware.
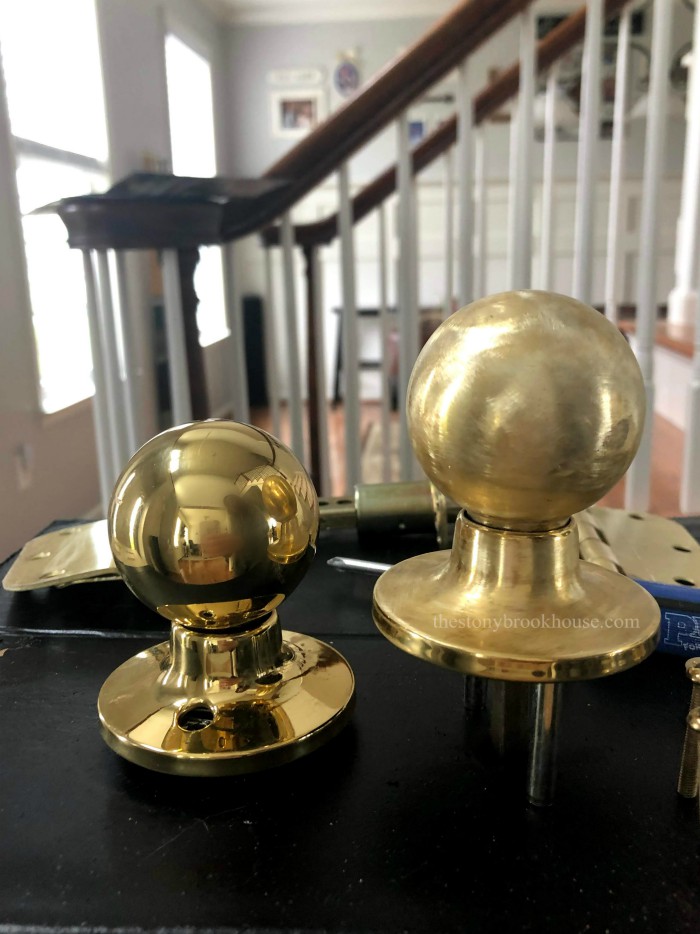
1. Sand - Take the time to sand the door knobs and the strike plate (that little piece that will get hit by the door latch). These pieces will get the most use. I used 220 grit sandpaper. The goal is to rough up the glossy finish so that the paint will adhere to the knob. Here is one sanded and one not sanded. I didn't sand the door hinges, I just don't think it's necessary.
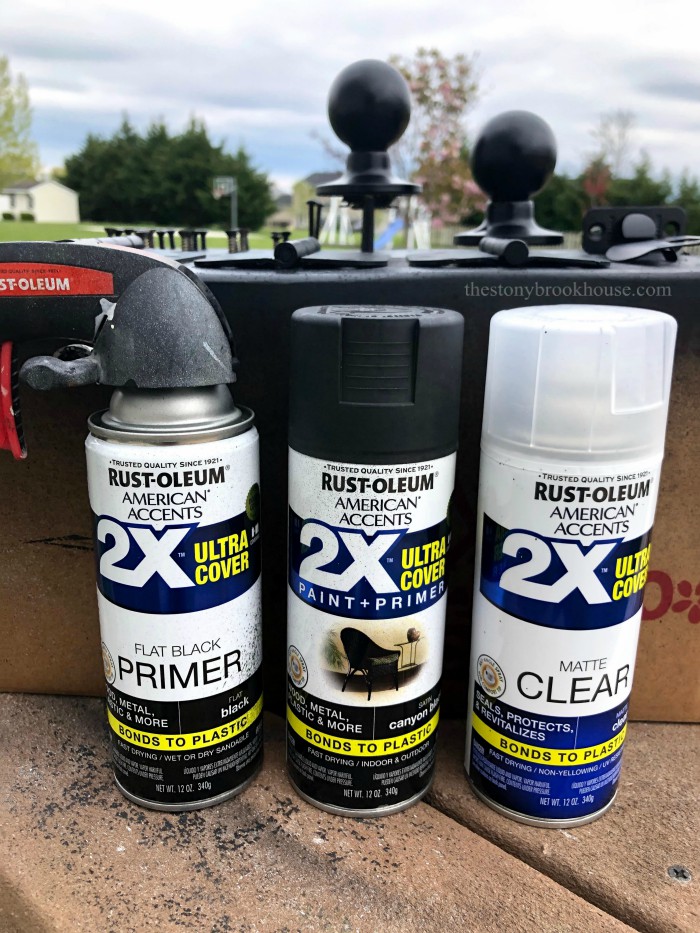
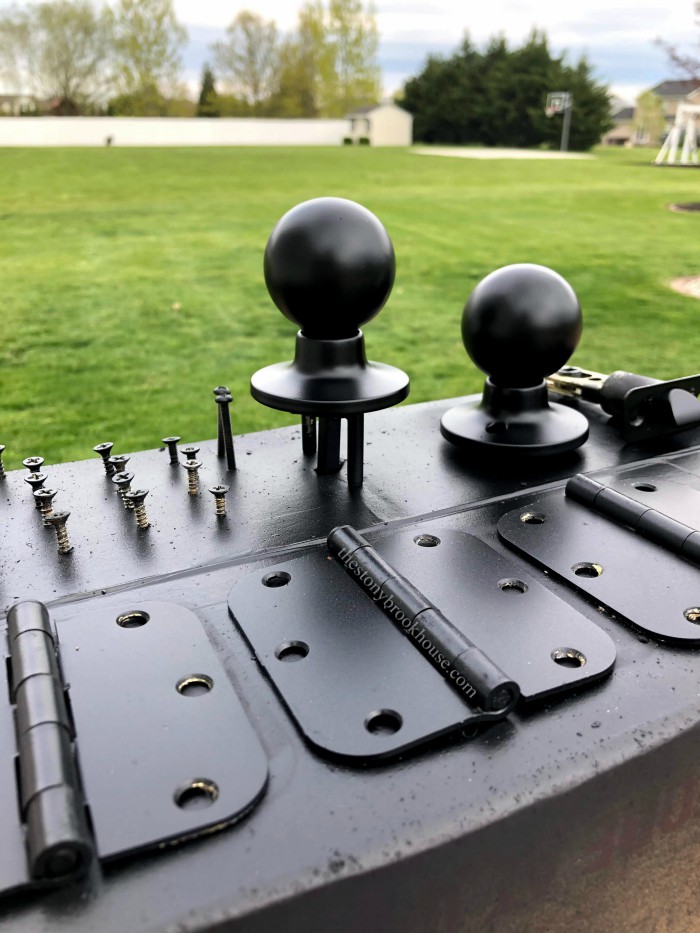
2. Prime - I feel this is the most important step. Priming helps the paint 'stick' better. Even though the paint I'm going to use has a primer in it, I still prime. Prime all the hardware, even the screws. My favorite primer, Rust-Oleum 2X Ultra Cover.
3. Paint - My favorite spray paint is... you guessed it, Rust-Oleum 2X Ultra Cover. This stuff is the bomb! Seriously, it's the best. I spray painted everything with one complete coat of paint. The door knobs will get 2 coats. Like I said earlier, the door knobs are going to get the most wear and tear. You can use any sheen you like, I happen to have a lot of satin sheen, so that's what I used.
By the way, if you don't have one of those Rust-Oleum Comfort Grip Attachment... you need one! It is a game changer, no more sore fingers, and it helps to spray evenly!
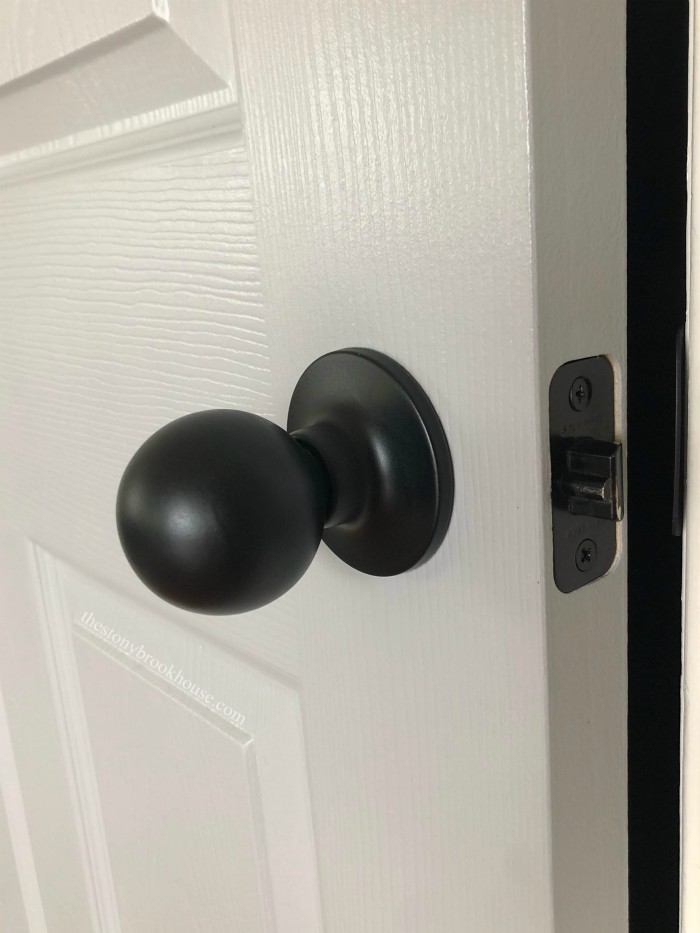
4. Seal - In order to extend the wear on the door knobs, you need to seal them. Again I use Rust-Oleum 2X Ultra Cover Clear Coat. I didn't want a super shiny finish, so I went with the matte finish.
Here's an extra tip... The order of painting the hardware.
One coat of primer on everything, let dry.
Next, one coat of paint on everything, let dry.
Then flip the hinges and strike plate over and prime them, right after that, paint the knobs with a second coat of paint. Let dry.
Next paint the hinges and strike plate, then give the knobs a clear coat. Let dry, and your done!
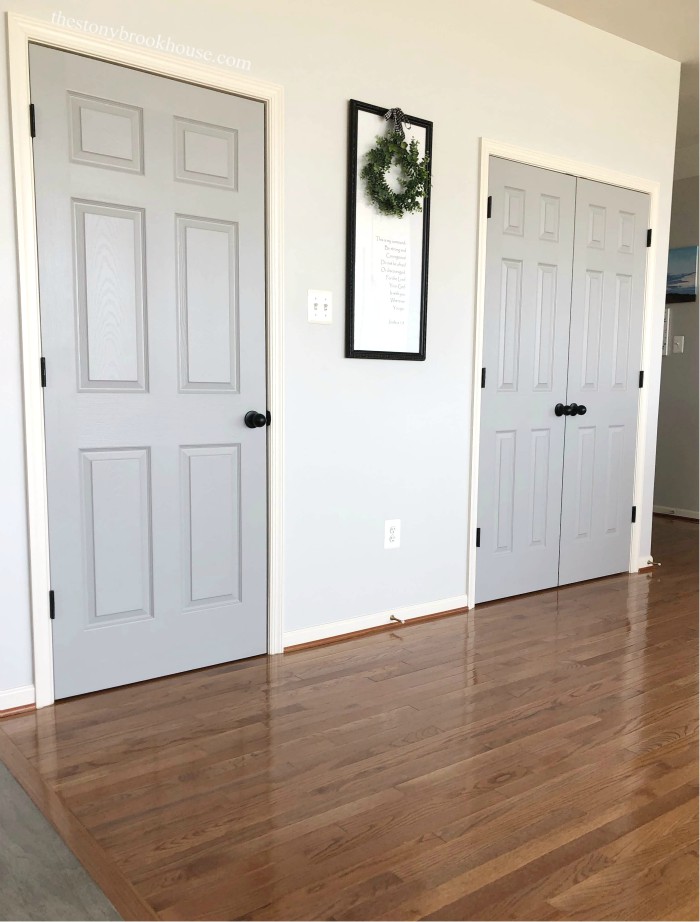
They came out so great!
It looks like I have brand new doors! We are loving them!
Blessings!





Thank you for the tutorial. This will be nice to touch up.
ReplyDeleteWhat paint did you use on the gray doors? I like it. Stephanie
Thanks so much! I pretty much only use Behr Marquee paint. This actual color is a mix of some paints at home. I started with Valspar's Metropolis and added some orange paint I had on hand to warm it up.... It's what you do when we are in quarantine.
DeleteThis comment has been removed by a blog administrator.
ReplyDelete