*This post contains some affiliate links. Please see my full Disclosure Statement.
Right now, I just don't have the time nor want to take the time to deal with real flowers. I don't want to deadhead, or water, or worry about them when we travel. I want something pretty that has no maintenance at all!
I have fallen in love with faux plants, in fact, I have them scattered throughout my home. Click on over to Faux Plants For Summer, to see how I decorate with them.
This project is simple. You can use any planter. You might want one that has some weight to it, because you won't be using any dirt in this planter. It's really nice how lightweight it is. 👍 Or you could even add rocks to the bottom of a plastic planter.
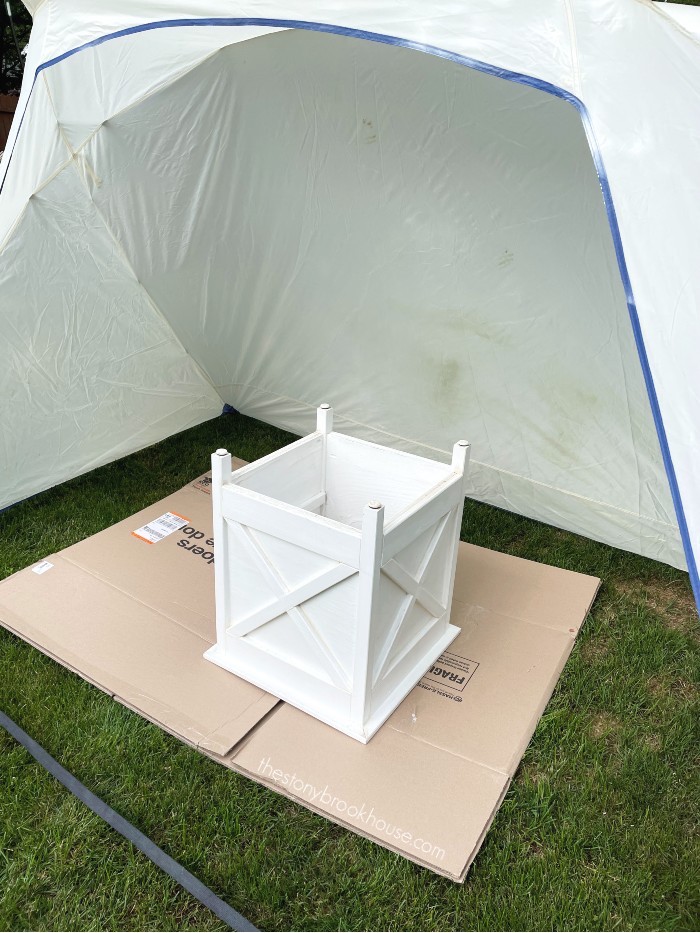
This is the planter I'm working with, they have planter inserts that I can pullout easily. I built these planters 5 years ago, How To Build Wood Planters. They've held up well, but it's time for an update.
I cleaned them and gave them a light sanding.
Eventually, we want to paint our brick home white, so I figured a dark gray would be nice. I used my favorite spray paint. Rust-Oleum 2X Ultra Cover in Dark Gray
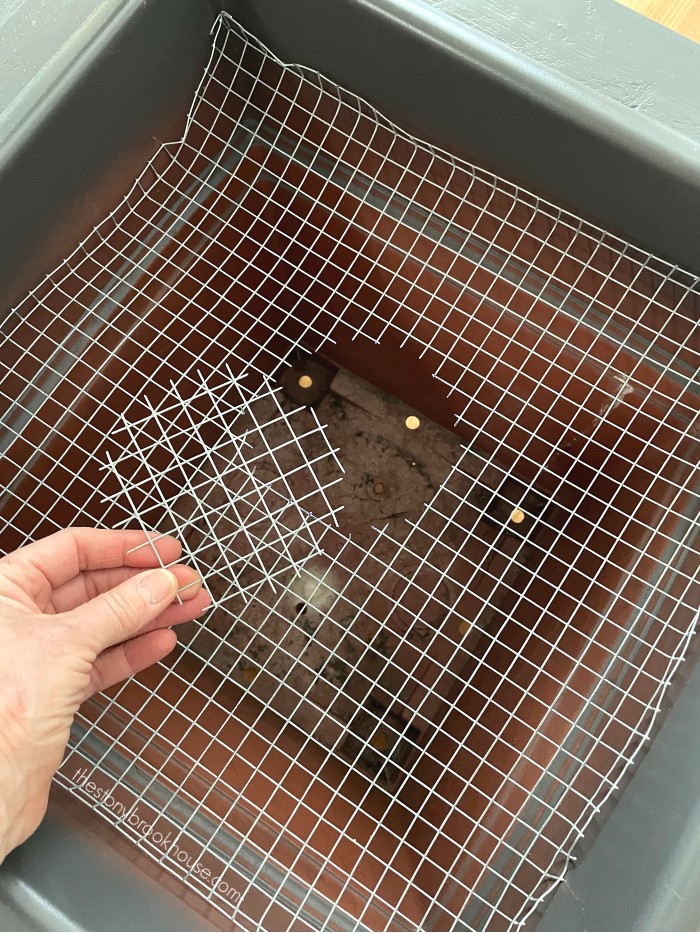
While that was drying, I also spray painted the edge of the planter insert for this wood planter. Then I found some wire mesh in the shed and cut it to fit inside the insert. (I linked it here, but you can probably find it cheaper at Lowes.)
I also drilled some more holes in the bottom of this planter insert. I don't want water to pool in there from the rain.
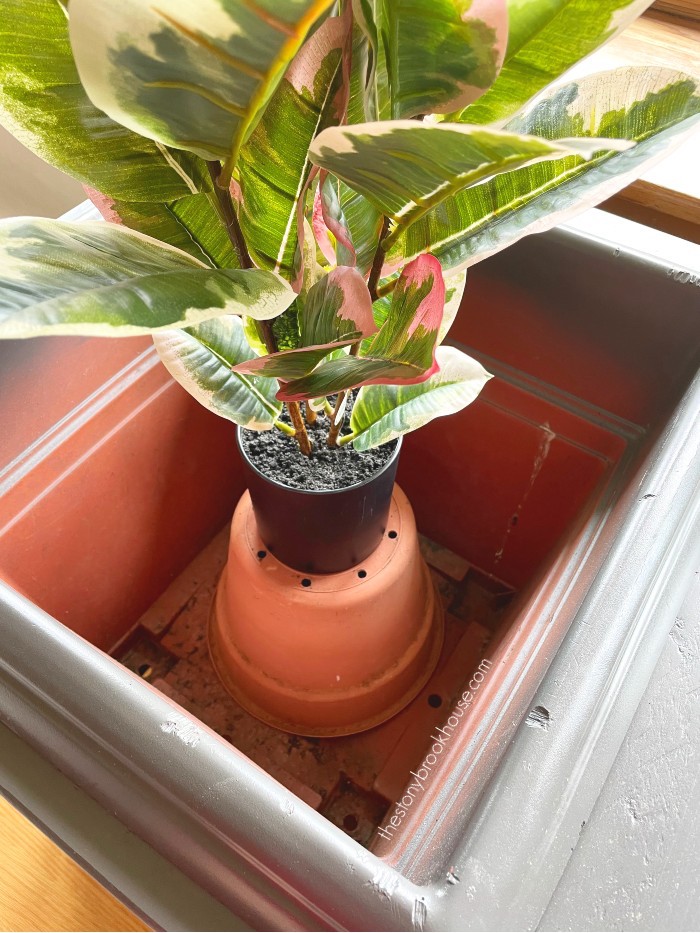
Then I place an empty plastic pot upside down and screwed it into the insert. This gave my center 'plant' enough height to stand even with the insert.
Now, I could determine how big of a hole to cut out of the center of the wire mesh for the pot to fit.
Then I screwed the wire mesh into place so that it wouldn't move around.
Now, we're ready to begin! I purchased a bunch of faux plants from Hobby Lobby, including the center faux plant. They were all 50% off. Yes, it is an investment that I believe will pay off in the end. I'm hoping these plants will last at least 2 summers. We shall see... but just the fact that I don't have to water is practically worth it in my book.
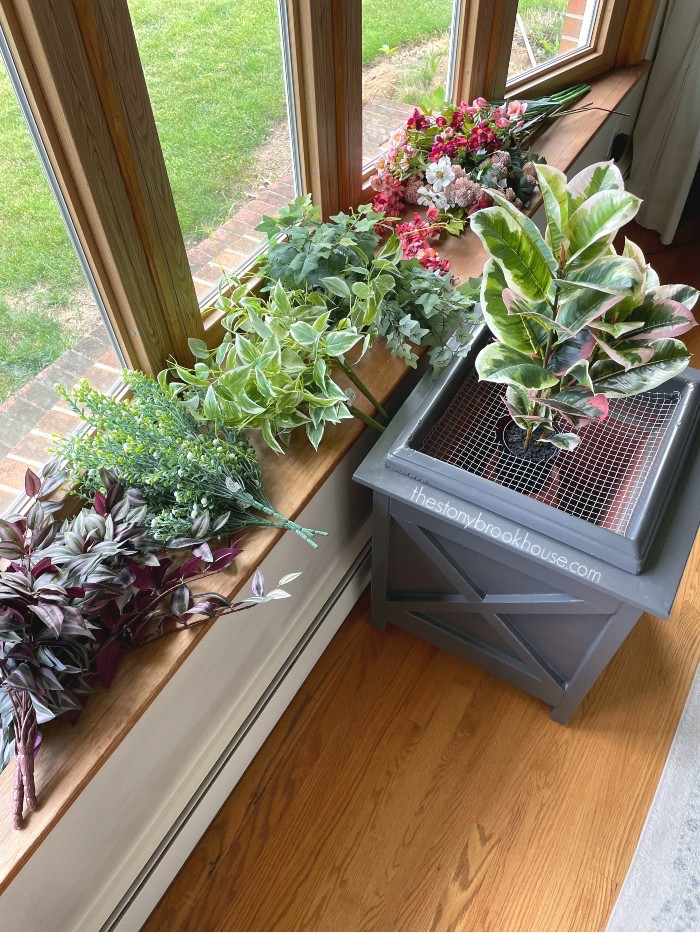
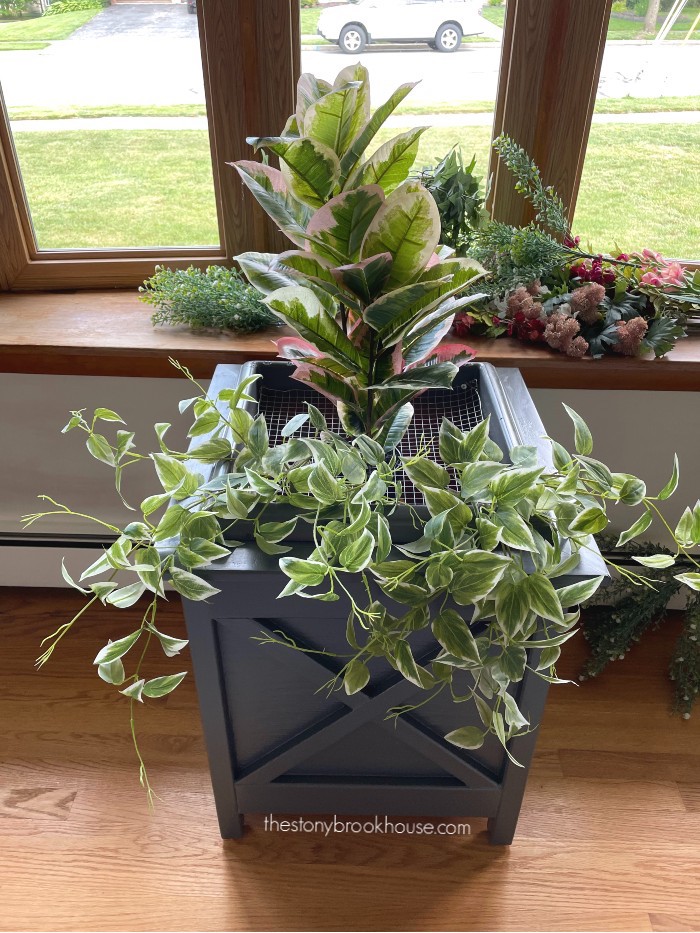
The center plant looks like a dieffenbachia to me. It gave the height I was looking for. Now, I'm just going to try different plants to see what looks best to me. What I love is that I just have to stick them in the wire mesh. No trimming or cutting. 👍
I first tried, this purply greenery. I think it would've looked better with a white planter. I didn't care for it against the dark gray.
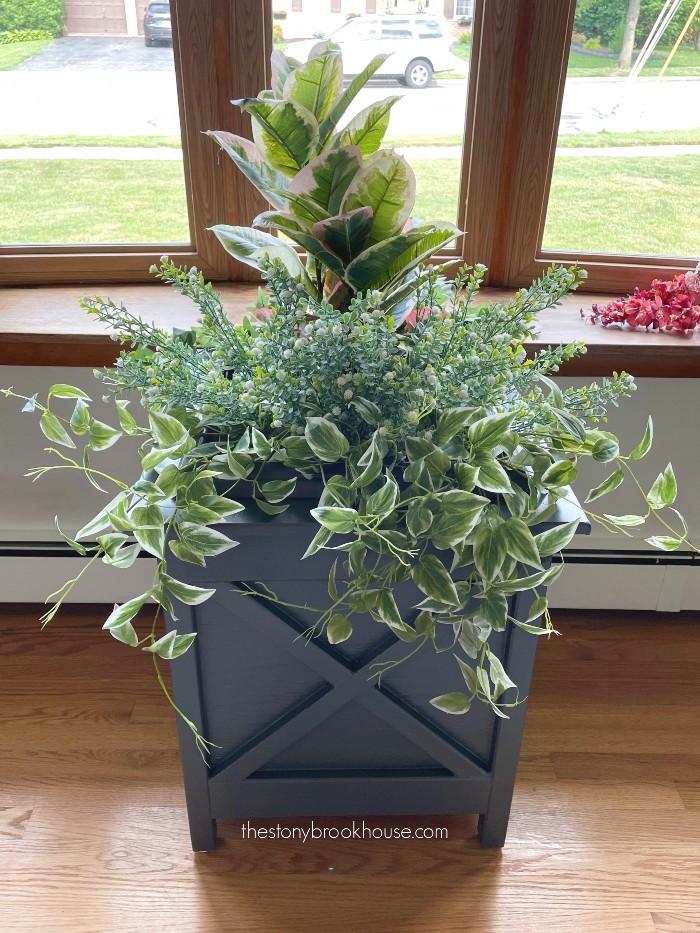
Then I tried some of the light green spilling plant. I used 2 bunches. Yes! This looks good. I love how the plant looks like it's growing.
I want you to take notice of how you can see the wire mesh. It's not as noticeable as the planter fills in, but I could still see it. I'll show you how I fixed that in a bit.
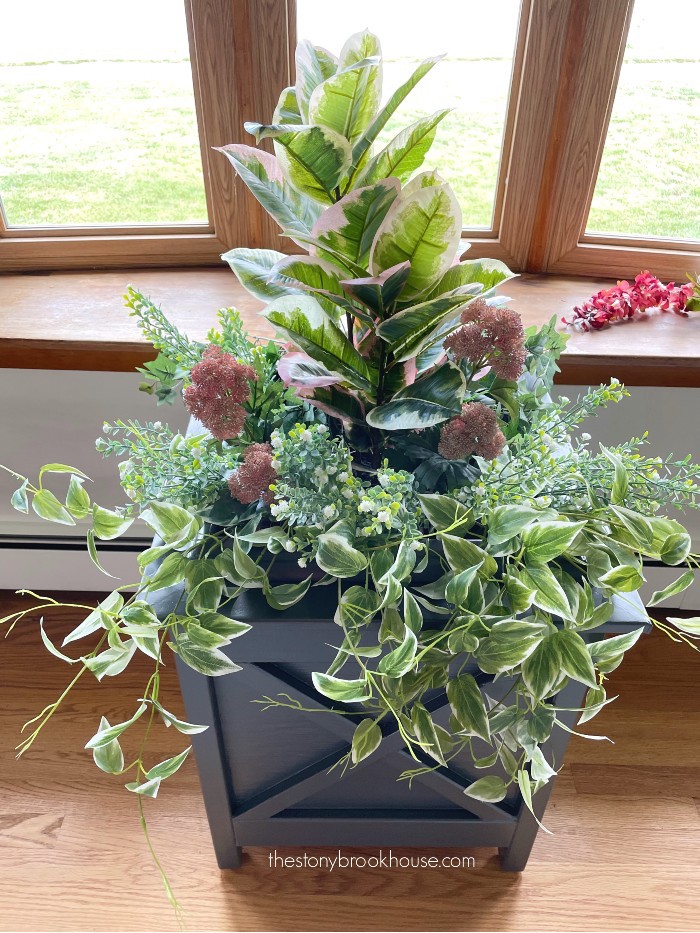
Next, I wanted to fill in the back. I used some darker green English ivy plant. I used 1 bunch and spread it out.
Then I added 3 bunches of greens with little white flowers on the ends. Whoa! It was way too much.
I took out the center bunch and spread out the other 2 bunches. That seemed much better!
Then I added some pink flowers that looked like sedum. I used 2 stems. Each stem had 2 large flower heads on them.
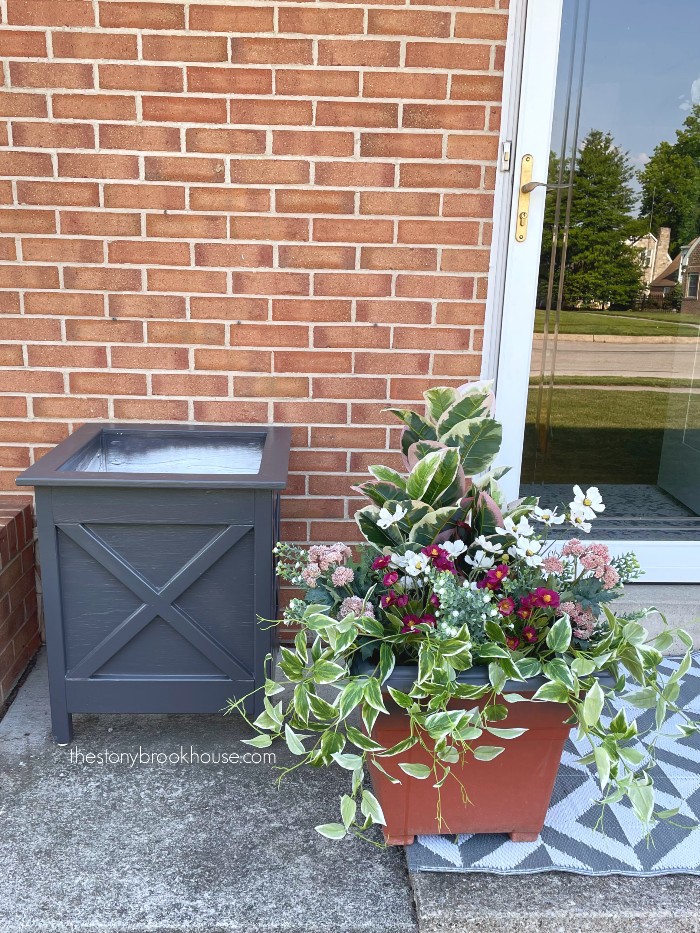
I really like this white flower I added. It seemed to be very wispy and poked out here and there. They reminded me of coreopsis. I used 3 stems.
Lastly, I added a burgundy flower. It kind of looks like a smaller coreopsis. It was pretty and I felt it gave a little pop to the planter. I used 3 stems.
My total cost for the flowers and greenery was about $68. I really don't think that was too bad, especially if I get 2 or 3 summers out of them. I'm hoping! I'll keep you posted.
Can you see the wire mesh? Yes, just barely... and probably no one would notice. But I see it, so I pulled everything out.
Then I spray painted the wire mesh with a black primer spray paint. Now it just blends into the background.
I put all the 'flowers and plants' back into the wire mesh and we're done!
I purchased a new indoor/outdoor rug for the front porch with a new mat. Oh, I can't wait til we paint the house white!!
I love how the door looks with the planter. Do you remember when I updated this front door? 1960 Front Door Makeover
I think this planter looks pretty real! I absolutely love it! Especially that I don't have to do a single thing to it all summer!!
Blessings,
Lori












I have done this for the past nine years since we retired and started to travel more. I have got three years from each arrangement. Mine are in the shade. You might get only two if they are in full sun because they do fade.
ReplyDeleteReally?! That's awesome!! Good to know, I'm really hoping for 2 years! We shall see. Thank you for sharing!
Delete