Updated 5.21.21
I am sooooo excited to share these with you!! I've only wanted to build them for years...
*This post contains some affiliate links. Please see my full Disclosure Statement.
It just seems like so many other projects and 'things' pushed this project to the back burner... But not anymore!!
I am sooo happy with how they turned out and that they are finished!!
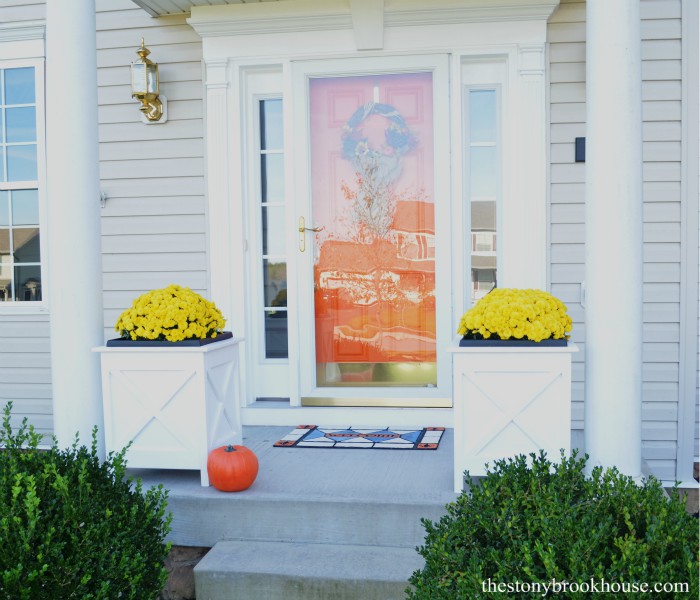
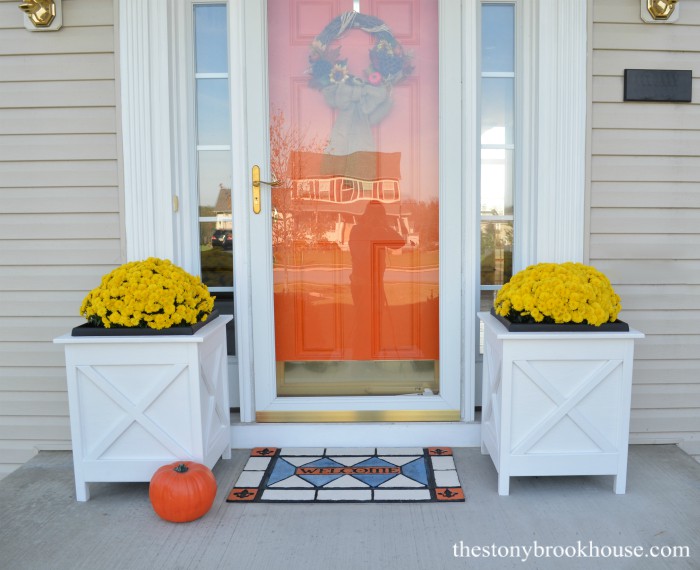
We built these planters with some very inexpensive wood from Lowes and some plywood we had on hand, which made them super cheap! 👍 Under $25 each! I have the breakdown at the end of the post.
Of course, Hubby helped with figuring out the dimensions and plans. He's so much better at that, than I am.
First, I bought the plastic planter inserts. I purchased two black medium sized planters at Lowes for $14.98 each. This was the only picture I had of them! I had them on the porch to hold my mums while we were working on the planters. This photo gives you a better picture of the size of them.
Just have to give a shout out to my hubby! I'm sooo proud of him! First of all, he always supports my hair-brained ideas and helps me with so many projects! But this guy just lost 15 lbs! Not easy to do, but eating healthier has paid off! Looking good, Babe! 😍
Back to the planters.... I didn't want the planters to be too heavy to move, and having the inserts will make it easier to change out the flowers with each season.
If you want to make your own planters, you will need the dimensions of the planter insert you will be using. We measured under the lip, the width of the planter was 16 inches, so the width of the side panels will be 16 1/4 inches to give room for the planter to fit in easily.
Do you remember the headboard from my daughter's room? Well, since she won't be returning home after graduating college, I turned her room into a guest room.
I disassembled her head board and had a huge piece of plywood to work with! Click on Headboard Fiasco, to see how we made it.
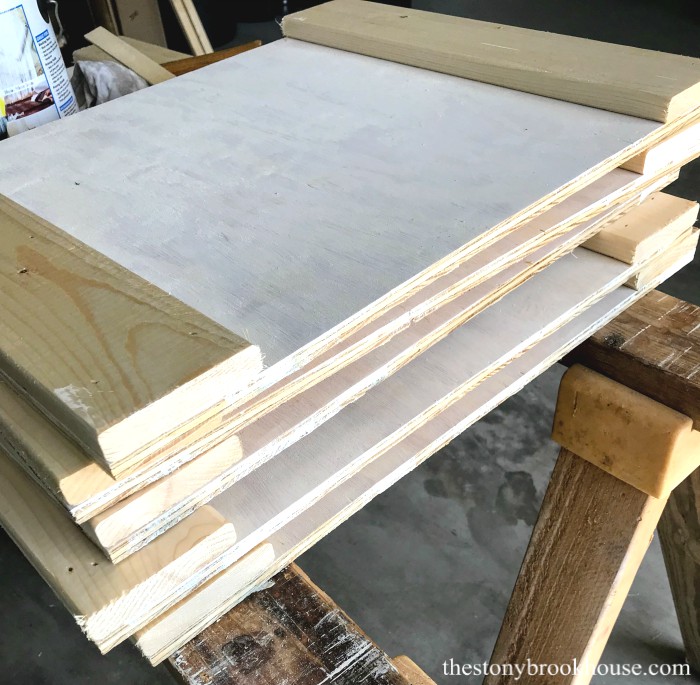
We used that plywood for the sides of the planter. 👍 Hubby measured and cut 8 panels to 16 1/4 x 21 inches. I had to fill in a bit of the sides with wood filler.
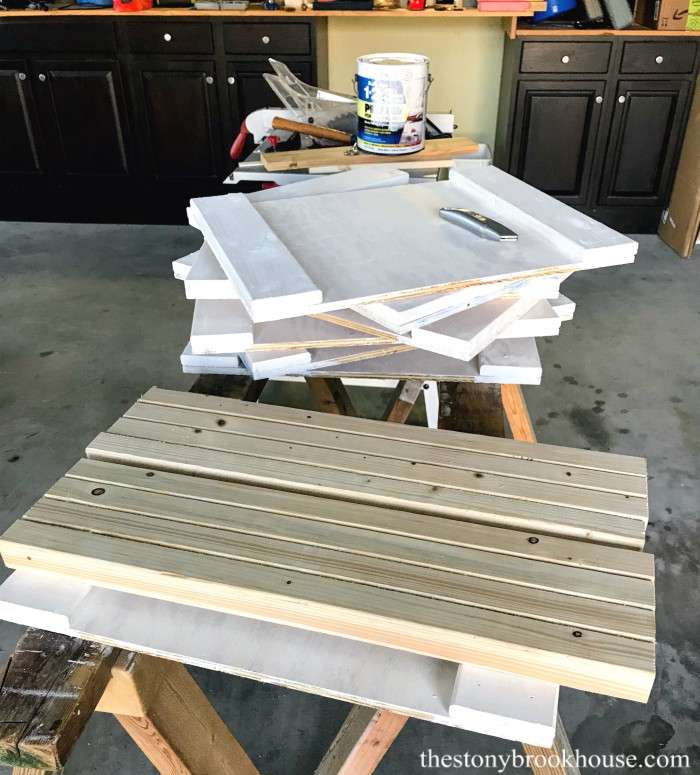
Next, I sanded and primed those panels, with my very favorite primer! Zinsser Bullseye 123 Primer. Love this stuff! As you can see I also cut and attached the 1x4 borders at the top and bottom of each panel.
I purchased cheap 1x4s for the borders. They aren't the nice ones that are smooth and cut perfect. They are the rough ones, but you can go through them and find some good pieces. They were $2.18 each for an 8ft board. For that price, I can work with it!
I cut them to 16 1/4 inches long and attached them with wood glue and finishing nails. Using our handy dandy nail gun (this is the one we have), I had them all put together in a flash! (Since this project, I've purchased this Ryobi Airless Nail Gun and it is AMAZING!!)
We used 2x2 inch lumber for the legs. Those were $1.58 for each, super cheap!! I wanted the planters to be 24 inches tall, so they were cut to 24 inches.
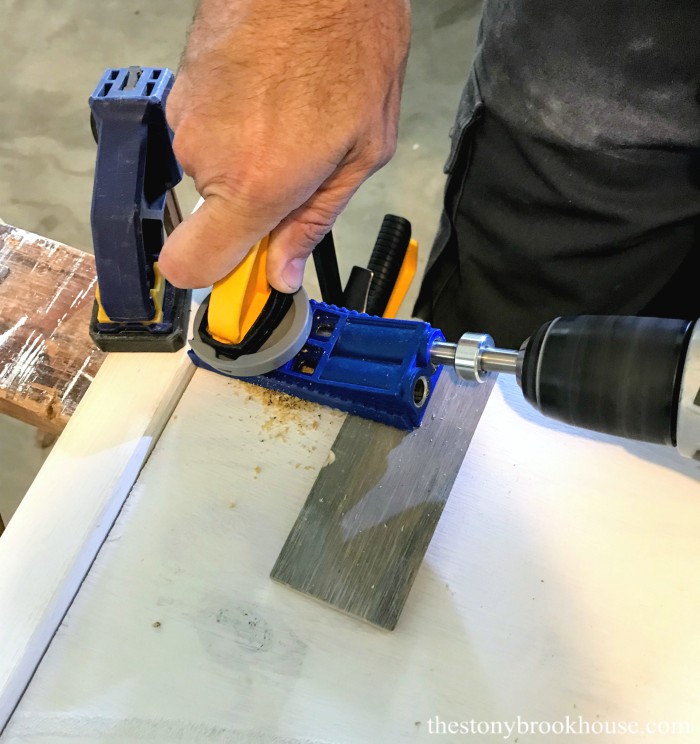
To attach the side panels to the legs we used one of my favorite tools! Kreg Jig That little tool is small but mighty! If you click on the link, that's the mini kit that I have. It makes pocket holes super easy!
Hubby and I made quick work of attaching the legs to the front and back panels. Then putting all of the sides together with wood glue and screws.
Yay! We have a planter! Almost done!! I had to see what they looked like! I love them!
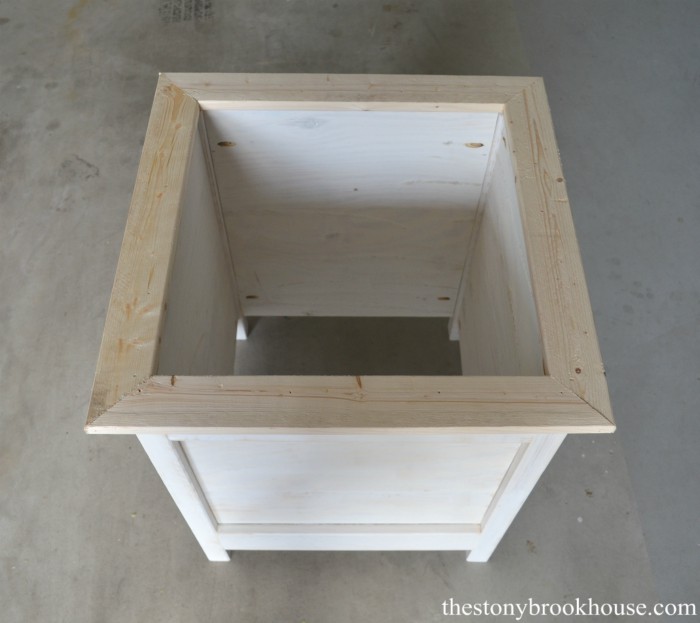
I want to add a lip to frame the top, which will hold some of the weight of the planter insert. A support on the inside, will also hold the weight of the planter. Then I want to add some cute trim on the side panels. I'll throw on couple of coats of paint and we'll be done. Let's finish these up!
First, the frame for the top. Basically, we cut a 1x3 with a corner miter cut and fit them together. The inside measurement needed to be 16 1/4 inches. They aren't perfect, but nothing a bit of wood filler and caulking can't fix. 😊 The planter lip will rest on this frame.
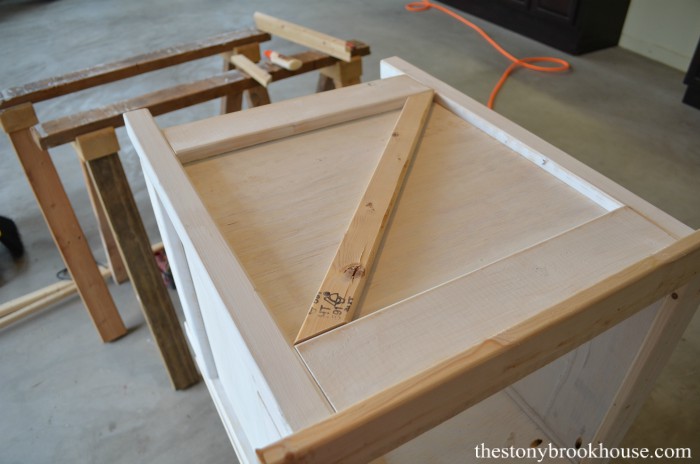
For the planter insert support, I used leftover scrap wood. First, I needed to measure how far the insert sits in the planter. Then, I measured 9 inches from the bottom and installed two side supports with glue and nailed in place. Lastly, I placed the center piece over them to support the insert, and nailed it in place.
Now for the cute part!! I wanted an X on each side panel. I used 1x2 furring strips. They are so cheap... like $.98 for an 8 foot piece! I bought a bundle of 6 of them.
I measured and cut each one to 20 inches with a matching 45 degree angle on each end, so that each side of the cross piece measured 20 inches. They fit perfectly!
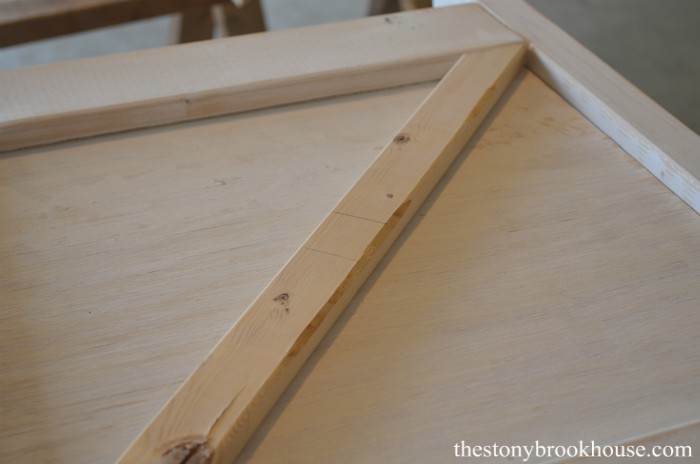
Then for the other part of the X. I laid the piece I needed to cut in place, then I placed the other one on top.
Marked the cuts and just cut the middle part out. Do you see the marks? Yes, it's a tiny bit of waste, but it was the easiest way for me.
Then just glue and nail in place.
Here you can see how the planter insert fits in perfectly!!
Because they were going to be on the porch and be outside in all kinds of weather, I wanted to make sure that they would hold up, so I caulked every seam and hole I could find.
Then primed the entire planter with 2 coats of Zinnser 123 Primer. Then 2 coats of exterior white paint.
During the photo shoot, I had a little visitor...
After the photo shoot, I thought about the legs sitting in wet rain or snow and thought it would be better if they were off the ground. I purchased plastic leg tips that you nail in the bottom of the legs.
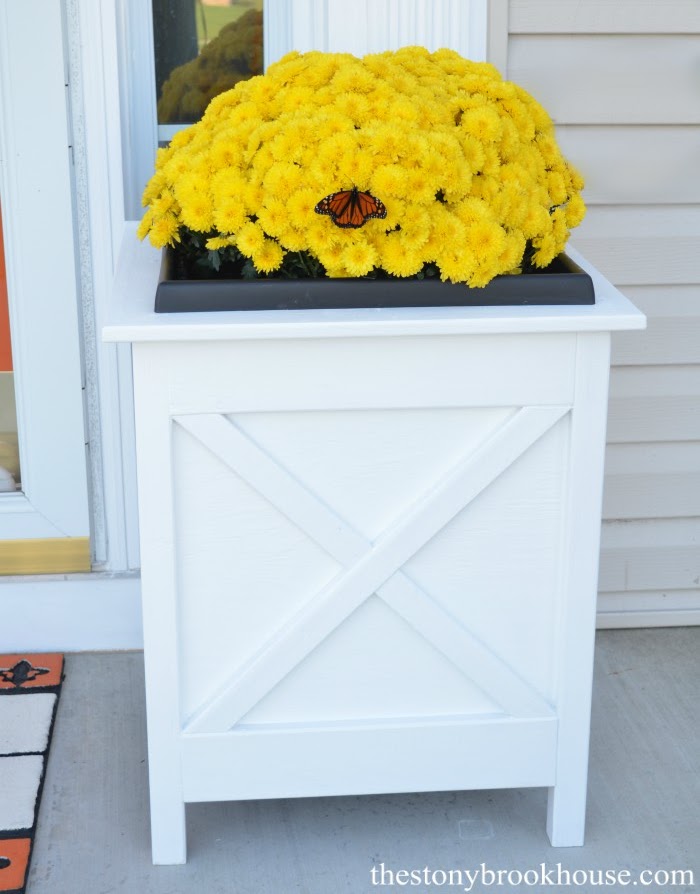
Love, love, love them!!! They look so nice with the mums in them!😍
List of supplies:
Plastic planter insert - $14.98 each (2) = 29.96
4'x 8' panel of plywood - free (reused)
1 x 4 - $2.18 each (3) = $6.93
1 x 3 - $1.25 each (2) = $2.65
2 x 2 - $1.38 each (4) = $5.85
1 x 2 - $.98 each (4) = $4.16
wood glue - on hand
finishing nails - on hand
wood screws - on hand
caulking - on hand
primer - on hand
paint - on hand
Grand total of $49.55 for both planters! That means they were less than $25 each! Now that's a bargain, people! 😊
Whew! That was a long post! Thanks for reading! I am so thrilled with how these planters came out! 💕
Blessings!
Lori











No comments
Post a Comment
Comments are awesome! Let me know what you think!