*This post contains some Amazon affiliate links. As an Amazon Influencer, I earn from qualifying purchases. Please see my full Disclosure Statement.
Whew! Our bedroom has come along way! Creating Our Master Bedroom - Part 1, will bring you up to speed. You know it's all in the details. I had a vision and it was so fun making it a reality!
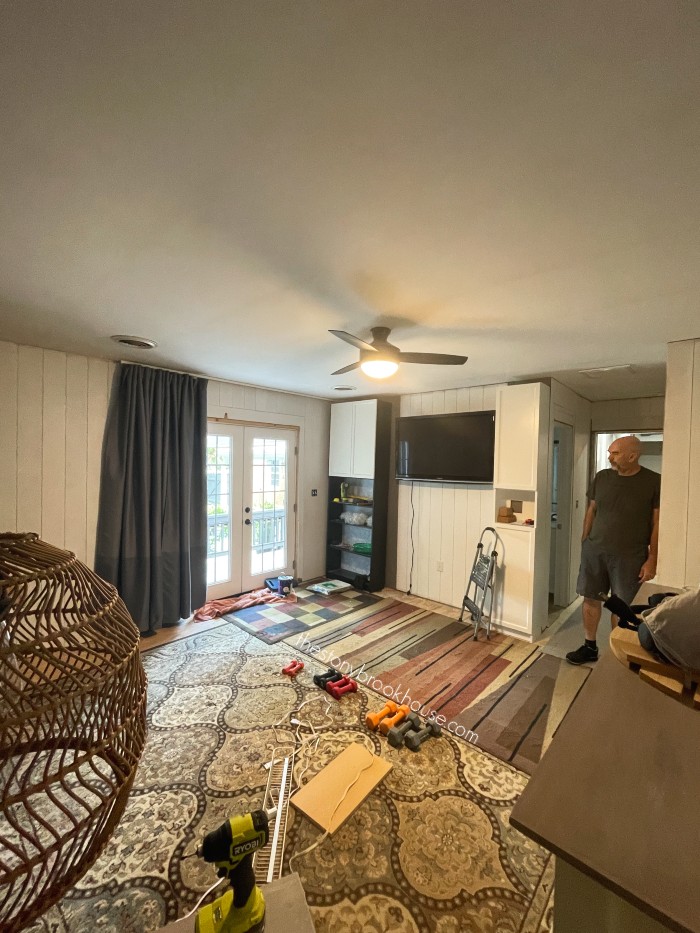
This is where we left off.... walls are shiplapped. Focus wall is painted black. We've cleared out the bed. (No worries... we have a place to sleep. Our guestroom has a king size bed in it! Yay!)
Still lot's to do! But.... It's time for flooring! Finally! It's been 3 LOOONNNGGGG years. Let's roll up those rugs!
I'm getting in some more painting. White paint needs several coats to be completely solid. I will be doing another one before the bedroom is finished.
Before we install the beautiful flooring, I'm going to paint the ceiling. I just love it fresh and white!
I did a whole post on ceiling paints. Ceiling Paints Are Not Created Equal There are so many ceiling paints out there. It really depend on your needs. This ceiling just needed a refresher paint, so I wasn't too worried about which paint I used. I chose Behr Ceiling Paint.
It you don't have a paint roller extension pole, pick yourself one up! They are a game changer. They are pretty cheap on Amazon, here's one for $13! Paint Extension Pole
Once that was done, we were ready to tackle the floor. We are using Lifeproof LVP in Dusk Cherry from Home Depot. We've put in several floors and this one is durable, waterproof and easy to install. Plus it isn't super expensive.
Sooo pretty! Now, I'm going to give you the best tip! Purchase a laminate cutter! This was a game changer!
We used to score the planks with a utility knife and snap, but this thing changed everything! It made the process so much faster and easier!! Worth every penny!! Laminate Flooring Cutter
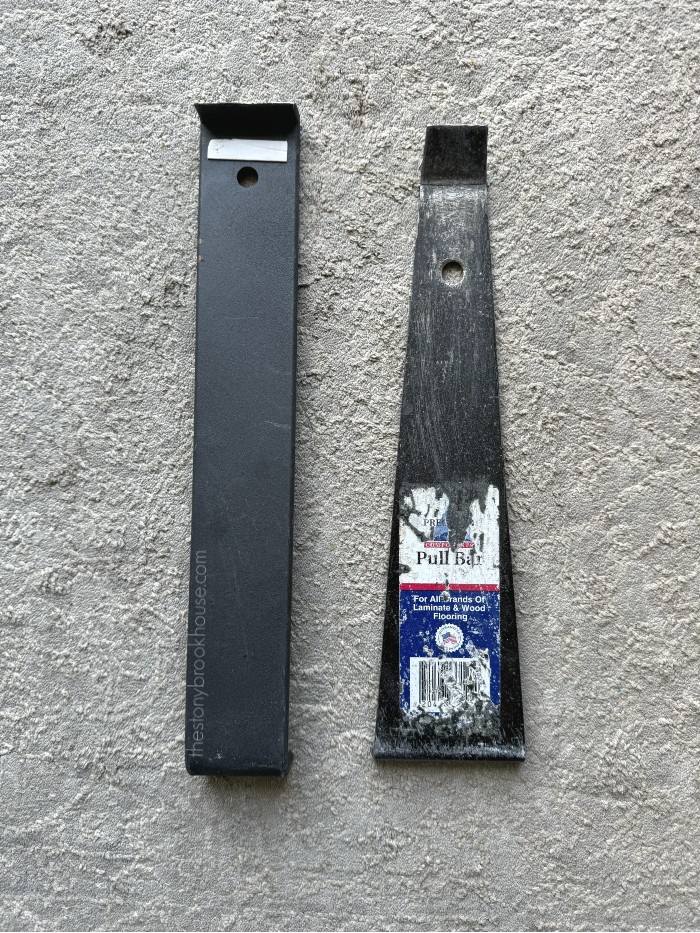
Also, while your at it, get yourself this pull bar for installation. Laminate Pull Bar
The one on the right is from Lowes, but with all the hammering it completely bent. The one on the left is from Amazon. It is heavy duty!
Once all of the flooring was in, we began installing the baseboard. We made it super easy and used a standard 1x4 for all of our baseboards.
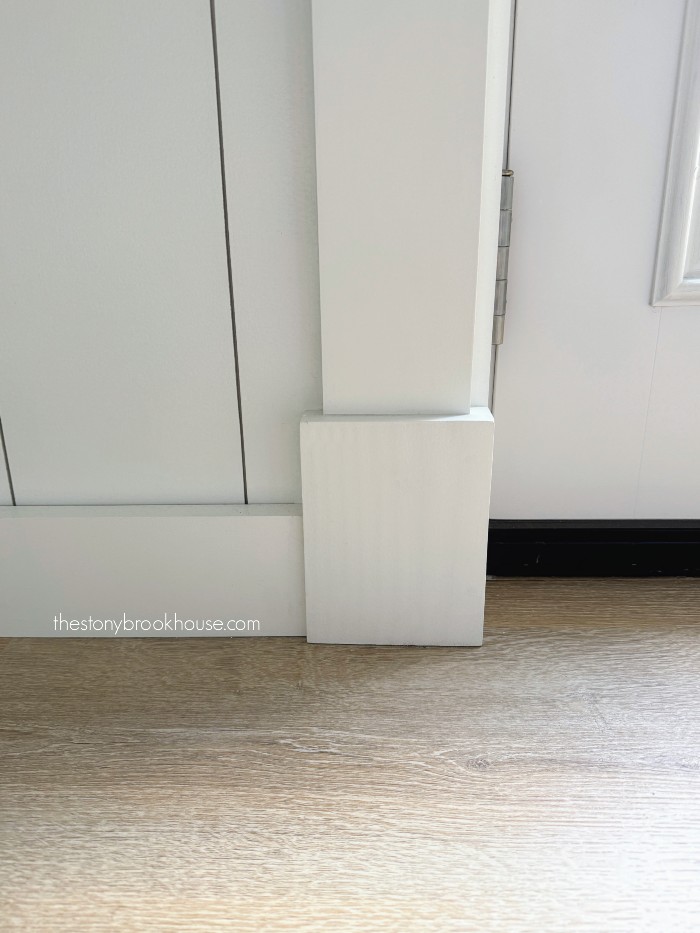
However when we came to the doorways, we realized that the door trim wasn't going to meet flush with the baseboards. The door trim is installed on the drywall and the baseboards are installed on top of the shiplap.
So, the baseboards were going to stick out and the door trim was going to look sucked in. That was going to look terrible. So, we installed a plinth. Have you ever heard of a plinth?
The baseboard and door trim is all 1x4s and is 3/4" thick. The plinth is 1" thick. So being thicker, it will camouflage the difference where the baseboard and door trim meet.
They really turned out nice!
There were so many moving parts in this master remodel. I still don't have it 100% done! We picked out curtains and did a super cool wall treatment above the bed.
Here is a sneak peek!
Just a few more finishing touches and we'll be having a full reveal!
Blessings,
Lori


No comments
Post a Comment
Comments are awesome! Let me know what you think!