*This post contains some Amazon affiliate links. As an Amazon Influencer, I earn from qualifying purchases. Please see my full Disclosure Statement.
We waited soooo long for this to happen! Literally, 3 years with subfloors as our flooring! We are finally working on our Master Bedroom!!!!
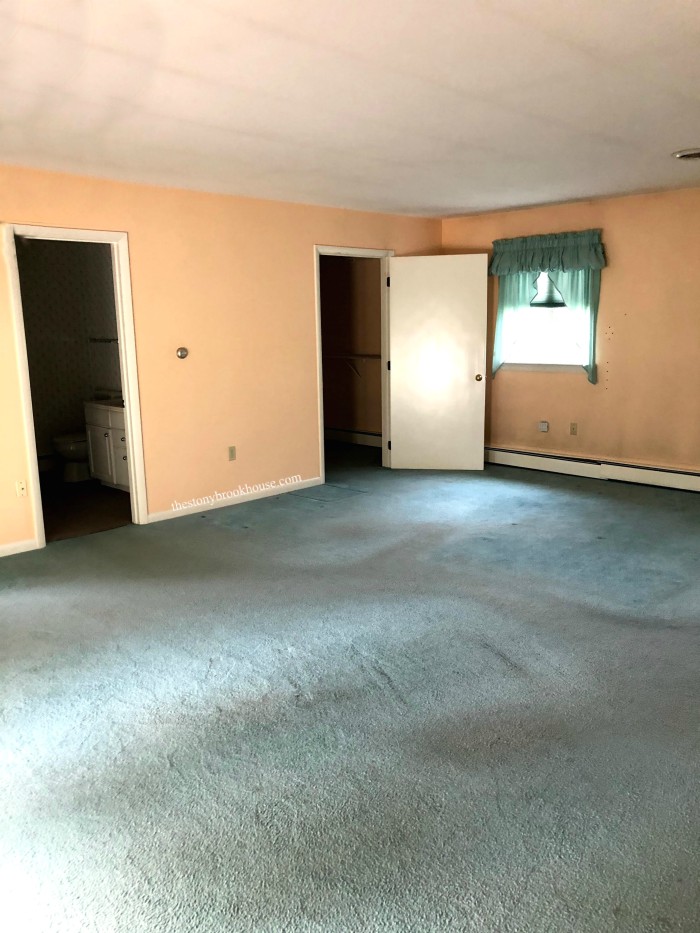
Let's take a look back to where we began... if you remember, we purchased this house as a 2 bedroom back in October 2020.
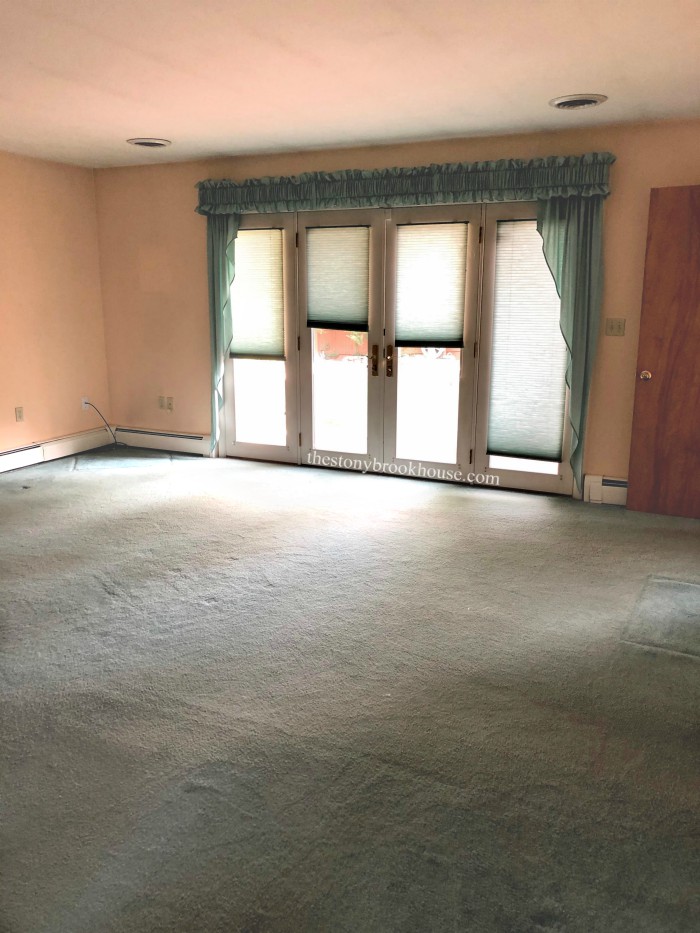
Don't ya love the green carpet??😜
The master bedroom was HUGE! (23ft x18ft) We knew there was space to add a 3rd bedroom.
If you didn't see that transformation, check it out! Adding A Guest Room Start to Finish!
This was our makeshift closet while we built the guest room. But that space, right there, is where our master closet is today. When we finished the guest room we began working on our master closet.
Our Master Closet is the perfect size for us! You can see how that turned out, Master Closet Reveal.
Last year, the patio doors had to be replaced. They were leaking and in pretty rough shape. You can see and read all about that process. We actually hired that project out! New Patio Doors.
Okay, now that you're kind of caught up... check out what we've been doing in here.
First, let's chat about the pendant lights. I knew I wanted hanging lights. Don't ask me why, but I saw them somewhere and that was it... I had to have them! Plus, I love that there isn't a lamp on the nightstand.
So, when Hubby was doing all the electrical for the master bath and closet, we decided to add those lights. Yes, it was a pain in the patooty to add them, but he did it for me!! 💕
Over the last 3 years, we've talked and talked about what we wanted our bedroom to look like. I would say I've spent a lot of time on Pinterest.... Our first decision, was what did we want to do with our walls.
I really really wanted to do a treatment on the walls. For 2 reasons...
- I thought it would look cool. 😁
- It meant I wouldn't have to spackle and sand the drywall. Yes! Yes! Yes!🙌
I've done my fair share of drywall and I know there will be more in my future, but not here!
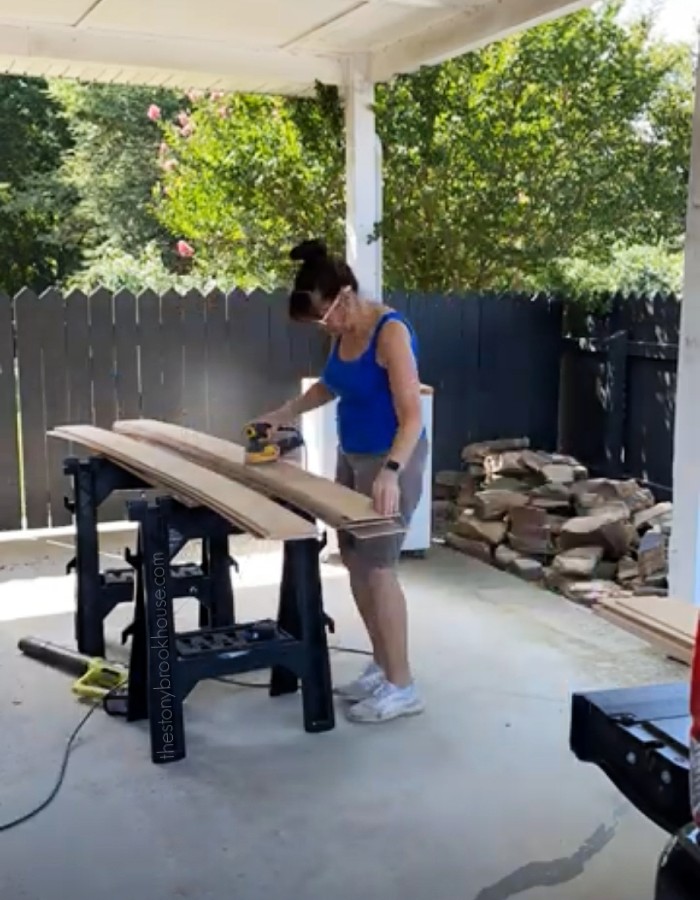
We decided to do a vertical 'shiplap'. For us that means, a 'faux shiplap', we rip 4x8 sheets of underlayment into 5 7/8" strips. There was still lots of sanding, but at least it was outside and not filling our bedroom with dust!
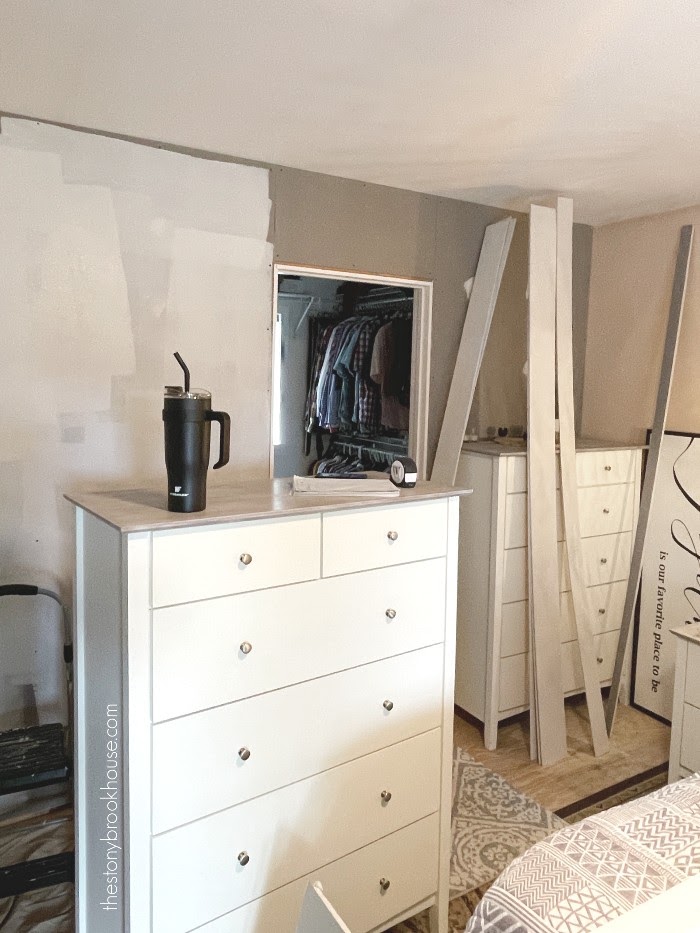
After sanding , I pre-painted all the boards before we installed them. Whew!! I also painted the walls white so that nothing would show between the slats.
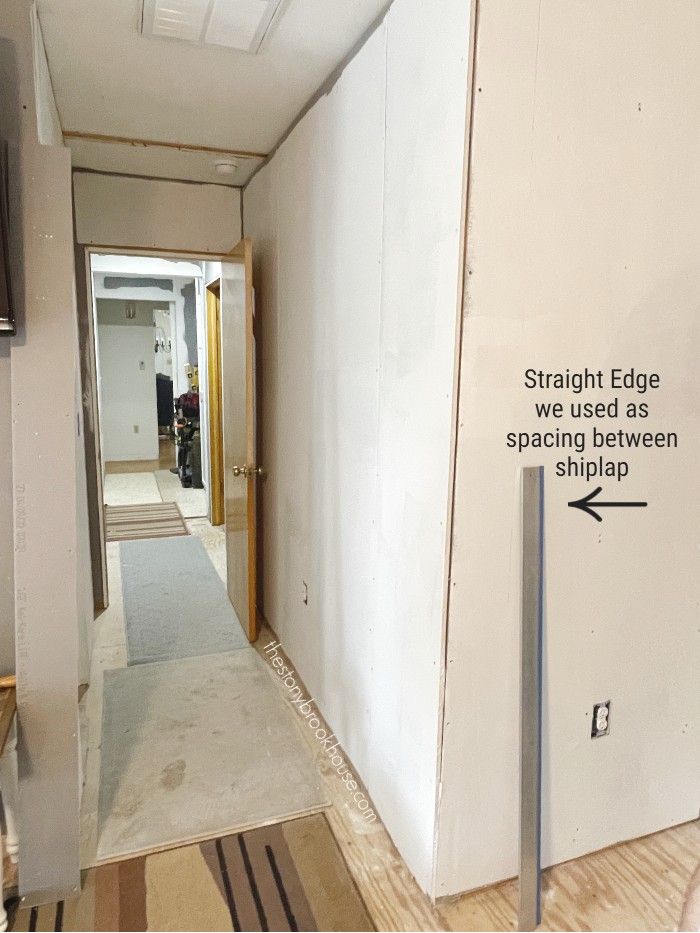
We basically just held up the strips of underlayment, used a straight edge as a spacer and nailed them in place with our trusty nail gun. It was a LOT of shiplap!
We started coming around the corner with the shiplap.
I had been toying with an idea for behind the bed. I really wanted the wall behind our bed to be the main focus of our bedroom. We had to make a decision. Do we continue with the shiplap or try out my idea?
We stopped the shiplap and decided to test out my idea.
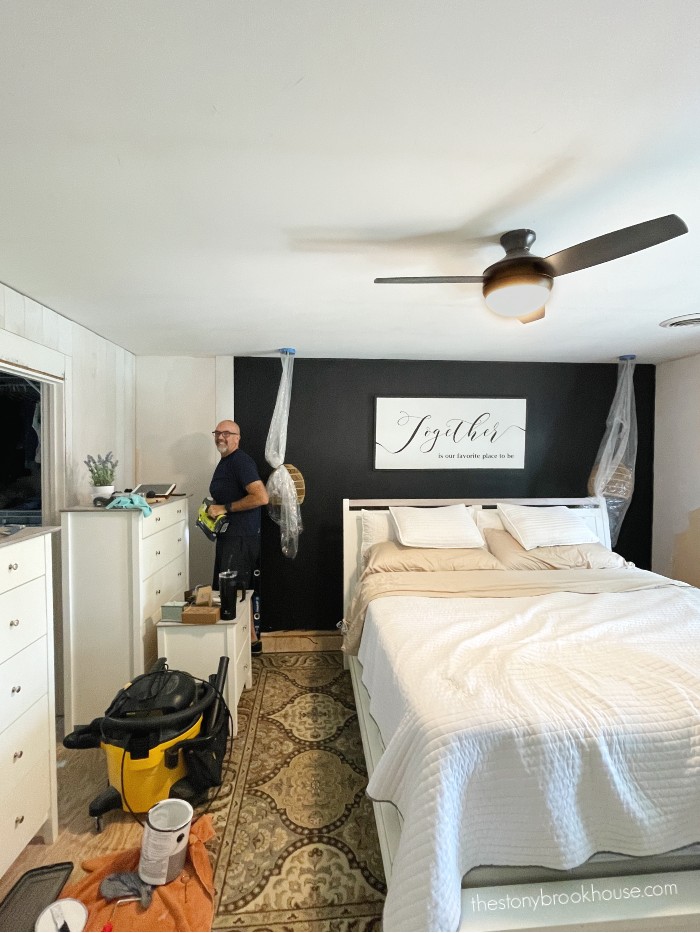
I painted the wall black! We've never gone that dark before, but since everything was white and light, we figured we could just try it and see if we like it. It's definitely the focus!
We weren't sure about it at first, but once the 2nd coat was finished... we LOVED it!! It needed a total of 3 coats to be completely solid. (And we're not even done with that wall!!)
So, then we continued adding shiplap the rest of the way around the room! It looks so good!!
Just to clarify...Our bed is not centered on the wall. There was really no way to center it since we needed the space to place our dressers and side table and space to walk into the closet. So, we created the illusion that the bed is centered.
The vertical shiplap comes around the corner and stops. We measured the space on each side of the bed to make sure there was room for everything and that's where we started painting the wall black. So the bed is centered inside the black part of the wall. Make sense?
There is so much more to show you! However, I think this post is long enough....
Here's what's next:
- Flooring!!! Yay!
- Trim around all the doors
- Adding crown treatment
- Adding another treatment to focus wall
- Building in cabinets
So much goodness! Be back soon with more!
Blessings,
Lori







Wow - this looks like its really coming together!
ReplyDeleteThanks so much! It's a labor of love!
Delete