Updated 10.08.2021
I'm so excited to share this project with you! I'm almost done with all of the furniture in our master bedroom makeover.
I just finished these bad boys!! I'm only showing you one of them, but I did complete both of them! 🙌
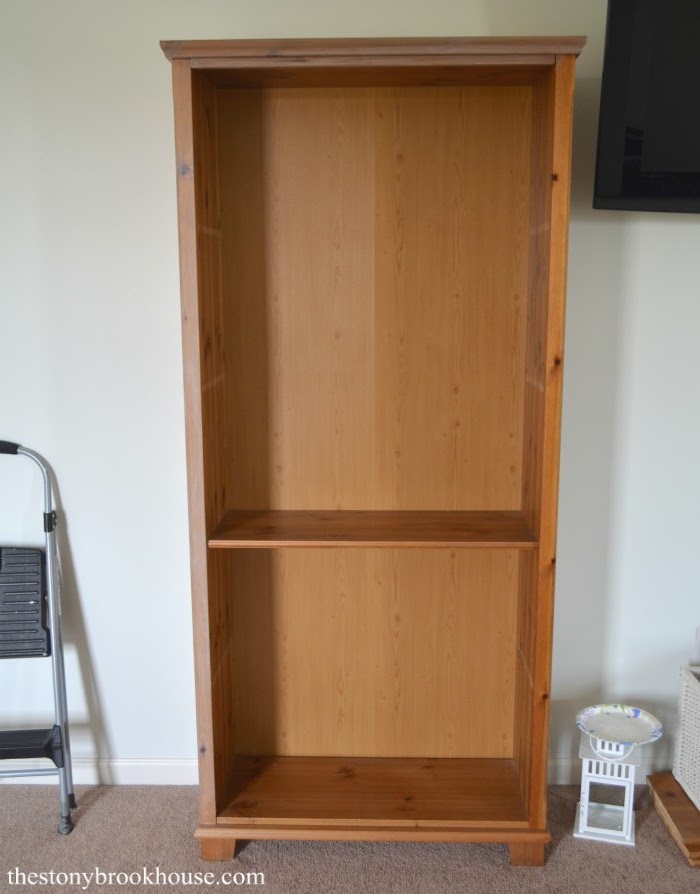
Seriously, they were so ugly, boring, orangey and definitely outdated!! I couldn't stand them. I had debated on getting rid of them awhile back, but never got around to it. Now, I'm glad I didn't!
We purchased them at IKEA forever ago. We've had them for YEARS!!! You can see how the sun faded where the shelves were.
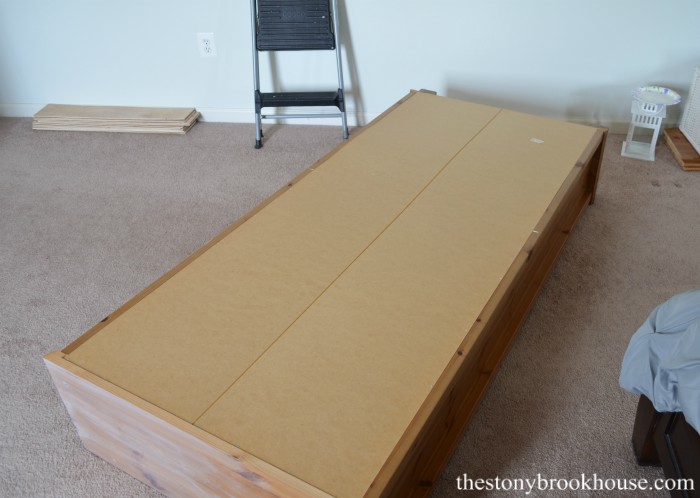
So, here's what I did.... first I cleaned and dusted them... so dirty. 😜 Then, I took off the pressboard backing. Those look so tacky. Especially, when you can see the bend of the board down the middle of the shelf.
Then I kind of did a white wash technique. I dipped my brush in a bit of water, dabbed it off. Then barely dipped in some white paint. Brushed it on, then wiped it off. I couldn't wipe too hard, or it would mostly all come off.
It just tinted the orangey look to a soft wood tone. I love it!! They look so much better now! What a difference!
Now for the 'farmhouse style' touch. Knowing we were going to use shiplap on the bookcases. We cut extra shiplap boards, when we did our shiplap wall makeover.
Anywhoobs.... I cut the long shiplap strip into 32 1/4 inch lengths. Then painted them the same Simply White by Benjamin Moore mixed in Behr paint at Home Depot. Poor lighting... working at night...
Twelve boards fit beautifully along the back of the bookcases. Next, I used my handy nail gun to attach them to the back.
If you look carefully there was a channel on the sides of the bookcase that the shiplap boards fit in between. It made it simple to nail to the back.
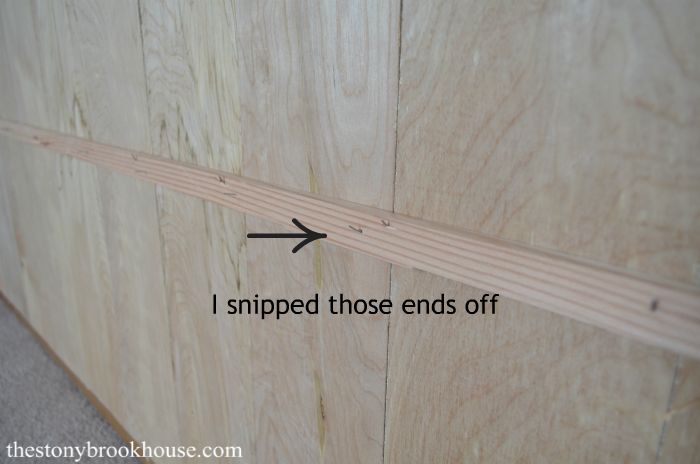
After that was finished, I noticed that they were bowing in and out. Kinda tacky, don't you think? So, I stabilized the boards, by attaching a wood strip along the back of the bookcase. I attached it on the back at the top middle and bottom.
Then, I stood up the bookcase and nailed the shiplap strips on the inside of the bookcase to the board that ran along the middle of the back. It worked perfect! I had a bunch of nails sticking out the back. I just snipped those off.
Lastly, I filled the holes with white wood filler and Voilé!! Done!!
I love the way those bookcases turned out. The fun part will be when I start decorating. I think Arwen approves... 😻
What a transformation! I can't believe they are the same shelves!! Here's another photo just incase you want to pin it for later! 👍
Update! Here's a link to our finished Master Bedroom Makeover!
Blessings!!
Lori


Looks great! I'm curious, did you have to sand the bookshelf first before white-washing? Thanks!
ReplyDeleteHi Sunshine!! Actually, I don't think I did! These shelves don't get a lot of action and I was barely changing the color. If I was actually going to paint them, I would always recommend some sort of sanding, even lightly. Just to rough it up a bit. 👍
DeleteThank you! :)
Delete