Is this the cutest thing ever?!? This project looks pretty simple, but it is deceiving.... There were a couple of angles to cut, so that made it a bit more difficult. Not to worry... Hubby and I made it easier for the class. 👍
This was the first class of the year, and I'm so excited!! Anywhoos.... My whole goal in having these classes is to empower women, to build them up while building a project. 😍
Let's get to it! Each one had the supplies to make a mini plant ladder.
The first thing we did was cut the the angle at the bottom of the ladder rails(legs). We measured 18 inches, then clamped all the legs together.
Then cut the bottom at a 13°angle. For the 70°angle, Hubby created a template to make it faster and easier for the ladies to cut that part. Then we cut the tip off at a 13°angle.
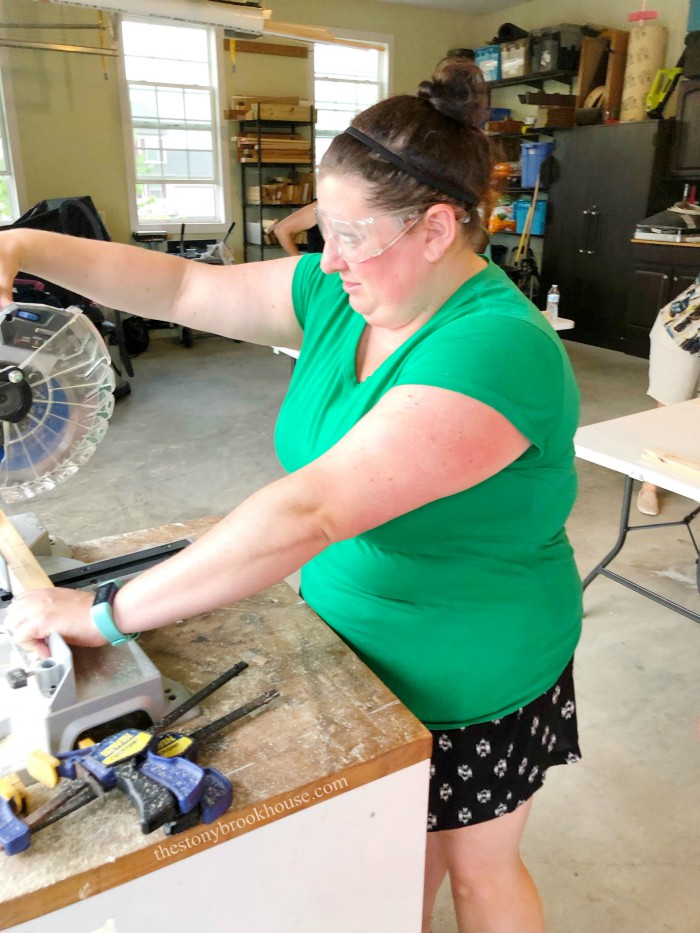
I was so proud of this young lady! She was nervous to use the saw, but she did it! I never push them, but I try to encourage that they can build and do it safely!
After the ladder rails were finished we cut the rungs for the ladder out of the leftover 1x2. They needed 4 at 5 ½ +1 line inches. I'm really not one to count those 16ths of an inch... It just needs to be slightly larger than 5 ½". The 1x6 shelf that sits on it is 5 ½", you just don't want it too tight.
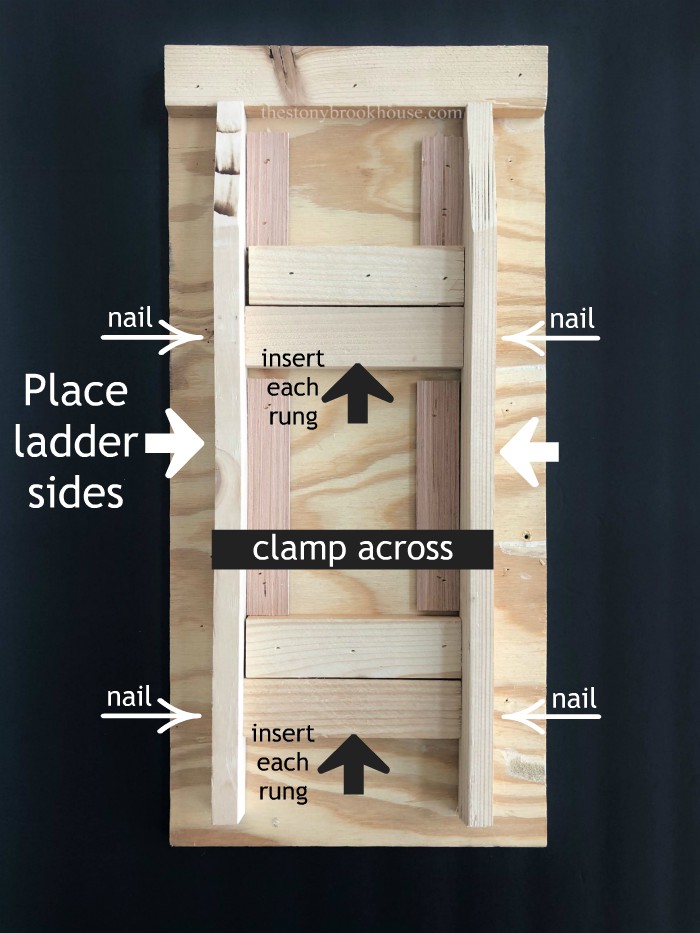
You might need to look at the template for a few minutes to figure it out. They placed the ladder rails on each side, then inserted each rung. Clamped it all together and nailed the rungs into place. It worked perfectly!
I know you all don't have my handy dandy template, so measuring from the bottom of the leg we placed the rungs at 2 ¼" and 11 ¾". 👍
Now, it's time to put the ladder together. We clamped the top together, then nailed on each side.
I already had the top piece cut, it is a 1x3 cut to 8". They nailed that to the top of the ladder.
The next step was to measure and cut the shelves.
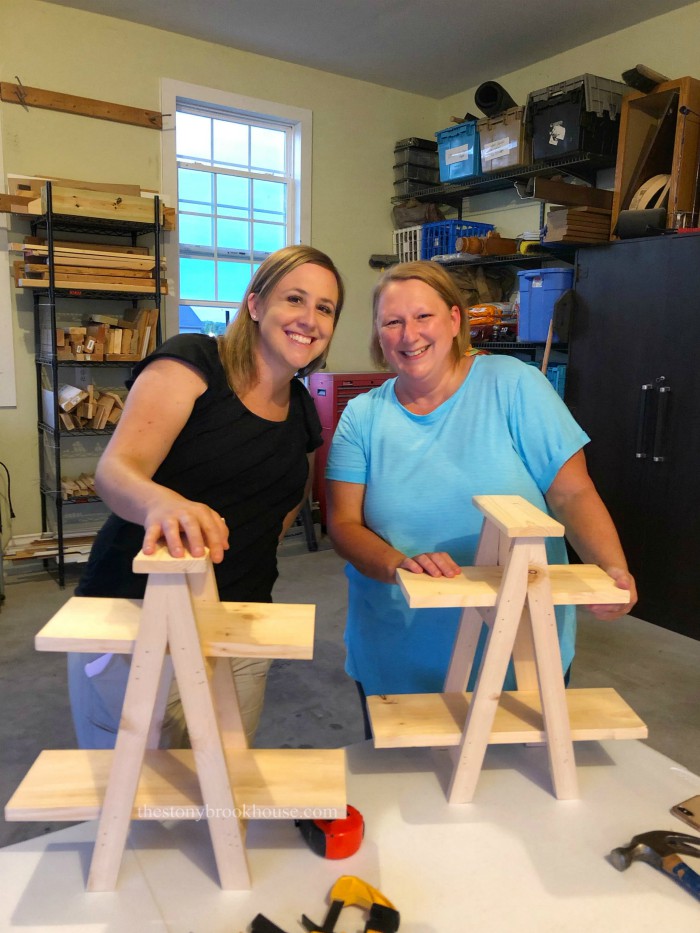
I love this photo! These two ladies had never used a saw before, and look at them go!! 😍😍😍
The last step was to nail the shelves to the ladder.
Awesome job ladies!! Look at these smiles! I'm so proud of them!
This was such a great night! They have a lot to be proud of!
Lori


No comments
Post a Comment
Comments are awesome! Let me know what you think!