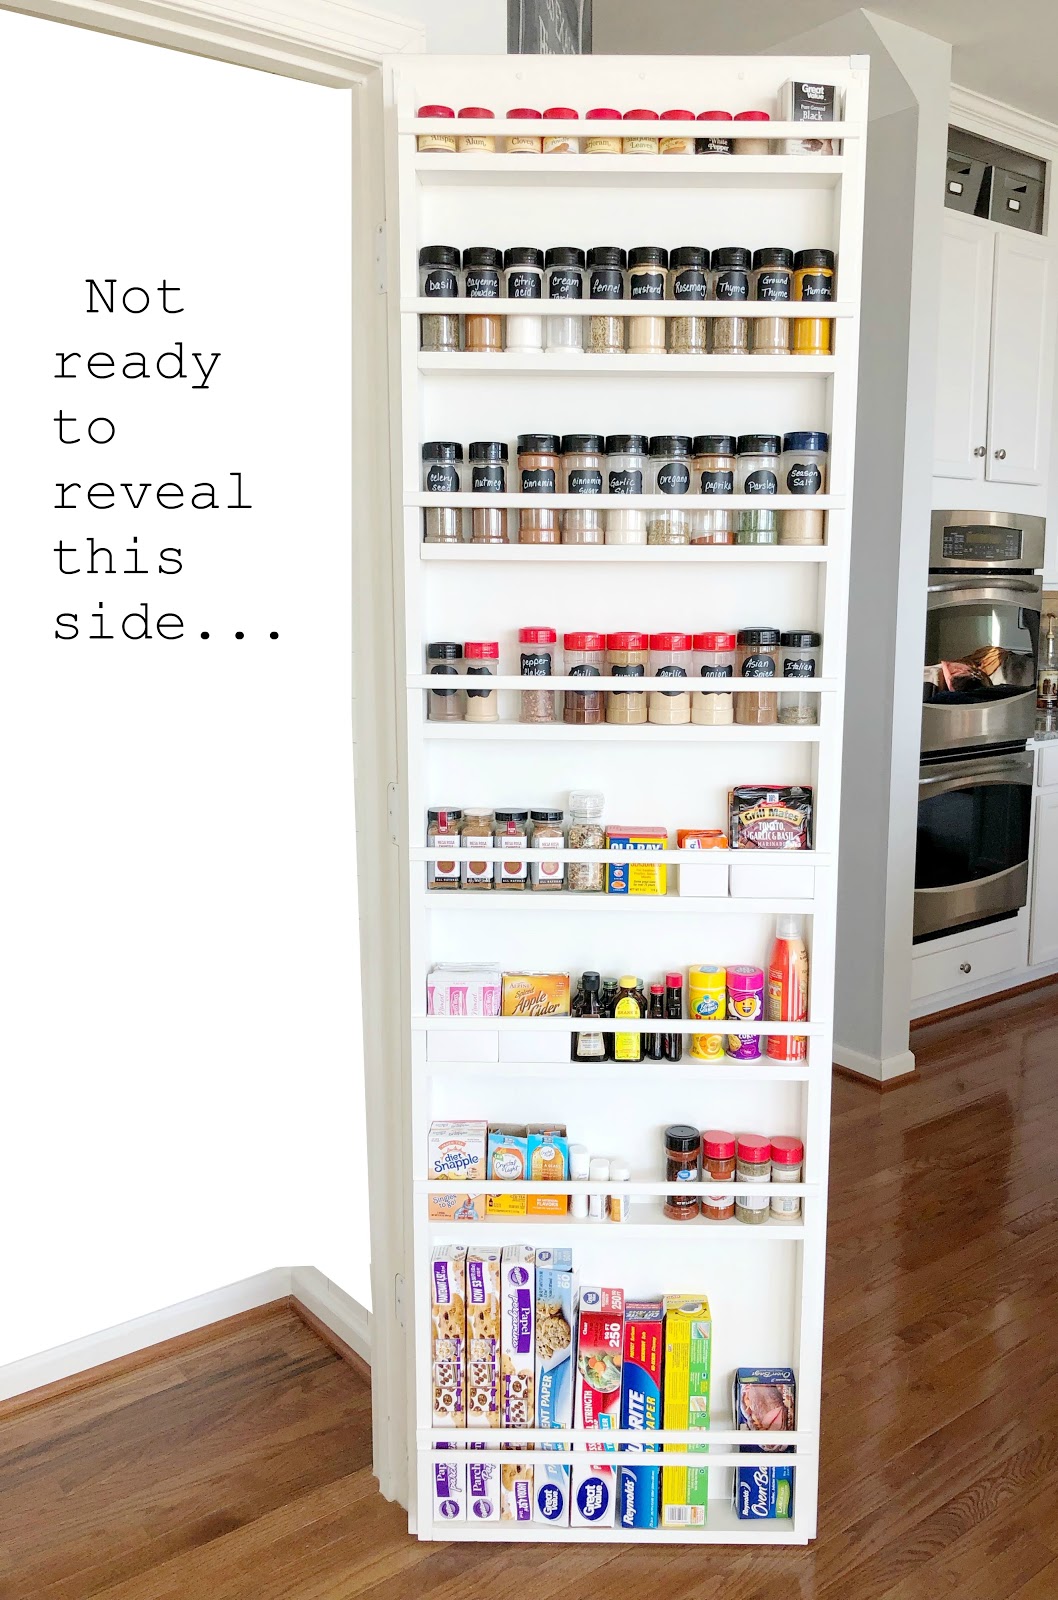
This project makes my heart sing!!! 💗💗💗 I told hubby I want my whole LIFE this organized! Look at this organization!!😍
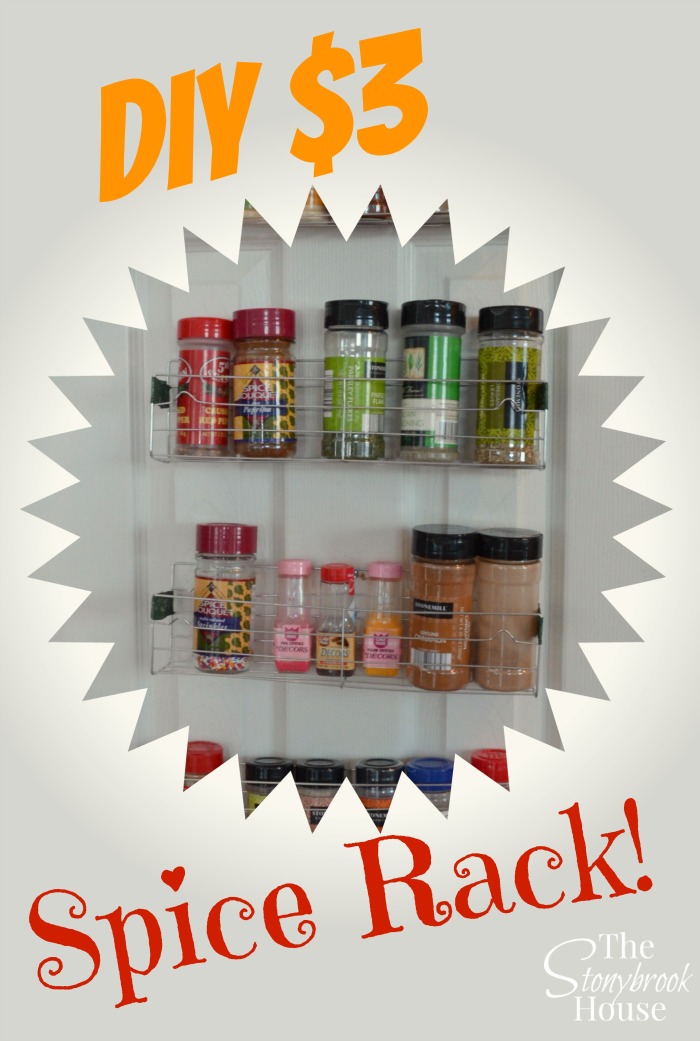
This isn't the first time I've organized my spices.... A couple of years ago, I created these super cheap cooling rack spice holders that went nuts on Pinterest.
Easy DIY Spice Racks
They worked great! But knowing that I was going to makeover my pantry, it was time expand and improve! I wanted to build something bigger and better!
Hubby and I spent hours discussing and planning this build. I wanted it to be easy, yet efficient and use the space as best as possible. Hubs is so VERY helpful and SO patient as we plan and work out the details. He thinks of things, that haven't even crossed my mind! 😍
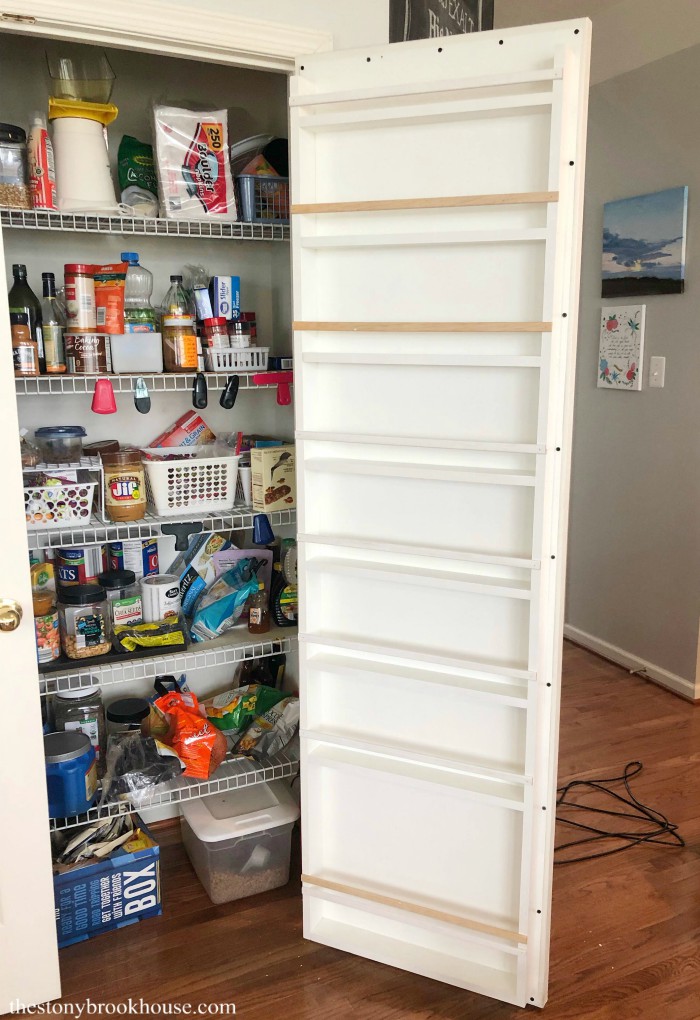
The pantry doors are hollow core doors, yet I knew that the frame of the door was wood. So, this organizer is almost the size of the entire door, screwed into the frame of the pantry door.
The pantry door measurements are 23 3/4 in. x 80 in., so I'll be working within that frame.
As you can see in the photo above, the door has panels in it and I wanted it to have flat back. I used underlayment because it is lightweight and pretty cheap. It's around $15 for a 4x8 sheet at Lowes. I've used underlayment several times as shiplap around the house. You can see it in the Powder Room Makeover and in our Master Bedroom Makeover.
I cut the underlayment to 22 3/4 x 79in. That gave me one inch of space to the edge of the frame of the door.
Next, figuring how many shelves I wanted and spacing. For the frame of the organizer and the shelves, I used 1x3 pine boards. The side boards are cut to 76in. and each shelf board is cut to 20 1/4 in. long.
The shelves are approximately 8 in. apart with the bottom shelf at around 17 in. I wanted that space for extra plastic wrap, foil and parchment rolls.
(Side note... So frustrated... I dropped my camera a couple of months ago and broke the lens off. I thought I had it fixed, but apparently not.... All of my photos have a blurry edge. ugh...)
Anyhoooo.... Continuing... I primed and painted each piece white. 😊 White just makes everything look so clean and bright!
Here's hubby helping me... 😂 Supervising really... ummm maybe lost down a rabbit hole on his phone... 🤣
Now that everything is all painted, here comes the super easy part!!! Nailing and gluing it together.
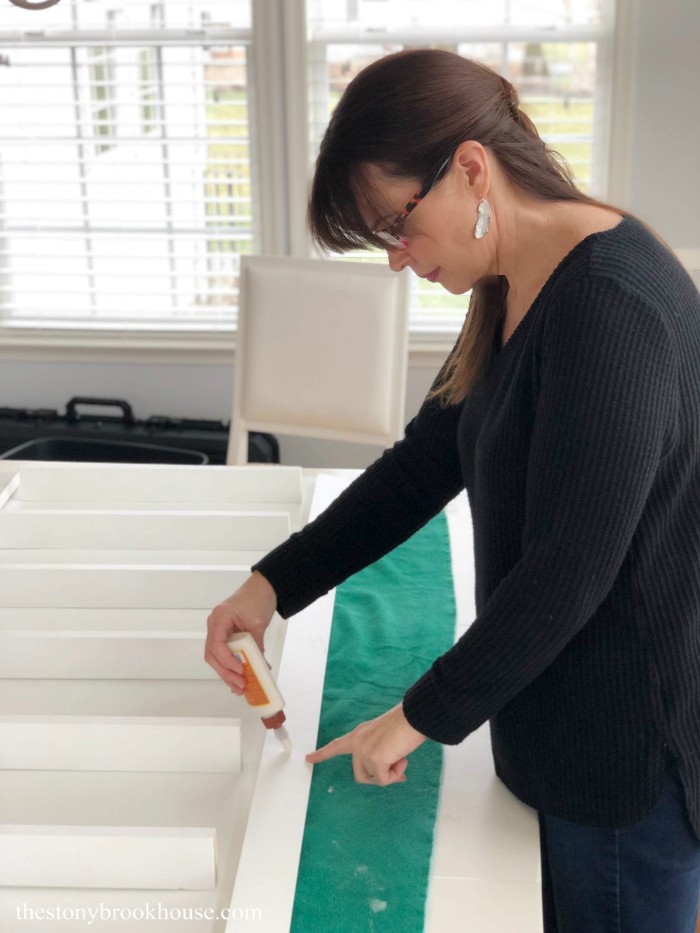
I placed a line of glue at each shelf, then clamped the side pieces together and made sure all the shelves were even. I used Gorilla Wood Glue and these clamps are must haves, they make woodworking so much easier!!
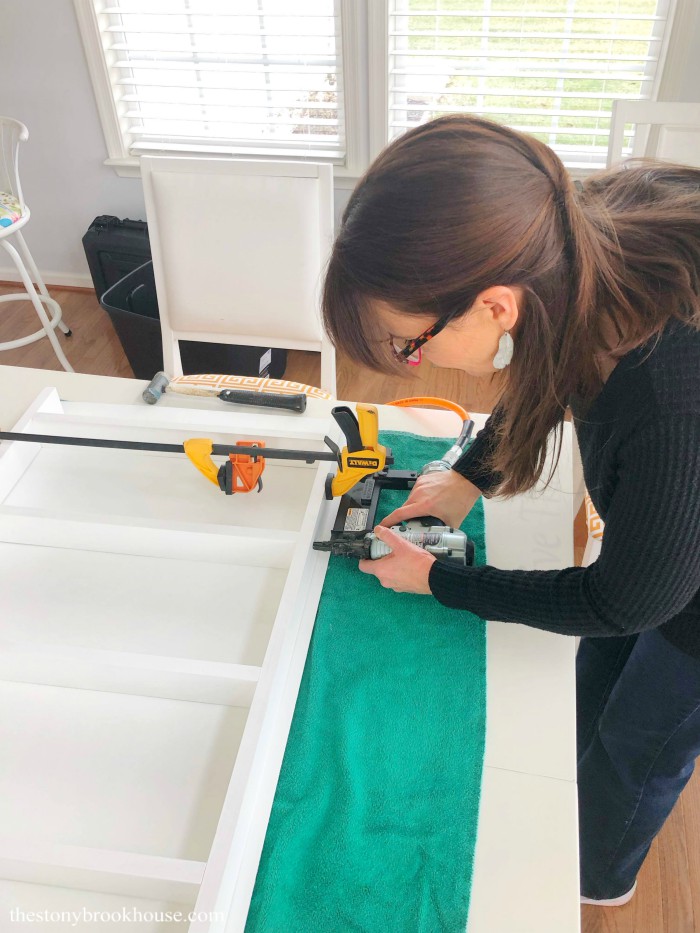
Next, I nailed them together using our super handy nail gun. Love that thing!!
The shelves still weren't attached to the backing, so we flipped the whole thing over and marked where the shelves were. Being able to see where the shelves were made it super easy to nail the back on.
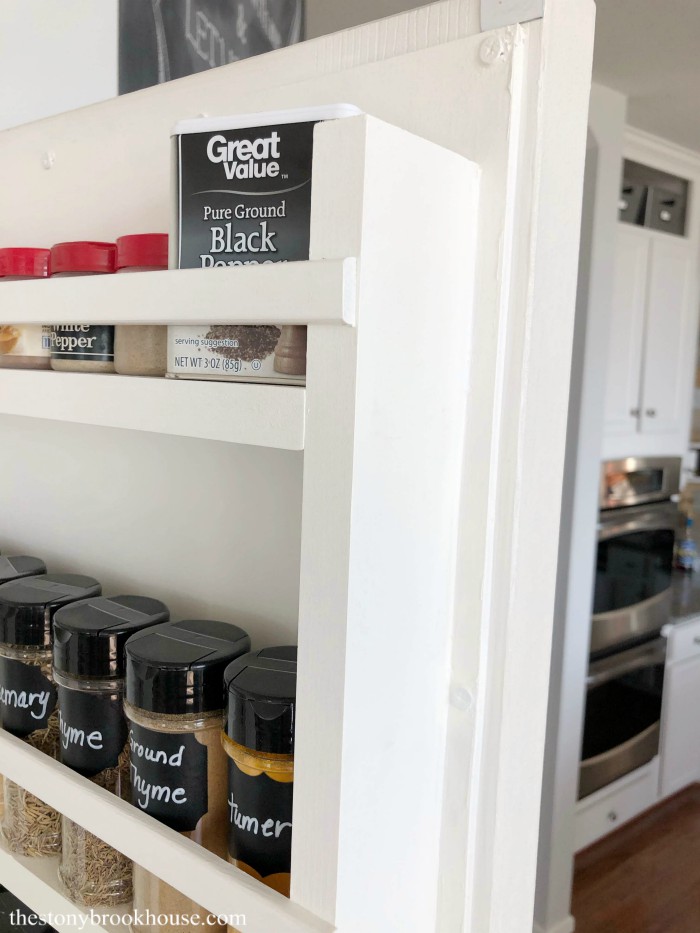
Hubby helped me attach the whole thing to the door. We pre-drilled and screwed it on! I added shoe molding to keep the spices and things on the shelves.
Whoa.... and you can definitely see why I need to makeover the pantry! 😲🤭
What also made this super easy, was that I didn't have a door knob on the inside of the pantry doors. 😊
Next, I caulked all the seams around the edge and painted to make it look seamless.
Here's a before and an after.
Now come the pretty pictures!! ❤️ Oh... my heart is so happy! What is it about this that makes me smile??
I purchased these spice bottles and labels on Amazon. I just love the way everything looks!
If you want to see the new and improved pantry... click over to... Pantry Makeover - Part One! 😍
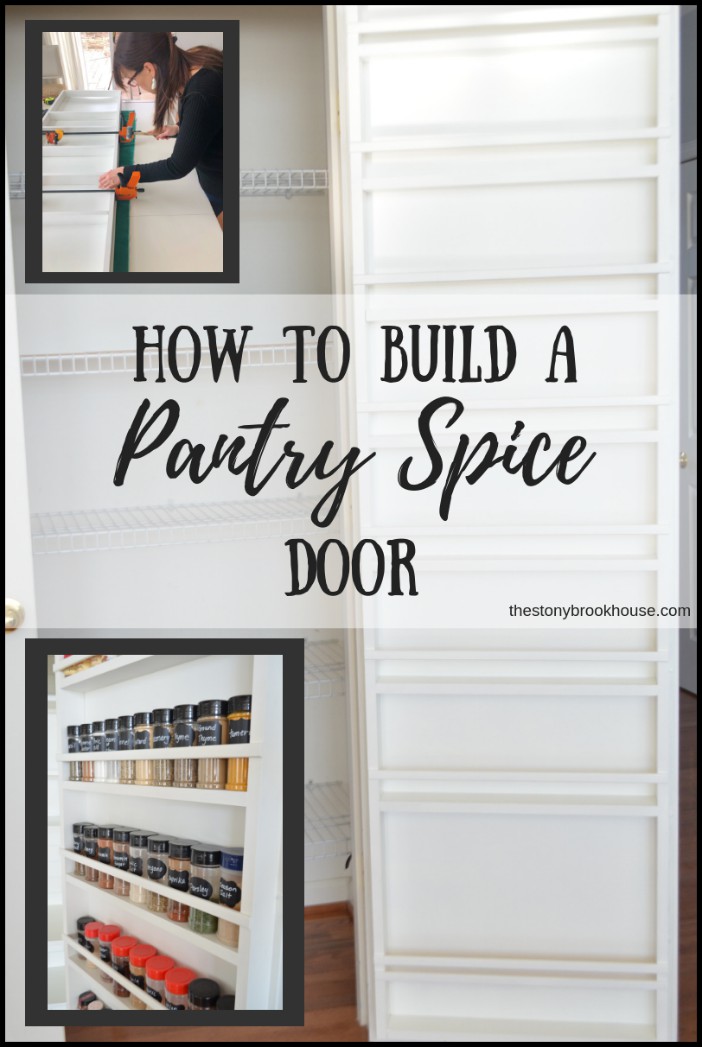
Here's one to pin for later.
Blessings,










It looks so good! I can't wait to see how you transform the inside of that pantry. You're on a roll!👊
ReplyDeleteThanks, Cristina! I'm so happy I could bust! :)
DeleteI put these spice bottles in my Amazon cart so I can put my giant Sam's Club containers somewhere else.... Thanks!
ReplyDeleteThanks for this! Just so you know, the link to this post on your $1 spice rack post is broken - a link was buried inside another link.
ReplyDeleteOh! Thank you! I just fixed the link. Hope you found the info helpful! :)
ReplyDeleteLooks great! How did you attach the spice rack to the door?
ReplyDeleteHi Megan! I actually screwed the back to the door. The door is hollow, but has a wood frame. So, it's attached to the wood frame of the door.
DeleteWhat did you do about the door handle? Most racks I see have a cut-out for them.
ReplyDeleteHi Charlene! Our pantry doors have a door handle on the outside but not the inside. They stay closed with magnets at the top, so I didn't have to worry about it. Otherwise, I probably would have cut a hole out and reattach the door knob. Thanks for reading!!
ReplyDeleteYou should sell these pantry doors. I need one right now great job 👏🏾
ReplyDeleteHi Nika! Thanks so much! When we sold that house, the pantry was one of the things I knew I would miss. :)
DeleteI love this. I showed it to my husband and we are going to make one to hang on a wall in our pantry.
ReplyDeleteJust one question: Where did you find the white containers to put your Grill Mates seasoning packets in?
Thanks so much!!! Awesome!! I'd love to see it! You can send me a photo to my email address.
DeleteWell, those are little paper boxes that I just made. It's thicker than just regular printer paper.