Updated 6.30.22
*This post contains some affiliate links. Please see my full Disclosure Statement.
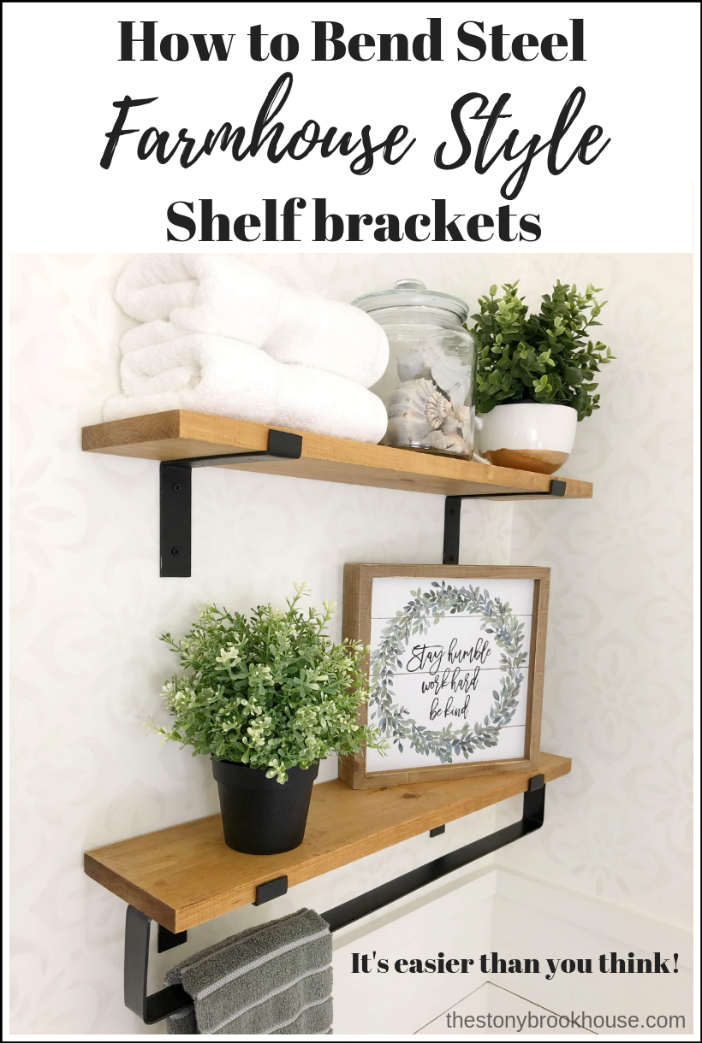
These brackets came out so good! I just love the rustic look of them.
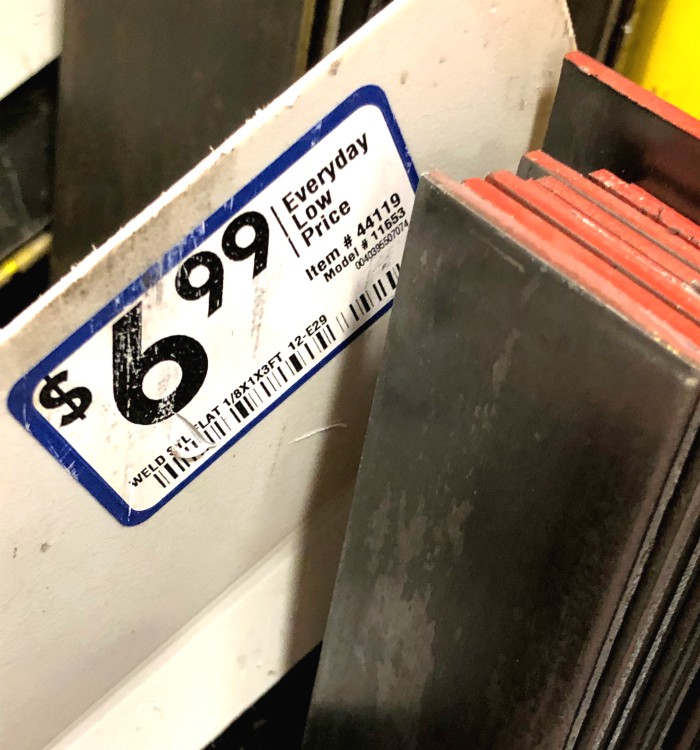
At first, I had purchased some brackets like these at Hobby Lobby. But then I realized that they were for a 1x8 inch shelf. I wanted 1x6 inch shelves. So, out of necessity I had to make them. Plus, they ended up being less expensive. The ones at Hobby Lobby were $7.99 each.I picked up 3 pieces of flat steel at Lowes for $6.99 a piece.
One piece of steel, should give me 3 brackets. Thank goodness I had enough because I kinda messed up the first one. 😣
Of course, this was one of those projects that I didn't take enough photos... But I did do some videos! Yay!
After I kinda messed up the first one, Hubby helped me out and gave me a few pointers. He's so good at teaching and has so much patience with me. Afterwards, I was good to go and busted all four brackets out.
Instructions: (You can watch me making these in the video above)
- Place steel in a vice. The first bend I wanted to almost cover the thickness of the board, which is 3/4 of an inch. I marked the steel 3/4 in. because by the time it was bent, it would be slightly less.
- Then with a 3 lb. sledge hammer, bang, bang, bang! Until the steel is bent to a 90 degree angle.
- Measure how deep you want your shelf to be. We wanted to use 1x6 in. boards, so I placed the bracket with the lip bent on the board and marked it. That mark was about 5 1/2 in. Place the steel in the vice at that mark, making sure which way you are going to hammer the steel, and bang away!
- Then you need to decide how long you want the wall support to be. I wanted mine 4 in. long. I used a grinding wheel to cut the length off.
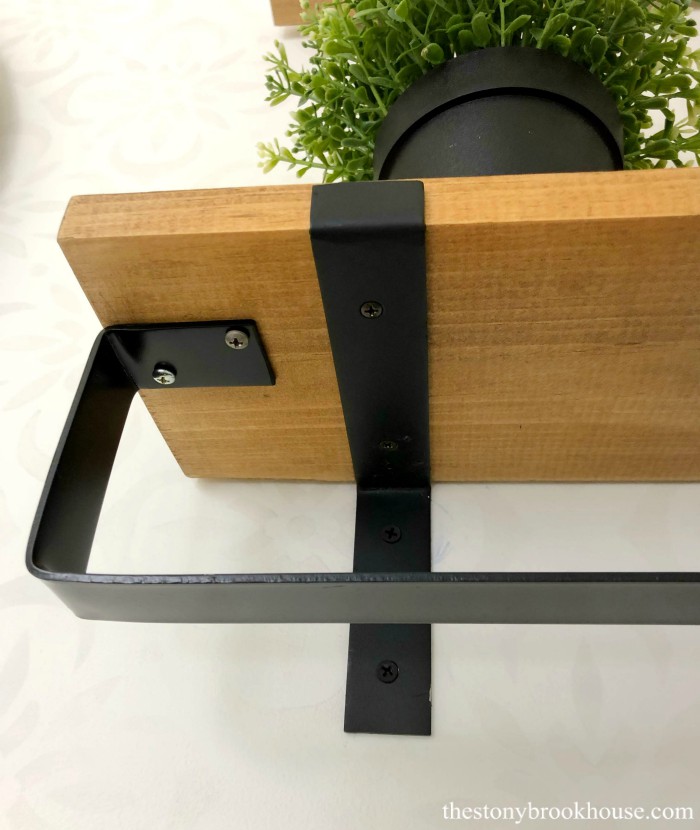
- Next, drill holes in the brackets. I spaced mine out to be even. Two holes to attach to the wall and two holes to attach to the wood shelf. I even countersunk mine, so that the screws would be flush with the bracket.
- Last step, the easy part.... paint! They all got a quick spray of flat black paint. You know my favorite by now! Rust -Oleum 2X Ultra. Love this paint!!
This project took some grit. Pounding, drilling, grinding.... this was ALL out of my comfort zone... But I did it! And so can you!! 💪
The towel bar was a little tricky... and I really didn't want to mess that up. So, I asked hubby to make it. He did a fantastic job! I just love the look!
When we were installing the shelves, the black paint from the brackets was marking up the walls, so we put up this scrap paper to protect the wall. Then we held the shelf brackets up where we wanted them and marked the holes.
Of course there weren't any studs where we wanted to place the shelves. We needed drywall anchors to install them. We love these Plastic Self Drilling Dry Wall Anchors, on Amazon. They're so easy to drill right in!
Didn't they come out great??!! We love them! ❤️❤️❤️
Pin for later! 😍
Blessings,
Lori


I watched your video...nice job!! Brave! Isn't it so much fun to be able to make what you envisioned?!
ReplyDeleteThanks, Liberty! Whew! It was scary, but you are so right! I love being able to make what I envisioned! Especially when it come out right :)
Delete