Update: 5.14.20
*This post contains some affiliate links. Please see my full Disclosure Statement.
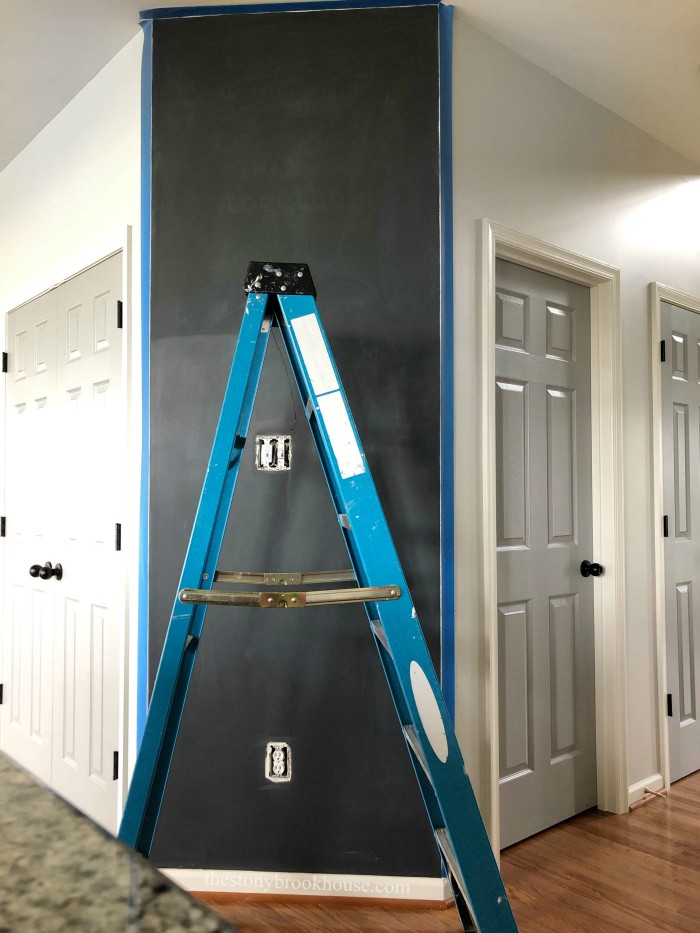
Here's the before...
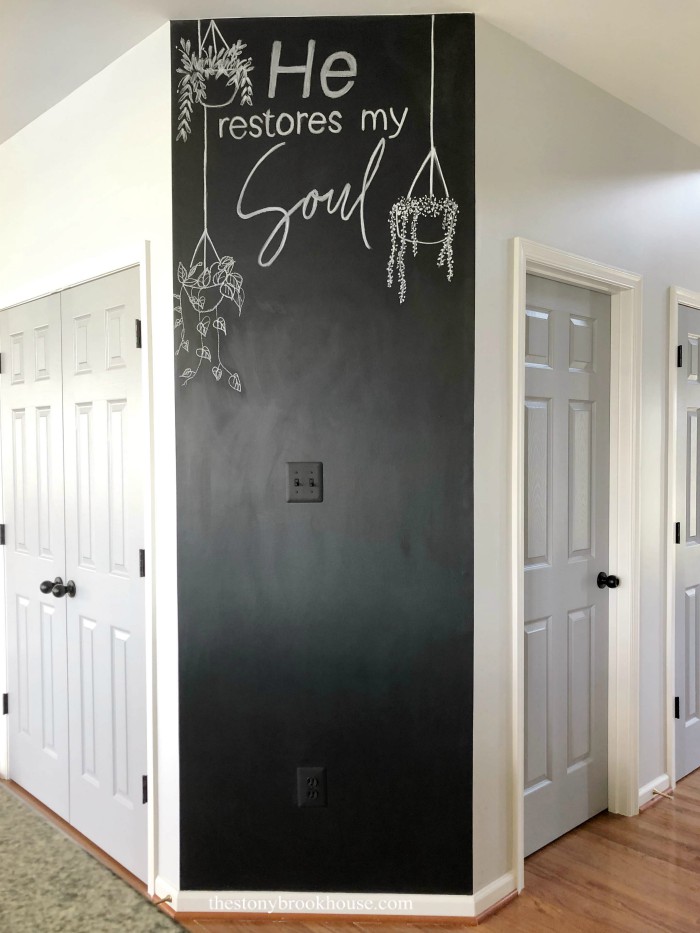
I gave the whole thing a little makeover. Two coats of chalk paint, new design and this time, I even painted the light switches, light cover, outlet, and outlet cover. You practically can't even see them now!
The process was exactly the same as the first time I did it.... Except this time, I decided to tape off the area. I've painted all of the walls downstairs, since the first time I painted the accent wall, and the lines of the chalkboard wall weren't as crisp as I would've liked them.
The key to getting crisp lines is to first tape the area. In order for your accent color not to seep through the edge of the tape, paint the edge with the wall color paint. Wait for that to dry, then paint your accent color on top of the wall color. So if any paint seeped through it would be the wall color and not your accent color. 👍
Now it's time to paint! I used Valspar's Black Chalkboard Paint this (chalkboard paint is similar) and just a regular 4inch foam roller.
This little angled wall was the perfect spot for a chalkboard wall. I still love it even after all these years.
Try to keep a wet edge when painting. The first coat I wasn't too picky, but the second coat I tried to be more precise.
Remember to pull your tape off when the paint is still wet! That's important!
Now that the wall is all painted and dry, you need to season the chalkboard. By season, I mean you need to cover the entire area with chalk. This makes is easier to erase words, drawings, etc. without it 'ghosting' on the wall.
Sometimes you may have to wash it with a wet towel. I've even hear that using Coke brings it back to it's original state, although I've never tried it.
After I seasoned it, I rubbed it all in with a dry magic eraser. It worked great!
Now for the fun part! I scoured Pinterest for ideas for my new chalkboard wall.... This time I wanted something simple.
I created this on Canva and printed it out.
Just like I had previously.... I put it into a sheet protector and went over it with a Sharpie. You can use any wording and even add designs.
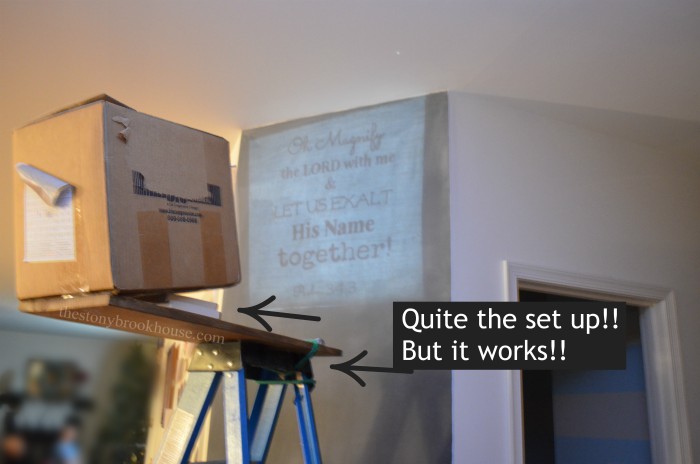
I created a DIY Overhead Light Projector, in order to make it large for my accent wall. All of the directions for that are in this post, DIY Overhead Light Projector.
Just look at how this is rigged up! What's funny is, I did the exact same thing to create the new design and it still worked! You know, I saved that same box all these years!
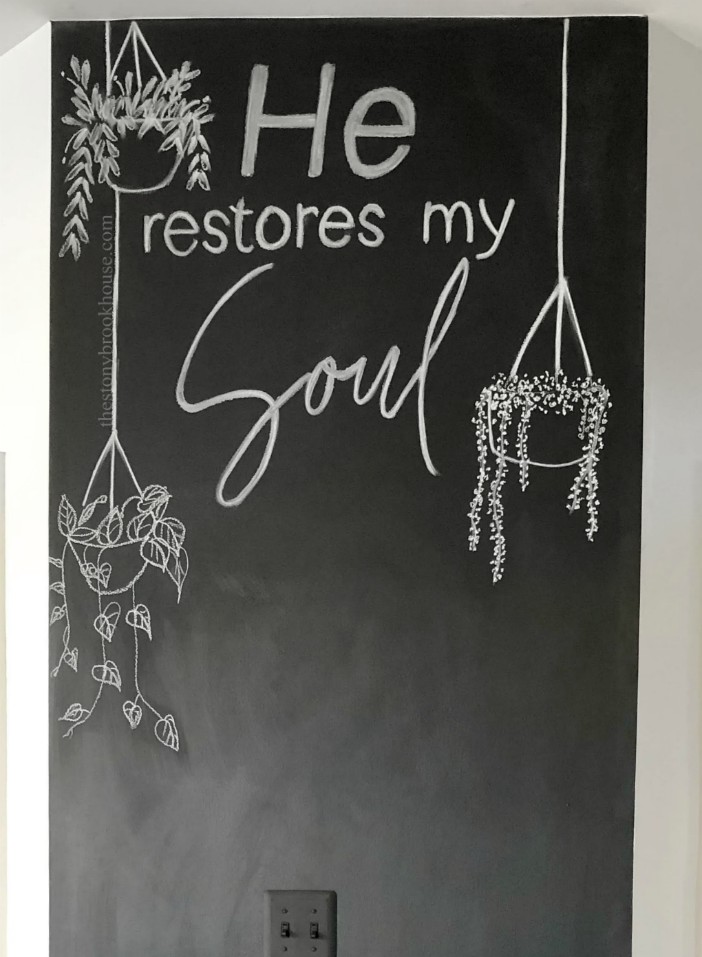
I am so happy with the way this turned out! For the hanging plants I copied them from pictures freehand. They came out better than I thought they would! 😍
Here's one to pin for later....
Blessings,


