Updated 2.9.22
*This post contains some affiliate links. Please see my full Disclosure Statement.
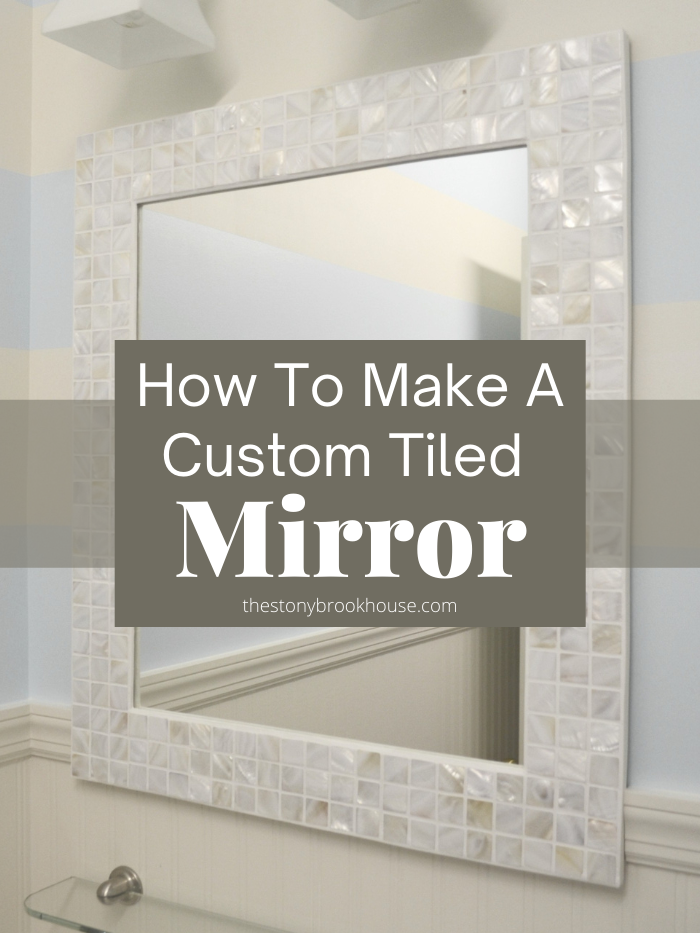
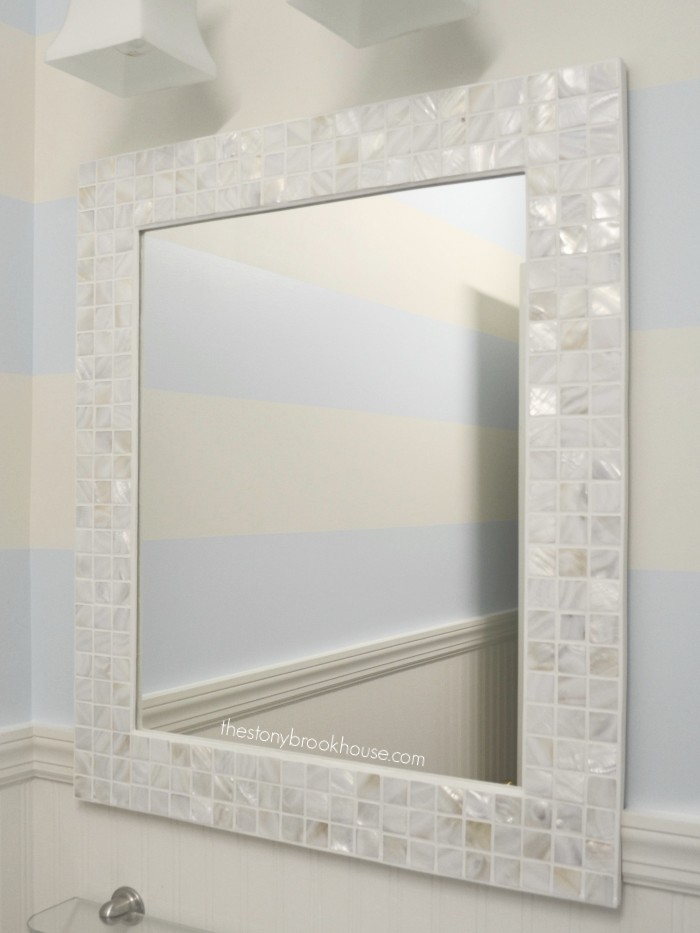
Now this is a gorgeous mirror!! I am truly in L O V E!!
It was a booger, but worth it! Hubby was invaluable on this one! If you want to see how the powder room turned out, click on over to Powder Room Reveal.
I was looking for the perfect tile. You know the one I had in my head... It took me F O R E V E R to find the right tile. I went to every store in town then drove 30 minutes to the next biggest town... Nothing.
I had looked online, but I was leery. What if it wasn't what I thought, or I didn't like it, then I'd have to return it. Yada yada yada.... I took the leap. Well, I am a Leeper! Ha!😉
I was NOT disappointed. It's a mother of pearl tile. They don't sell the same one I purchased, but here is one that is similar. Mother of Pearl tile sheet.
You could use any small similar tile. The options are endless!
We bought a large piece of thin oak. It was only around $8.
The wood needed to be thin. We were concerned with the weight of the mirror when it was complete.
Hubby measured out the mirror to be 24x28 inches.
The frame was going to be 3 inches wide for the tiles. That would allow for grout space too.
Well, when the tiles came, they didn't exactly measure correctly. Each tile was larger than a 1 inch tile and there were only 11 across not the normal 12.
So, Hubs had to "adjust" the frame. He added boards on top to accommodate the tiles.
Which actually worked out because now there was a frame that the mirror could set into.
I used Liquid Nails and clamped them until they were dry.
Now this isn't the prettiest frame you've ever seen, but none of it will show. I promise!
Well, the little snags didn't stop.... Since the tiles weren't exactly the size we expected, we needed a few more. Ugh!
I needed 10 more little squares to complete this thing! I looked all over town for something to match.
I thanked the Lord, I found this!
This tile was mostly a grayish ceramic, but had mother of pearl accents here and there. There were about 13 accent tiles. Perfect!!
So, I cut them out and used a knife and hammer to pry the mother of pearl off the glass tile. It worked!!
I still can't believe it worked!! Yay!
As you can see the size is just a bit off. But as I scatter them throughout the frame, you won't be able to tell. 😊
I am so ready for the fun part!!!
I wasn't sure how we were going to attach them to the frame. I thought about mortar, but that seemed too much. These aren't regular tiles. They are really thin. Which worked out perfect. They won't be as heavy for the mirror.
We went to Lowes to look for adhesive and grout. The guy there told us to check out one of the craft stores for supplies. He really only had adhesive and grout for big projects not something this small, we'd have way too much leftover. So, we hit Hobby Lobby. They had the perfect amount and for the right price! For the adhesive and grout it was about $8.
I cut the tiles in strips to fit the frame and figured out where my individual tiles would go. Squeezed on some adhesive and smoothed it out with my finger and laid the tile on.
Next let it dry and cure for 5-6 hours.
I was excited to grout. I couldn't wait to see what it was going to look like!
It was super easy! It was non sanded grout in white. Just push it in the grooves wait about 20-30 minutes and wipe with a sponge. I came back after another hour and wiped it again.
In the morning, I buffed it with a towel, and got all of the leftover grout off the tiles. It took a little bit of elbow grease. But look how pretty!!
I wanted to add a little trim to the frame so you couldn't see the raw edge. I picked up some thin dowels and some balsa wood strips.
Hindsight being 20x20, I wish I had used a smaller balsa wood trim on the inside instead of the dowels. But Oh, well. It still came out beautiful.
I spent about $3 on trim. I mitered the corners of the dowels and glued them with my hot glue gun. They aren't anywhere near perfect, but no ones going to be able to tell.
I painted all the trim.
Then I glued the outside trim in place. Once everything was dry, I grouted the inside edge and the outside edge.
This isn't a great pic of the outside edge, but you get the idea.
Oh and remember to paint just inside the edge of the frame, because the mirror reflects the edge. Mine isn't perfect, but like I said unless someone is going to do an inspection or grade me on this.... No one will notice.
Lastly, we finished off the back. I had some scrap pieces of the veneer and cut two of them. Grabbed a few tiny screws and screwed on the top piece and a bottom piece.
Hubby measured and lined up the picture hangars. He has so much patience!
The moment of truth, was it going to fit? Was is going to be gorgeous? It was perfect!!
I love how the tile sparkles! I can't believe it's finished! Total cost =$61
Not bad for a custom fit, perfect sized, gorgeous mirror!!! What do you think?!
Do you love it as much as I do?
Blessings,
Lori


