*This post contains some Amazon affiliate links. As an Amazon Influencer, I earn from qualifying purchases. Please see my full Disclosure Statement.
Pottery Barn Bells
The one above used a thicker twine, but I already had some jute on hand and I feel it definitely does the job.
I do like how the bells are aged, and I could easily do that with a bit of Rub N Buff and black paint, I just didn't feel it was necessary for now.
Here we go, it only took about 30 minutes from start to finish.
Supplies:
Bells
Jute or twine
glue gun
greenery
ribbon
First, cut lengths of jute and string the bells at different lengths. Or you can cut the jute extra long al the same length and you'll just be cutting off the excess. You want to be sure you have enough jute to loop and knot at the top of your bells. Read ahead if you need more understanding. You will be looping the extra at the top.
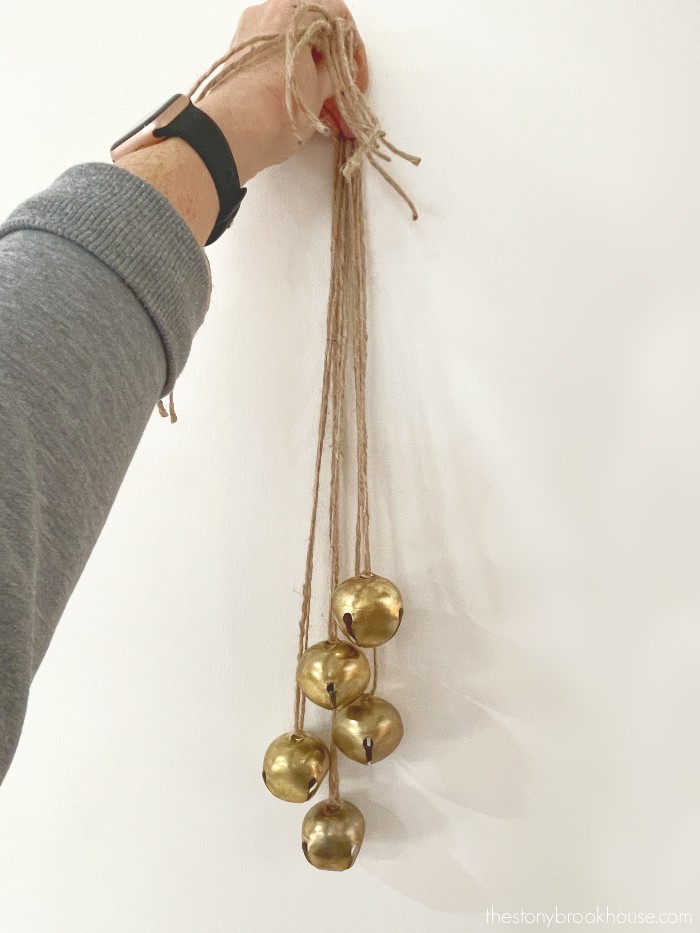
Now, grab all of them together and hang them up with your hand and pull each bell until it's at the length you like. I wanted mine to be at different lengths so that you can see each one.
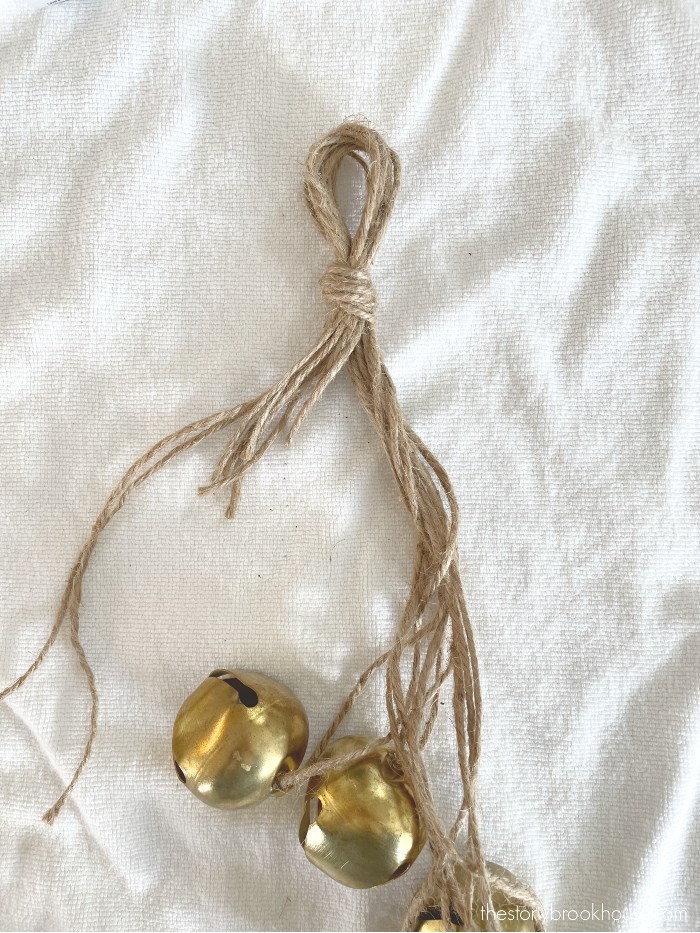
Great! Now, knot all the bells together to keep them from repositioning.
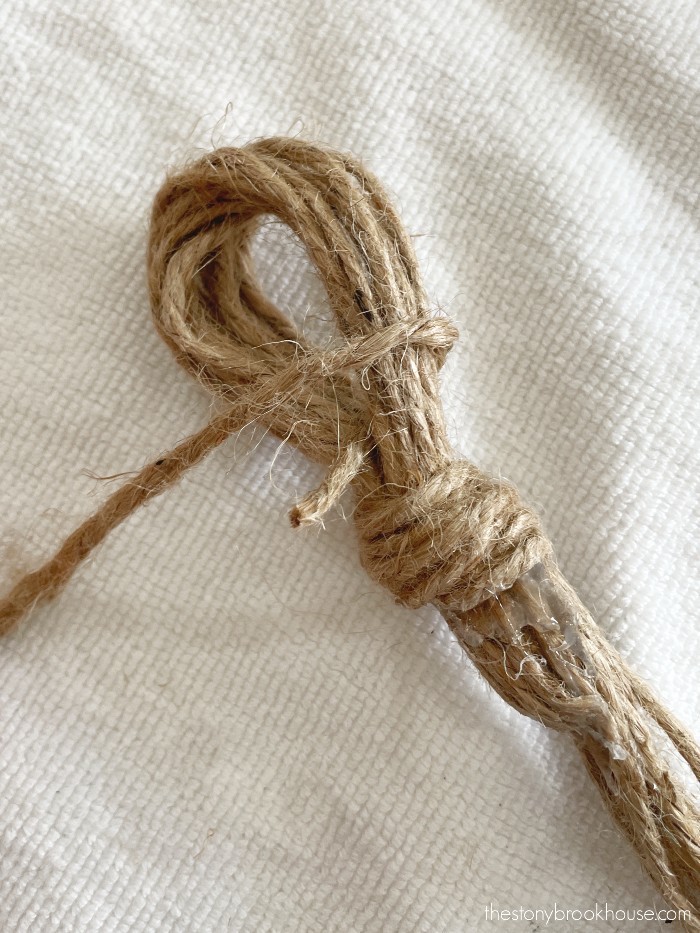
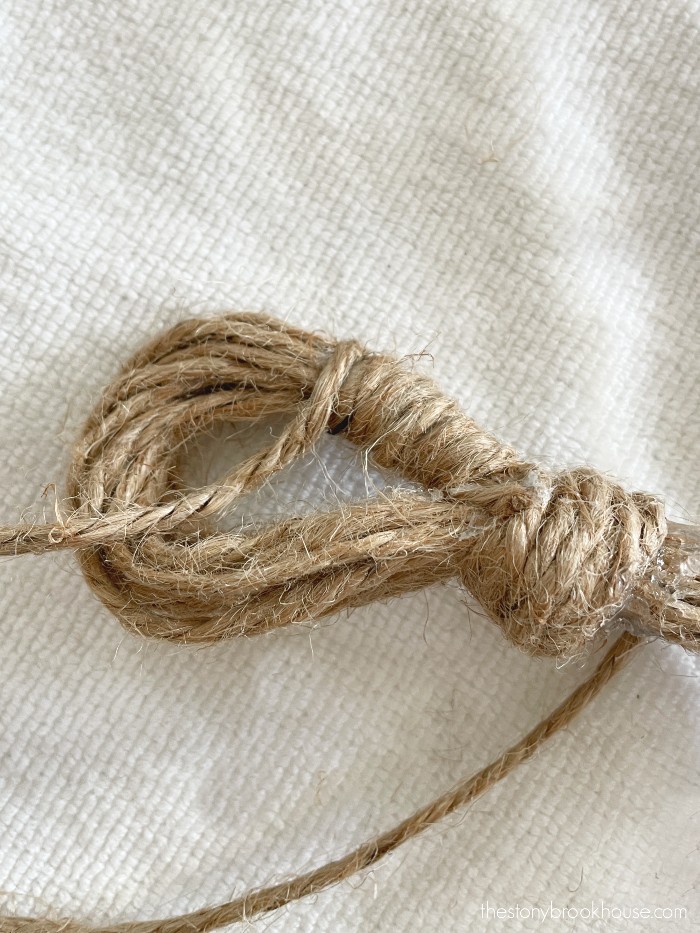
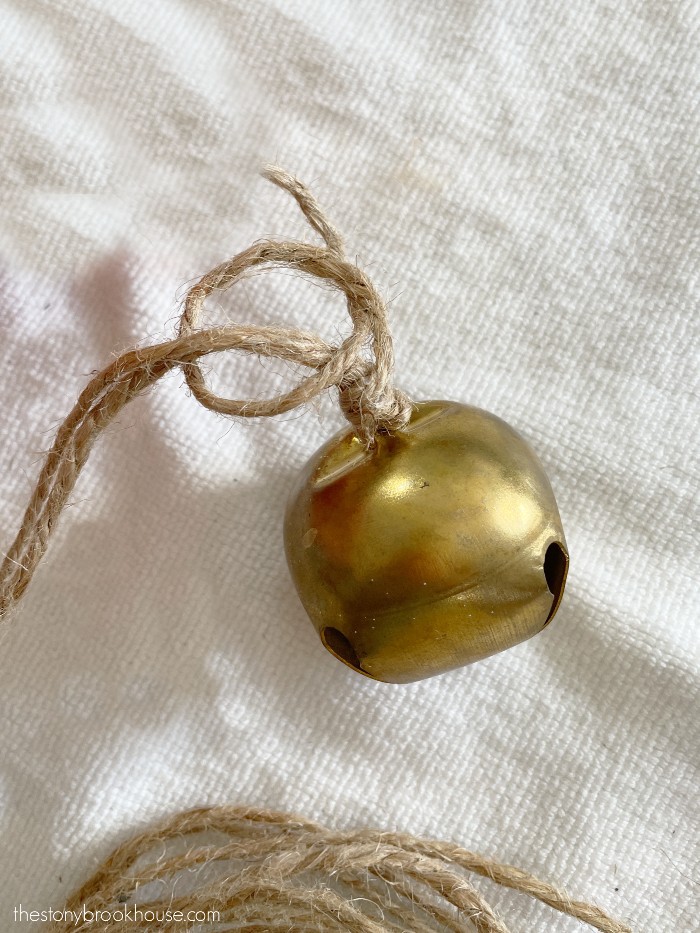
This is what I was talking about earlier. Now, we are going to loop the top of the bells above the first knot and tie another knot, almost like a slip knot.
I have a bunch of excess jute, that I'm going to cut off and glue with my glue gun to secure it.
This next step isn't necessary, but I feel like it takes these bells up a notch and makes them look even better! I love how it turned out and it makes a nice to hang.
I just thought of this. You could've made the knot loop even bigger if you wanted to hang these on a door knob. You would just need to make your initial jute strings extra long.
Use an extra long length of jute for this next part. We are going to wrap the hanger part with jute.
I secured the end with glue from my glue gun. Then began to wrap tightly and glue every other wrap. I also tried to glue on the back side.
It looks really good once it's wrapped really tight. Then secure end with glue again.
Now, for the bells. We want to secure them so that they don't move about on the jute. Plus they look more finished this way.
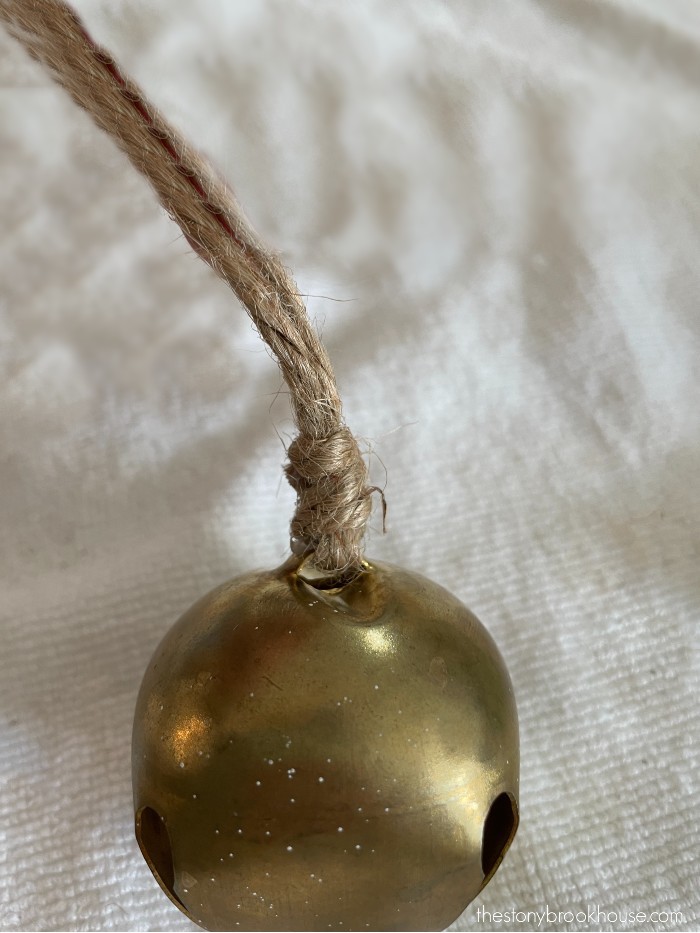
See the spot that I'm going to place a dot of glue? Place a dot there, then pinch the jute together. Not a ton, you don't want to burn your fingers. Just enough to keep them together.
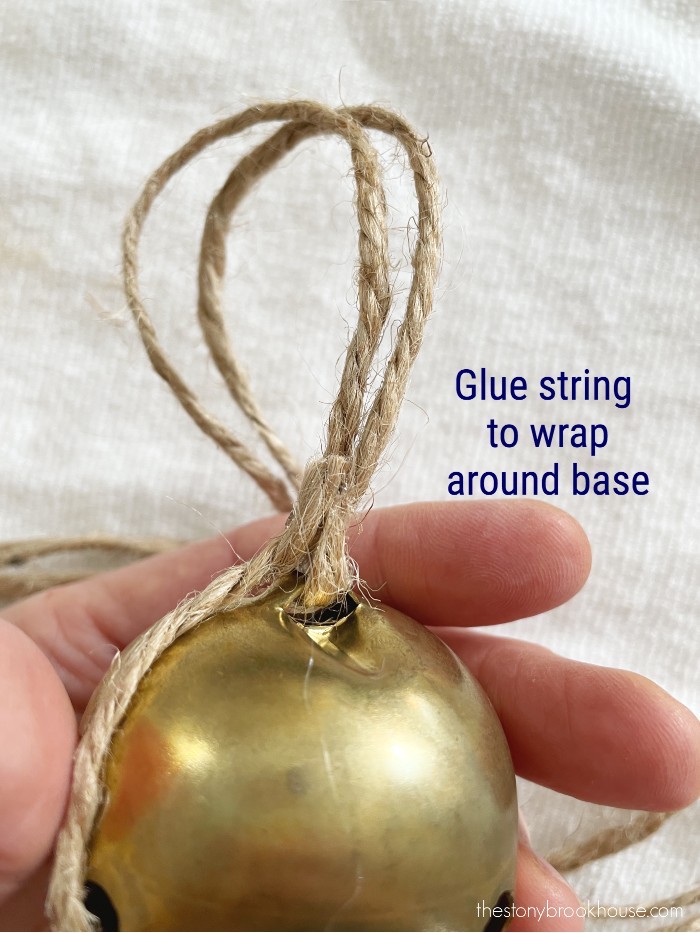
Now, we're going to wrap a piece of jute around the base of the bell, where we added that dot of glue.
Glue a piece of jute to the base, kind of upside down. Because we are going to wrap that and it will cover the end of the jute.
I wrapped and glued a few times. Now, I'm going to knot it. Cut the excess and glue the end to secure.
You'll want to do that to each bell. The last part is super easy! I just laid some faux greenery behind the bells and tied a bow.
It's ready to hang!
Blessings,
Lori







Thank you! What size are the bells?
ReplyDeleteThey are about 2 inches across.
DeleteI love this idea and will file away for next year. Those trendy bells were all over the place this last Christmas but prohibitively expensive!!
ReplyDeleteThank you! You are soooo right! Thanks for reading!
Delete