*This post contains some Amazon affiliate links. As an Amazon Influencer, I earn from qualifying purchases. Please see my full Disclosure Statement.
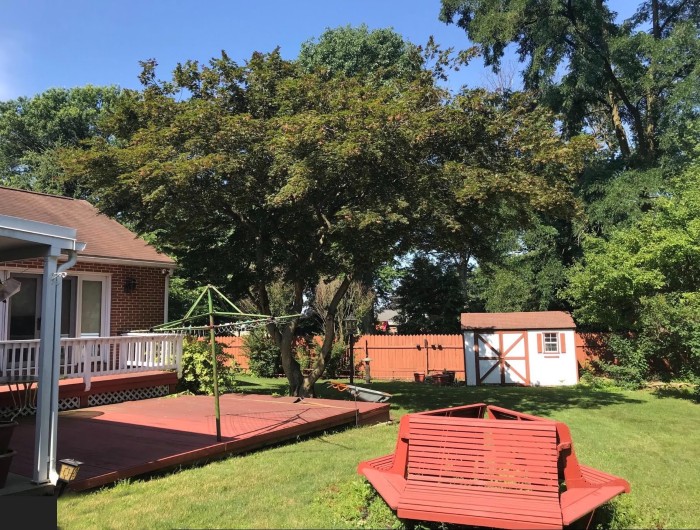
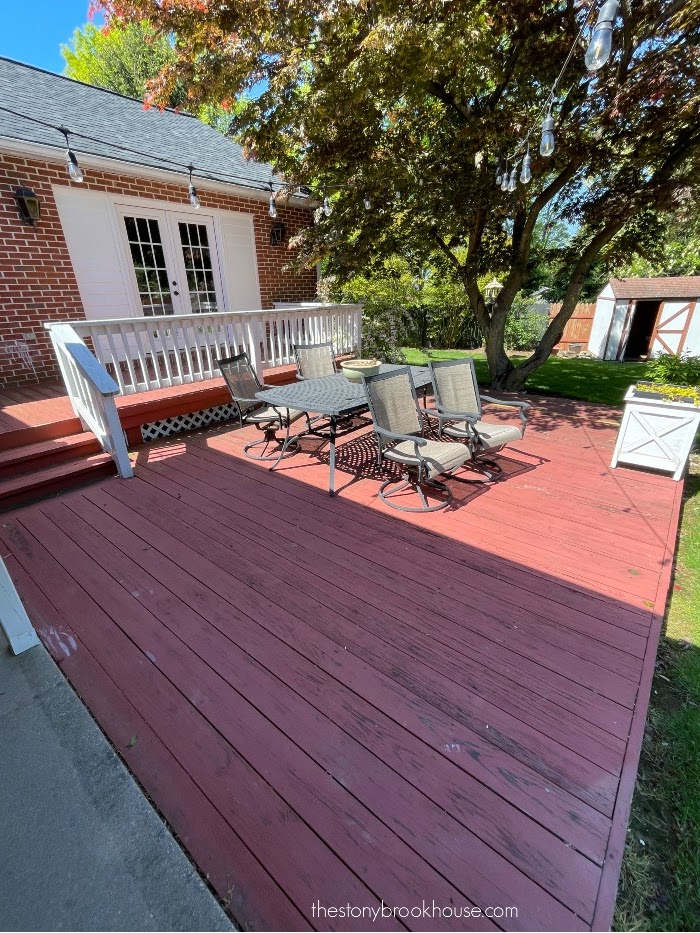
This is what our house looked like the day we bought it. All I see is red.... Why so much red?!?!
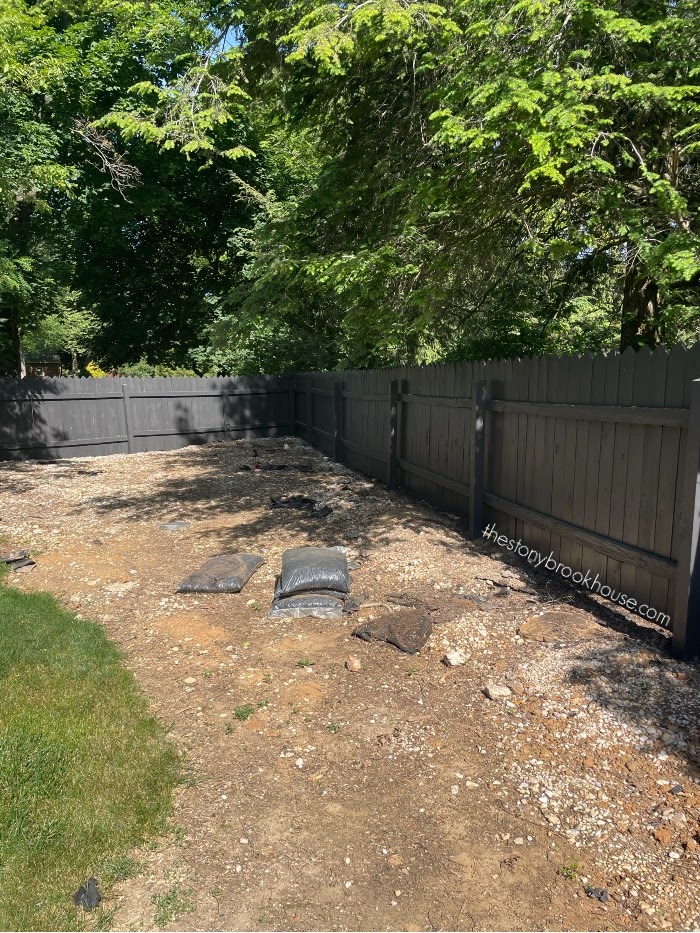
It was a mess. We cleaned it up a bit last year. We dug out all of those weeds and shrubs. We even transplanted a few of the flowering shrubs.
It looked so much better, but this spring we knew we wanted to work on the outside some more. I asked Hubs if we should paint the house, or paint the fence. He chose the fence! I'm so glad he did!!
This shed desperately needed some TLC! It was pretty nasty!
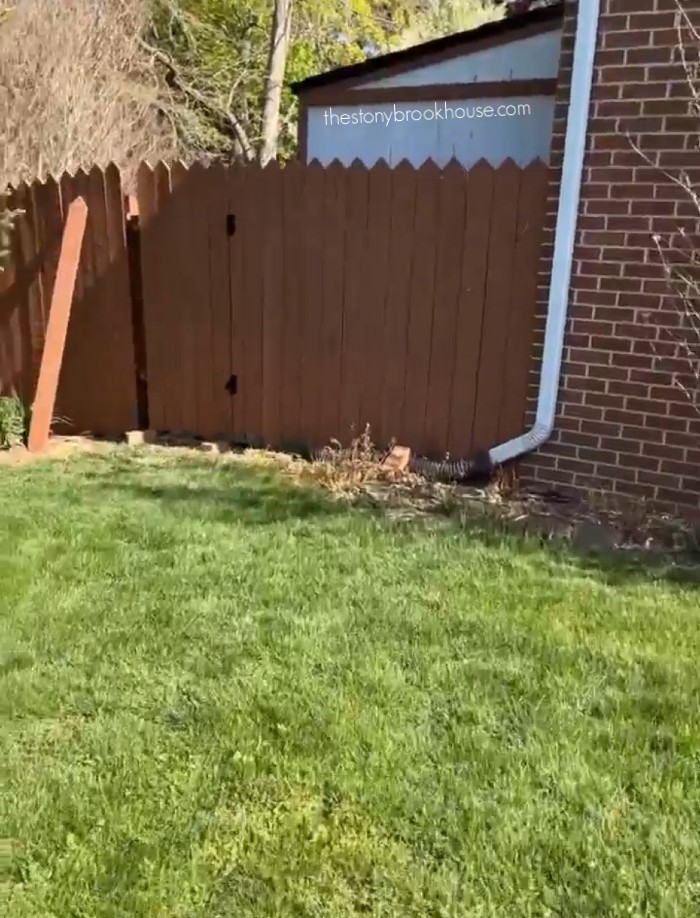
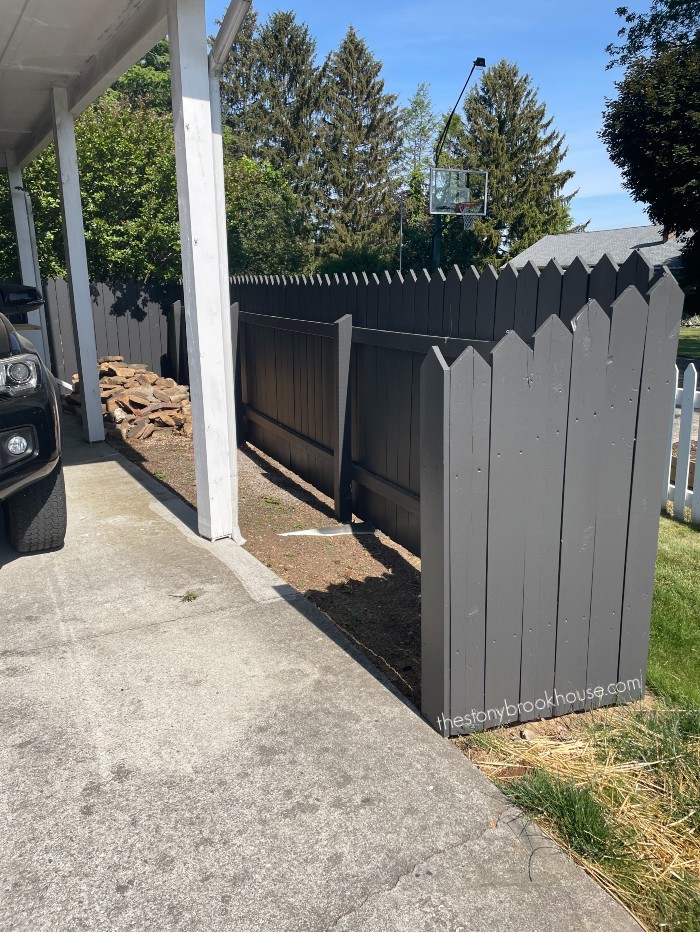
Before we got started, Hubby wanted to fix the fence next to the carport. It was leaning a bit, so we fixed the posts that were the problem and then hubby stabilized it by adding this front section. It will keep the fence from leaning. He did a great job!
Now, it's time to get to work! The last thing I wanted to do was power wash the entire fence.... Seriously! I was ready to just throw some paint on her and be done. Thankfully, my wonderful hubby knew that was not the route to take. If we were going to invest hundreds of dollars and hours of time, we wanted to make sure that this fence had the best chance to accept the paint. That meant it needed to be power washed.
While we were in the process of cleaning and power washing, we found out from our neighbors that our fence was here before they moved in over 20 years ago! This fence has held up well for being over 20 years old! That gave us even more incentive to preserve it the best we could! Clean. Clean. Clean!
We first sprayed the fence with Mold Armor Fence & Patio Cleaner. Next, scrub it, then power wash it. This might be a blurry photo, but there is no chance you'll miss the nasty mold and mildew on it.
It was a ton of work, but we did it! The entire fence, inside and out.
Now, it's time for some paint!!
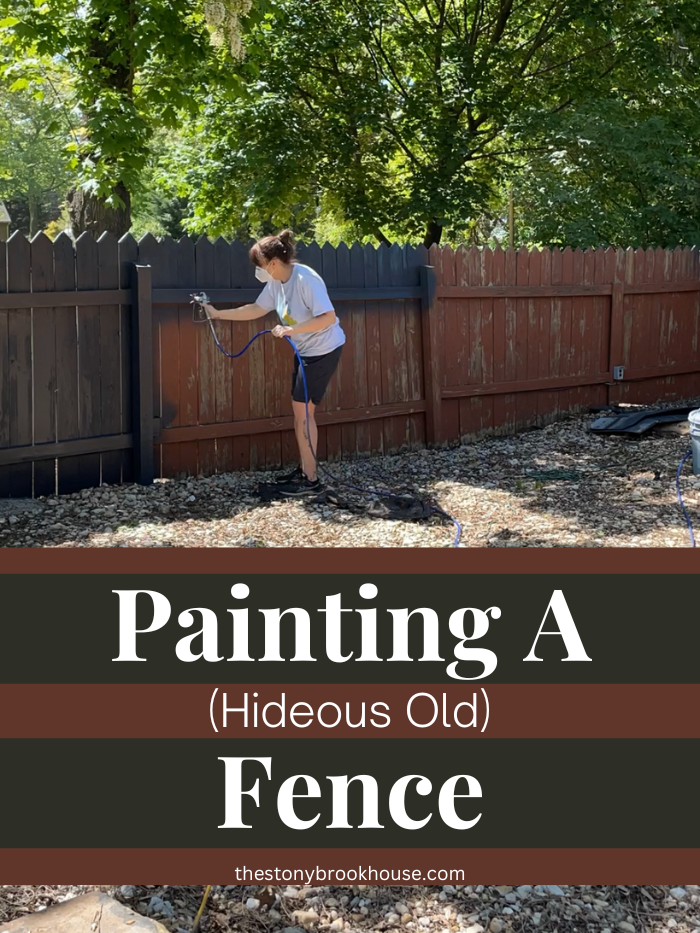
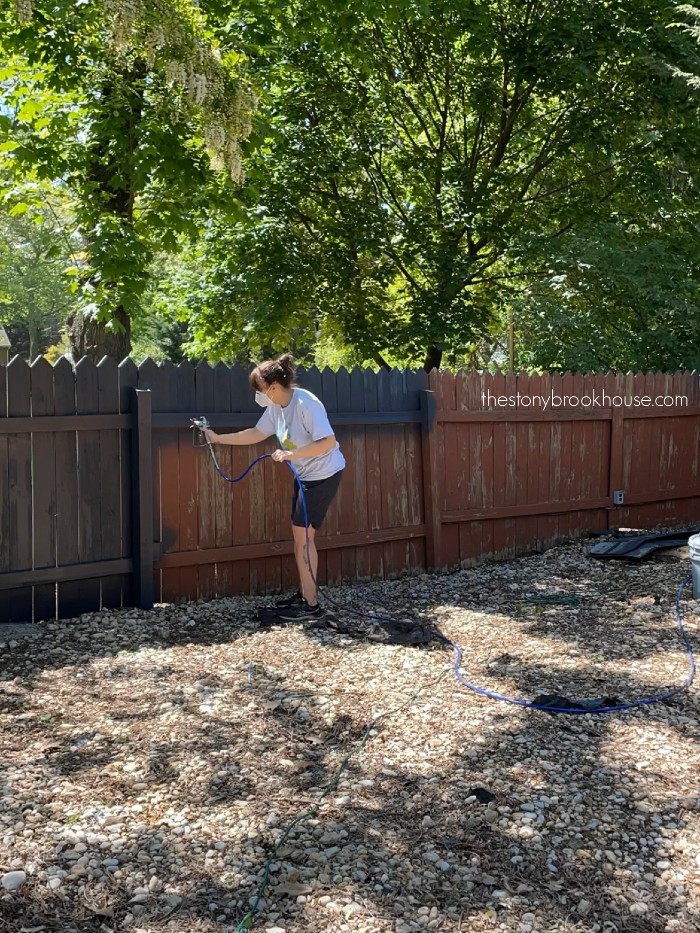
I had purchased a paint sprayer, but was a tad bit intimidated by it. So, I thought I would just start painting with a brush and roller.... All day I painted and I only finished the front section.... At this rate, we're going to be painting all summer. That's not going to fly!
Don't get me wrong... it looks amazing! But there is a ton of fence to paint!!! It was time to break out the paint sprayer and I am SOOOOO glad we did. Move past your insecurities and just do it! And that's exactly what we did! We got the paint sprayer out, read the directions, pushed through and figured it out. This is the sprayer we used and it was incredible! Graco Magnum Project Painter Plus I am forever changed!
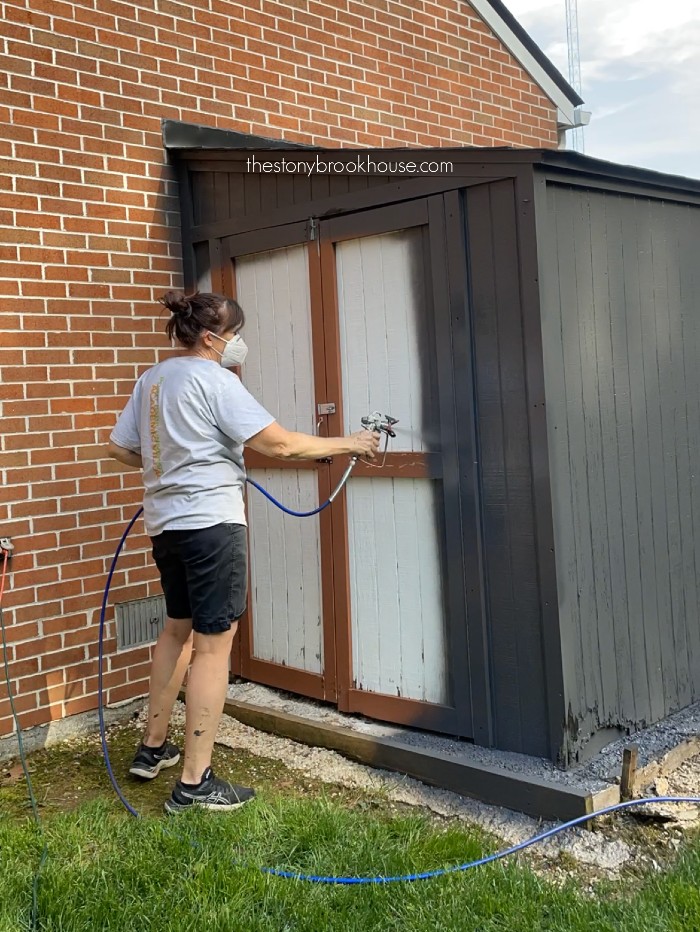
It was great because we could put the suction tube into the 5 gallon bucket of paint, then when it got low we just poured in more paint. The 25 foot hose was so light weight and easy to maneuver. I painted for hours and never really got tired. There is no way I could have used a paint sprayer with the cup of paint. I would've had to refill it a bajillion times and those sprayers can get heavy. My shoulder would have been dying!
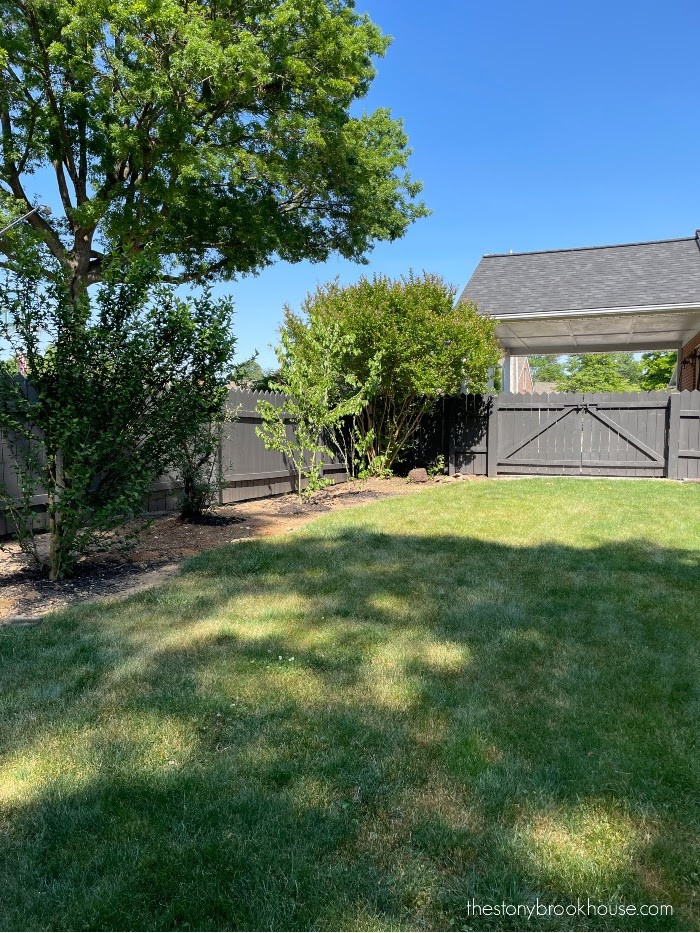
What a difference paint can make!! From a distance, it really looks like a new fence.
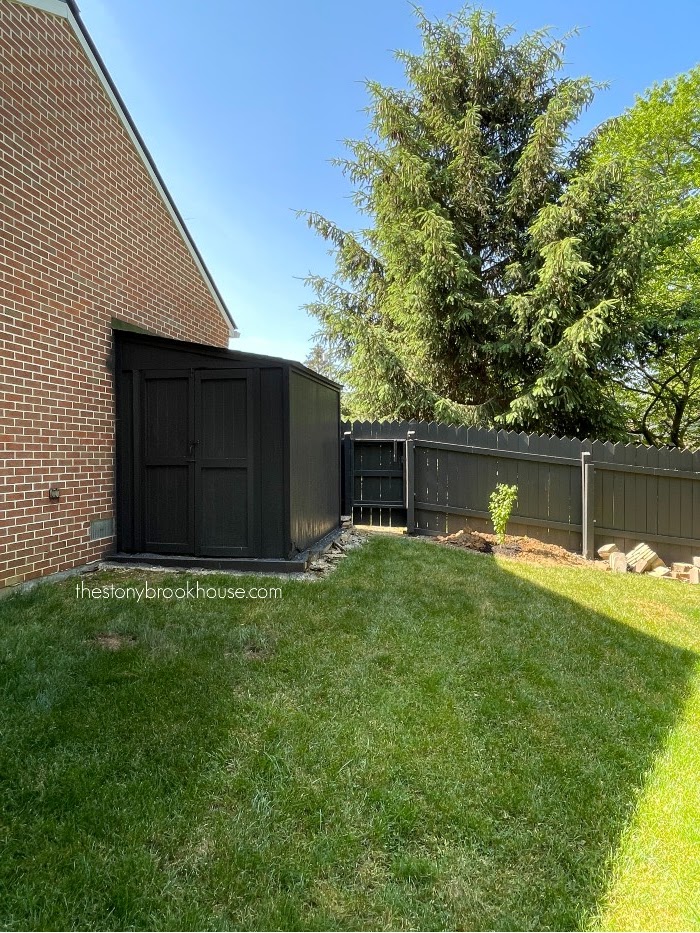
We used HGTV Sherwin Williams EverLast paint from Lowes. The color was Valspar's Arrowhead. We absolutely love this color. It makes the fence completely disappear, which is exactly what we wanted.
Once we finished the fence, we decided that we should go ahead and paint the sheds. Especially, while we had the paint and the paint sprayer out. So, Hubby power washed them while I kept painting. Once you get into a rhythm it goes so fast! And it was literally one coat! I could tell, when we were rolling it on that we were going to have to do another coat. This sprayer did such a great job coating that one coat was definitely enough!
Hubby had a brilliant idea! He said, " Let's spray paint the shed roof!" What?! He said, "What difference does it make? We were planning on replacing it eventually anyway, so if it doesn't hold who cares! We won't have to look a that red roof anymore!" Good point! Let's do it!!
I definitely didn't want to see anymore red! I'm glad he isn't afraid of heights, not that I am, but I wasn't going to climb up there! It looks soooo much better!! You'll see... keep on scrolling!
I'm really glad we decided to use the paint sprayer, I literally painted everything in 2 days! Unbelieveable!!
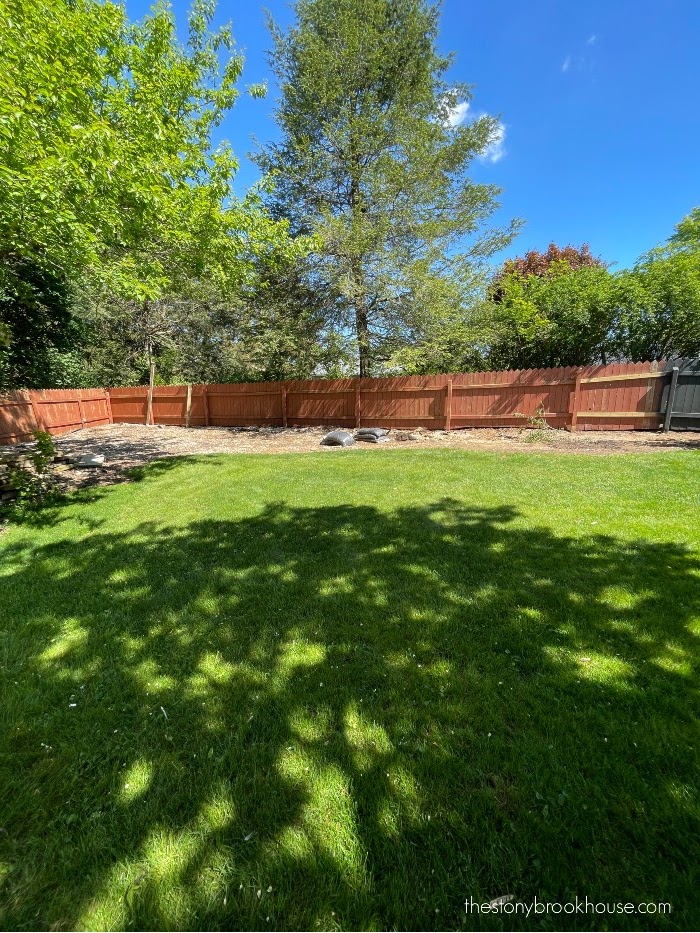
Okay, here comes the barrage of finished photos! What a difference! The power of paint will always amaze me!
Just look at that roof now! No more red!
Wow! Wow! Wow! And this is now our view from the deck...
Soooo much better. Now, if you think we could leave the deck the way it was??? Think again! Next up deck refresh!!
Blessings,
Lori












Awesome job !!! Thanks for the inspiration !! defiantly going to paint my fence this summer !!
ReplyDeleteThanks so much!! Awesome! It felt so good finishing that project!
DeleteWhat a difference !! I hope the things that you transplanted thrive. YES paint the deck. Then after you get
ReplyDeleteI know right!?! I'm praying they make it! Just so you know... we already did! Coming out next week! ;)
DeleteHow many gallons of paint did you have to use for the entire fence? Did you have them water it down at all?
ReplyDeleteWe bought 10 gallons, but we also painted our 2 sheds. With our paint sprayer, we didn't have to water down the paint at all. It went on full strength. I also didn't need to apply a second coat. Only where I might have missed.
DeleteOh! we didn't use all 10 gallons. They were 2 -5 gallon buckets. Maybe used half of the second one.
DeleteWe are getting ready to do your project next weekend!!😬
DeleteDo you know about the length of fence you painted?
Wow! I bet you are excited! I'm not sure exactly how much, but hubby said it was about 400 ft?
DeleteJust getting a fence for our yard and had planned to do the same and now that I’ve seen yours I’m positive that I’m painting it ( almost ) black ! Ty for sharing!!!!!
ReplyDeleteHow cool! I bet it's going to look awesome!! Glad I could help!
DeleteGreat post
ReplyDeleteLooks great.you did a fantastic job..was thinking about how my girlfriends picket fence would look painted black..but don't know ..hummm..it's just natural right now think it would be an improvement though.
ReplyDeleteThank you! I was skeptical too, because it's so different... but I would do it again in a heartbeat! I love how it blends into the background and the green of the trees and bushes just pop against it!
DeleteThis comment has been removed by a blog administrator.
ReplyDelete