Updated 8.5.22
Today, I'm going to share my experience in replacing our kitchen faucet. Boy, what an experience!
*This post contains some affiliate links. Please see my full Disclosure Statement.
Our sink faucet was from 2009, when we built our home. It was okay. I was never in love with it, but it worked and I just couldn't see any reason to replace it. Well, now I have plenty of reasons!
The sprayer didn't seat well any more...
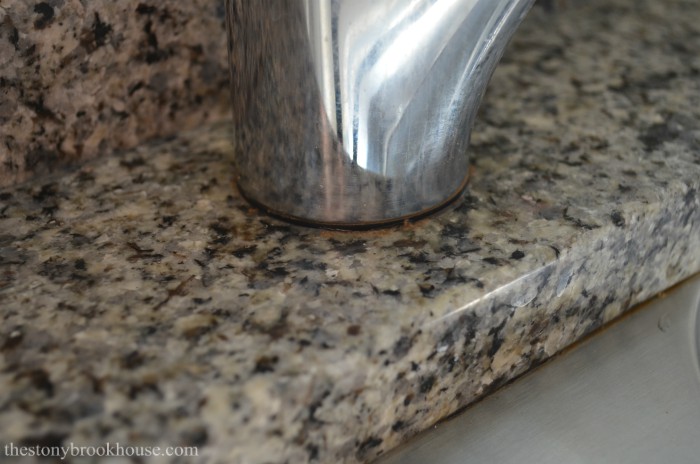
Grody gross stuff was always 'appearing' around the base...
The sprayer didn't sit high enough, I always had trouble fitting pots under it. I'm sure some of you know what I mean. It was time for a new faucet! Yay!! 🙌
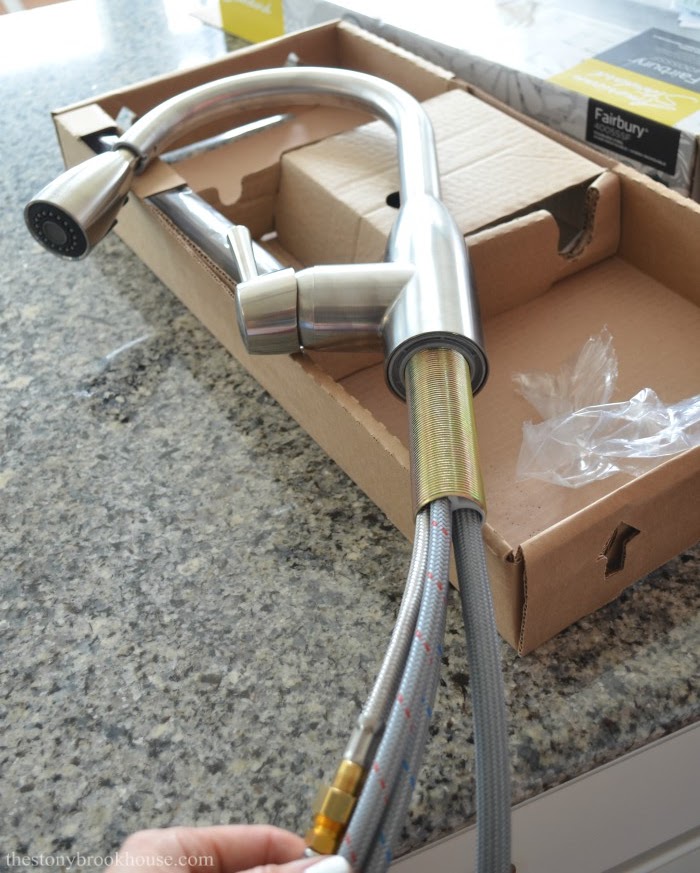
This is what we decided on. We purchased this one at Home Depot for $120. Here's the same one on Amazon, it's even cheaper! American Standard Fairbury
At first, this was on Hubby's To Do List.... but as I thought about it a bit more... I was thinking, why don't I do it? I should know how to do this!
It turned into one of those moments where I felt I needed to do this! Let me tell you, by the time I finished this project, I felt empowered by the shear fact that I accomplished this!!
Hubby wasn't so sure at first, but he quickly jumped on board. He patiently taught me and encouraged me through every single step! Don't forget to watch the little video I put together. 😉 😂
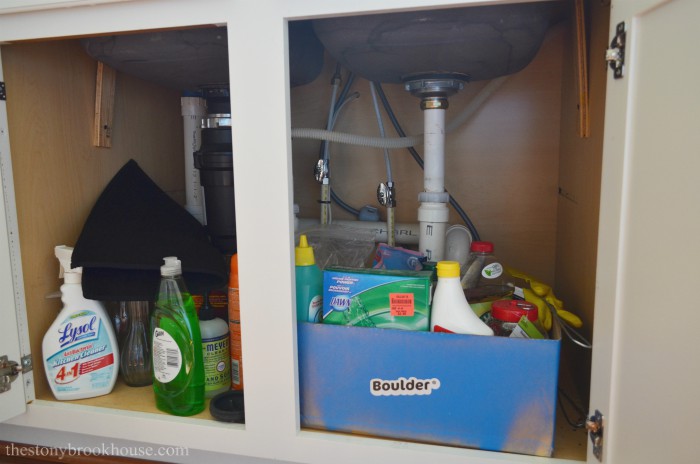
First things first. Um.... this mess needs a little work.... We'll deal with that later. (btw, it looks so beautiful and organized now, keep scrolling... you'll see!❤️)
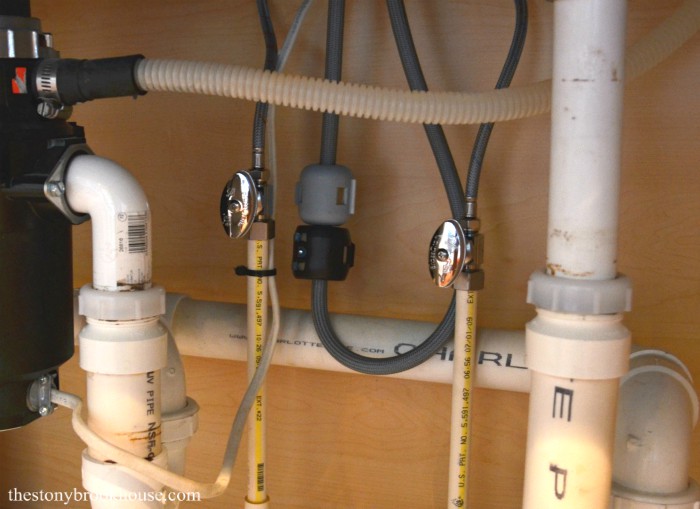
So, the first thing I needed to do was turn off the water and disconnect the water lines.
I had to wedge myself under the sink to access where the faucet was connected and loosen everything up, to disconnect the faucet. Lots of pillows to make it easier on these ole bones. 😉
It was pretty tight under there... surprisingly I managed to disconnect it! That odd looking tool in the left upper corner is a Telescoping Basin Wrench. I couldn't have removed that nut without it!
Here's the video explains the whole process in more detail. I'm sure you'll get a kick out of it! 😉🤣
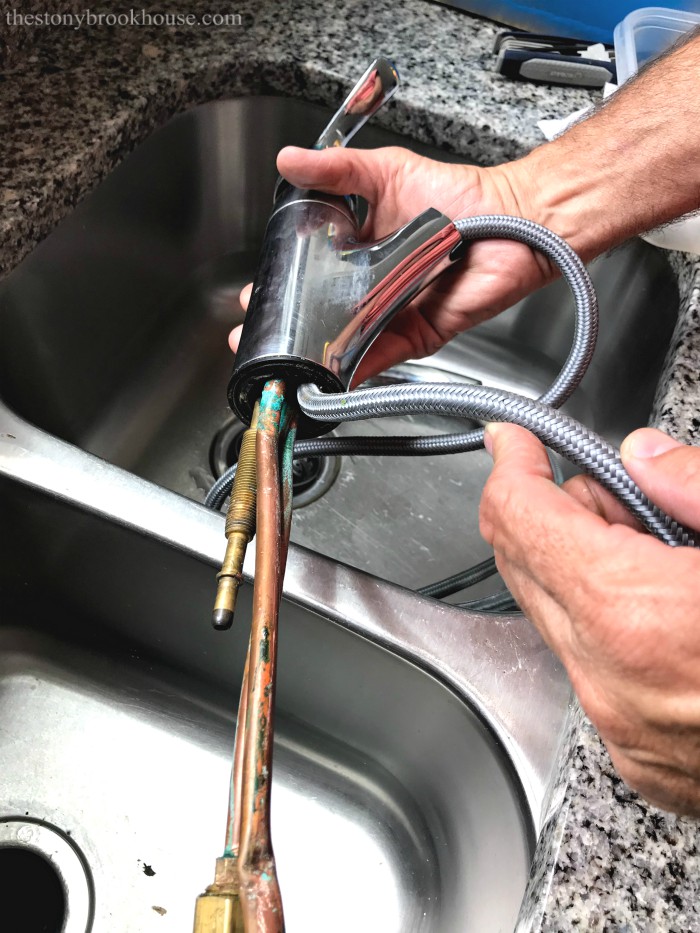
Hubby ended up having to maneuver and pull that faucet out! What a beast! It definitely needed to be replaced. That green on the pipes meant that water was leaking!
Now we get to install this beauty!
This is so shiny, clean and new! Love it! I know this sounds corny, but look at those hoses.... love the flexible hoses and they are labeled hot and cold. 💗
Let's get this installed! First, I installed the gasket at the base of the faucet.
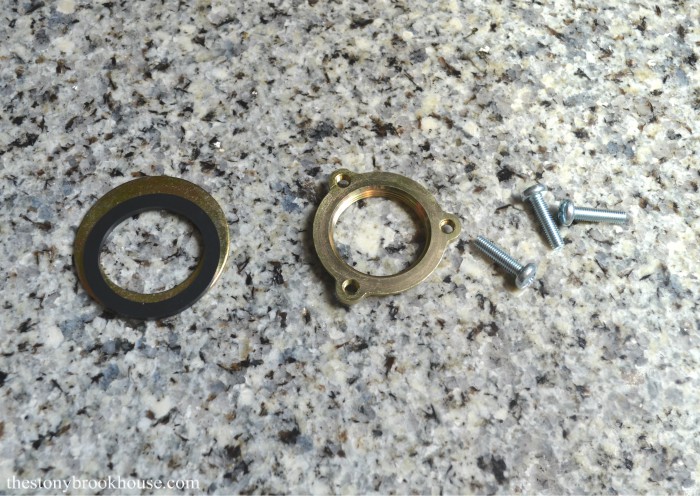
These are the parts that will attach the faucet to the sink. That's it! Soooo easy!
I stuffed the hoses through the hole and fixed the faucet where I wanted it. Now its time to crawl under the sink again. All I had to do was tighten those screws!
This was so much easier to install than it was to remove the old one! Night and day difference!
Just look at this beauty!!
Soooo much nicer!! And I did it!! 😊
The last step was to reconnecting the water lines and attach the weight for the sprayer head. Super simple! I actually added a second weight from the old faucet, it made the sprayer slip into place much quicker and easier.
After all of that was done, there was no way I could leave just stuff all that 'mess' I had back under the sink.... remember this...
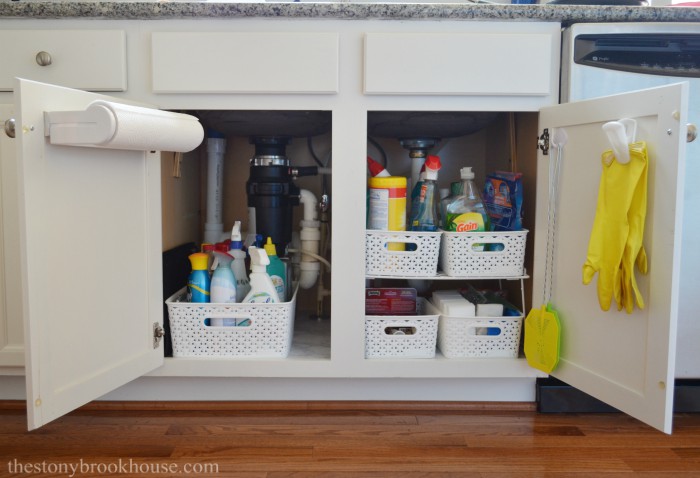
I went to Target and purchased some baskets and a little rack and voilé!
Now everything is in it's place, plus I purged a bunch of junk. I love the paper towels right there, and my gloves hanging. 😊
The little baskets can slide out. It's perfect!
As I said earlier, this project really boosted my confidence. It was thrilling to realize I did this job, that I felt was overwhelming. It normally would've been something hubby would do, but .... I DID IT!!
Hubby even said that he was proud of me and that I did a really good job! 😍 Yay! Me! So, don't be intimidated by some of these small projects.... If I can do it, so can you!
Blessings!!
Lori











Wow,I was really impressed with your new faucet project !
ReplyDeleteThanks so much!!
DeleteDo you mind telling me where you got the wire shelf that the baskets are sitting on? Or the dimensions. I find that some of those wire shelves are rather short or too small.
ReplyDeleteOh! Sure! I picked that one up at TJ Maxx, so you never know if you'll find one exactly like it. The measurements are 16" long, 7.5" tall, and 10" wide. I found them on Amazon for around $10.
DeleteHey Lori, love what you did here for your fans and readers like me. You brought a fantastic project before us. It was incredibly wonderful and kitchen learning project too. You made the job so so easy. All the installation including gasket at the base of faucet, stuffing the hoses through the hole and fixing the faucet, removing the old one, organizing the baskets and little rack- oh, all the tasks were so so professional and adorable. The sink now looks so beautiful and well equipped. I believe all the readers here now know why you hubby are so proud of you. Seriously, I love your elegant and effective DIY project that thrilled and inspired me much.
ReplyDeletethnks
ReplyDeleteNice
ReplyDeleteGlad to help! Thanks for reading!!
Delete